Thursday, November 14, 2013

Nothing says Christmas like red, white and bling!


Buttons and Stars Christmas wreath

Geli here ...

Yesterday I got a pack of the new swirl buttons from my2angels and right away I started thinking about what I could do with them. They're acutally pretty big, a whopping 3cm! (Pssst, find them here, there are other designs and colours too!)
My first idea was using them as a lollipop on a card, but I wanted something a little more different So, how about a funky button Christmas wreath? 

christmas+ideas+(21).JPG

Nothing says Christmas like red, white and bling!

Here is how:
1.)
A paper doily makes a nice base. Mine is 14cm in diameter, but any size will work. Unfortunately a doily is kind of floppy, so something is needed to strengthen it a bit without taking away from the lacey look. I decided acetate was just what the doctor ordered. Cut a circle slightly larger than the doiley, spray the doiley with spray glue, glue it on and then cut out a circle from the middle:
christmas+ideas+%252814%2529.JPG
(You can just kind of make out the acetate. Take it from me, it's there.)
2.)
Punch a hole and thread some red organza ribbon
through. Use strong glue (like Helmar 450, aka "stinky glue") to glue down both ribbon ends at the back. Tie a seperate bow and glue it on.
christmas+ideas+%252815%2529.JPG

3.)
Unravel some baker's twine  so you only have the white strands, thread it through the holes of the red swirl buttons  and tie a bow on each one. A little drop of glue with keep the bow from coming apart:
christmas+ideas+%252816%2529.JPG

 4.)
Glue the buttons on the doiley wreath with the before mentioned "stinky glue"
christmas+ideas+%252817%2529.JPG

5.)
Gather 3 or more red & white paper scraps. 
Cut out stars (I used 15, the amount will depend on the size of your doily base), score and fold them like this:
christmas+ideas+%252818%2529.JPG
 Keep folding until you have a nice little pile:
christmas+ideas+%252819%2529.JPG
Most of my paper came from the bottom of my stash, but you can find the number paper here: December Documented Bingo Cards. 

6.)
 Put 2 foam dots on the back of each star...
christmas+ideas+%252820%2529.JPG
...and glue the stars on the wreath. Finish it off with a few scattered rhinestones .
christmas+ideas+%252822%2529.JPG

Now hang it up and enjoy! 

PS: To try out some other colour combinations, check out the button section herePersonally I like the black & white ones

GELI

Tuesday, November 12, 2013

New arrivals in store now ....

It's beginning to feel a lot like Christmas...

Well ok, not really - but to celebrate the upcoming festive season - we have a selection of gorgeous Xmas charms for you. Silver, bronze and gold - whatever your fancy. Check out those stunning angel wings - just perfect for Christmas cards and presents ...

Christmas Charms now in store


and how amazing are our Snowflake Filigrees??


Still on the subject of Christmas ... we now have Red and Silver Sequins - sold in 1m lengths. Tie a single length over the top of a contrasting ribbon for a stunning look to your present wrapping - or loop them through your name tags as a sparkly way to attach them to presents.


Something for the teens ...


and Large Fern Charms (for all the Kiwis out there, whilst it may not be silver but with a bit of Silver Embossing Powder or paint it can be changed lol).

For those travelling or thinking of travelling ...
and Filigree Corners in both silver and antique bronze.


A lucky find - some very funky 60's style 3cm buttons ...


as well as some retro 70's colour blasts.


All of our new products and recent re-stocks can be located in the new arrivals section of the store.


Monday, November 11, 2013

Garage Days for a girly layout

Hi Ladies,

Ngaire here. So it has been awhile since my last post. :( Not what I had planned, but life has been very busy and I've not had time or energy to devote to my scrapping. I did, however, very much like this new range by Kaiser - Garage Days - and so I decided to spend a little time putting this layout together for Madame.

It's a nice, grungy masculine range - a bit vintage in the image choice (which you either love or loathe), but you can ignore the images and use the cool colours and patterns if you are so inclined. The blues, reds and yellow work together really well and there is a fabulous ledger page to provide a contrast to all that colour.

I started off with a piece of Workshop - but rather than trim off the Manufacturer's Strip at the bottom - I left it, and trimmed off some of the paper from the top.  I also inked every paper edge on the layout with Versa Magic Jumbo Java, just to grunge it up a little more.

IMG_4058

Then I added a cut-down section of Wheel Alignment. Love this pattern - and the contrast to the orange-red is simply awesome. To get this clean neat look to the two papers, use your craft knife to cut the edge of the title shape around the top half of the shape. Then slip the smaller paper in under the title shape and adhere. Now it looks like it is just the one piece of paper/design.

IMG_4059

I've then added in a section of the ledge paper - Nuts and Bolts - to provide some contrast to all that colour. As you can tell by now - I'm going for a layered look for this layout, so I need something for all the colours to contrast against and the ledger does that nicely.

IMG_4065

I used a little of one of the papers from the Paper Pad here, but you just as easily use a bit of Workshop if you didn't want to buy the pad.

IMG_4068

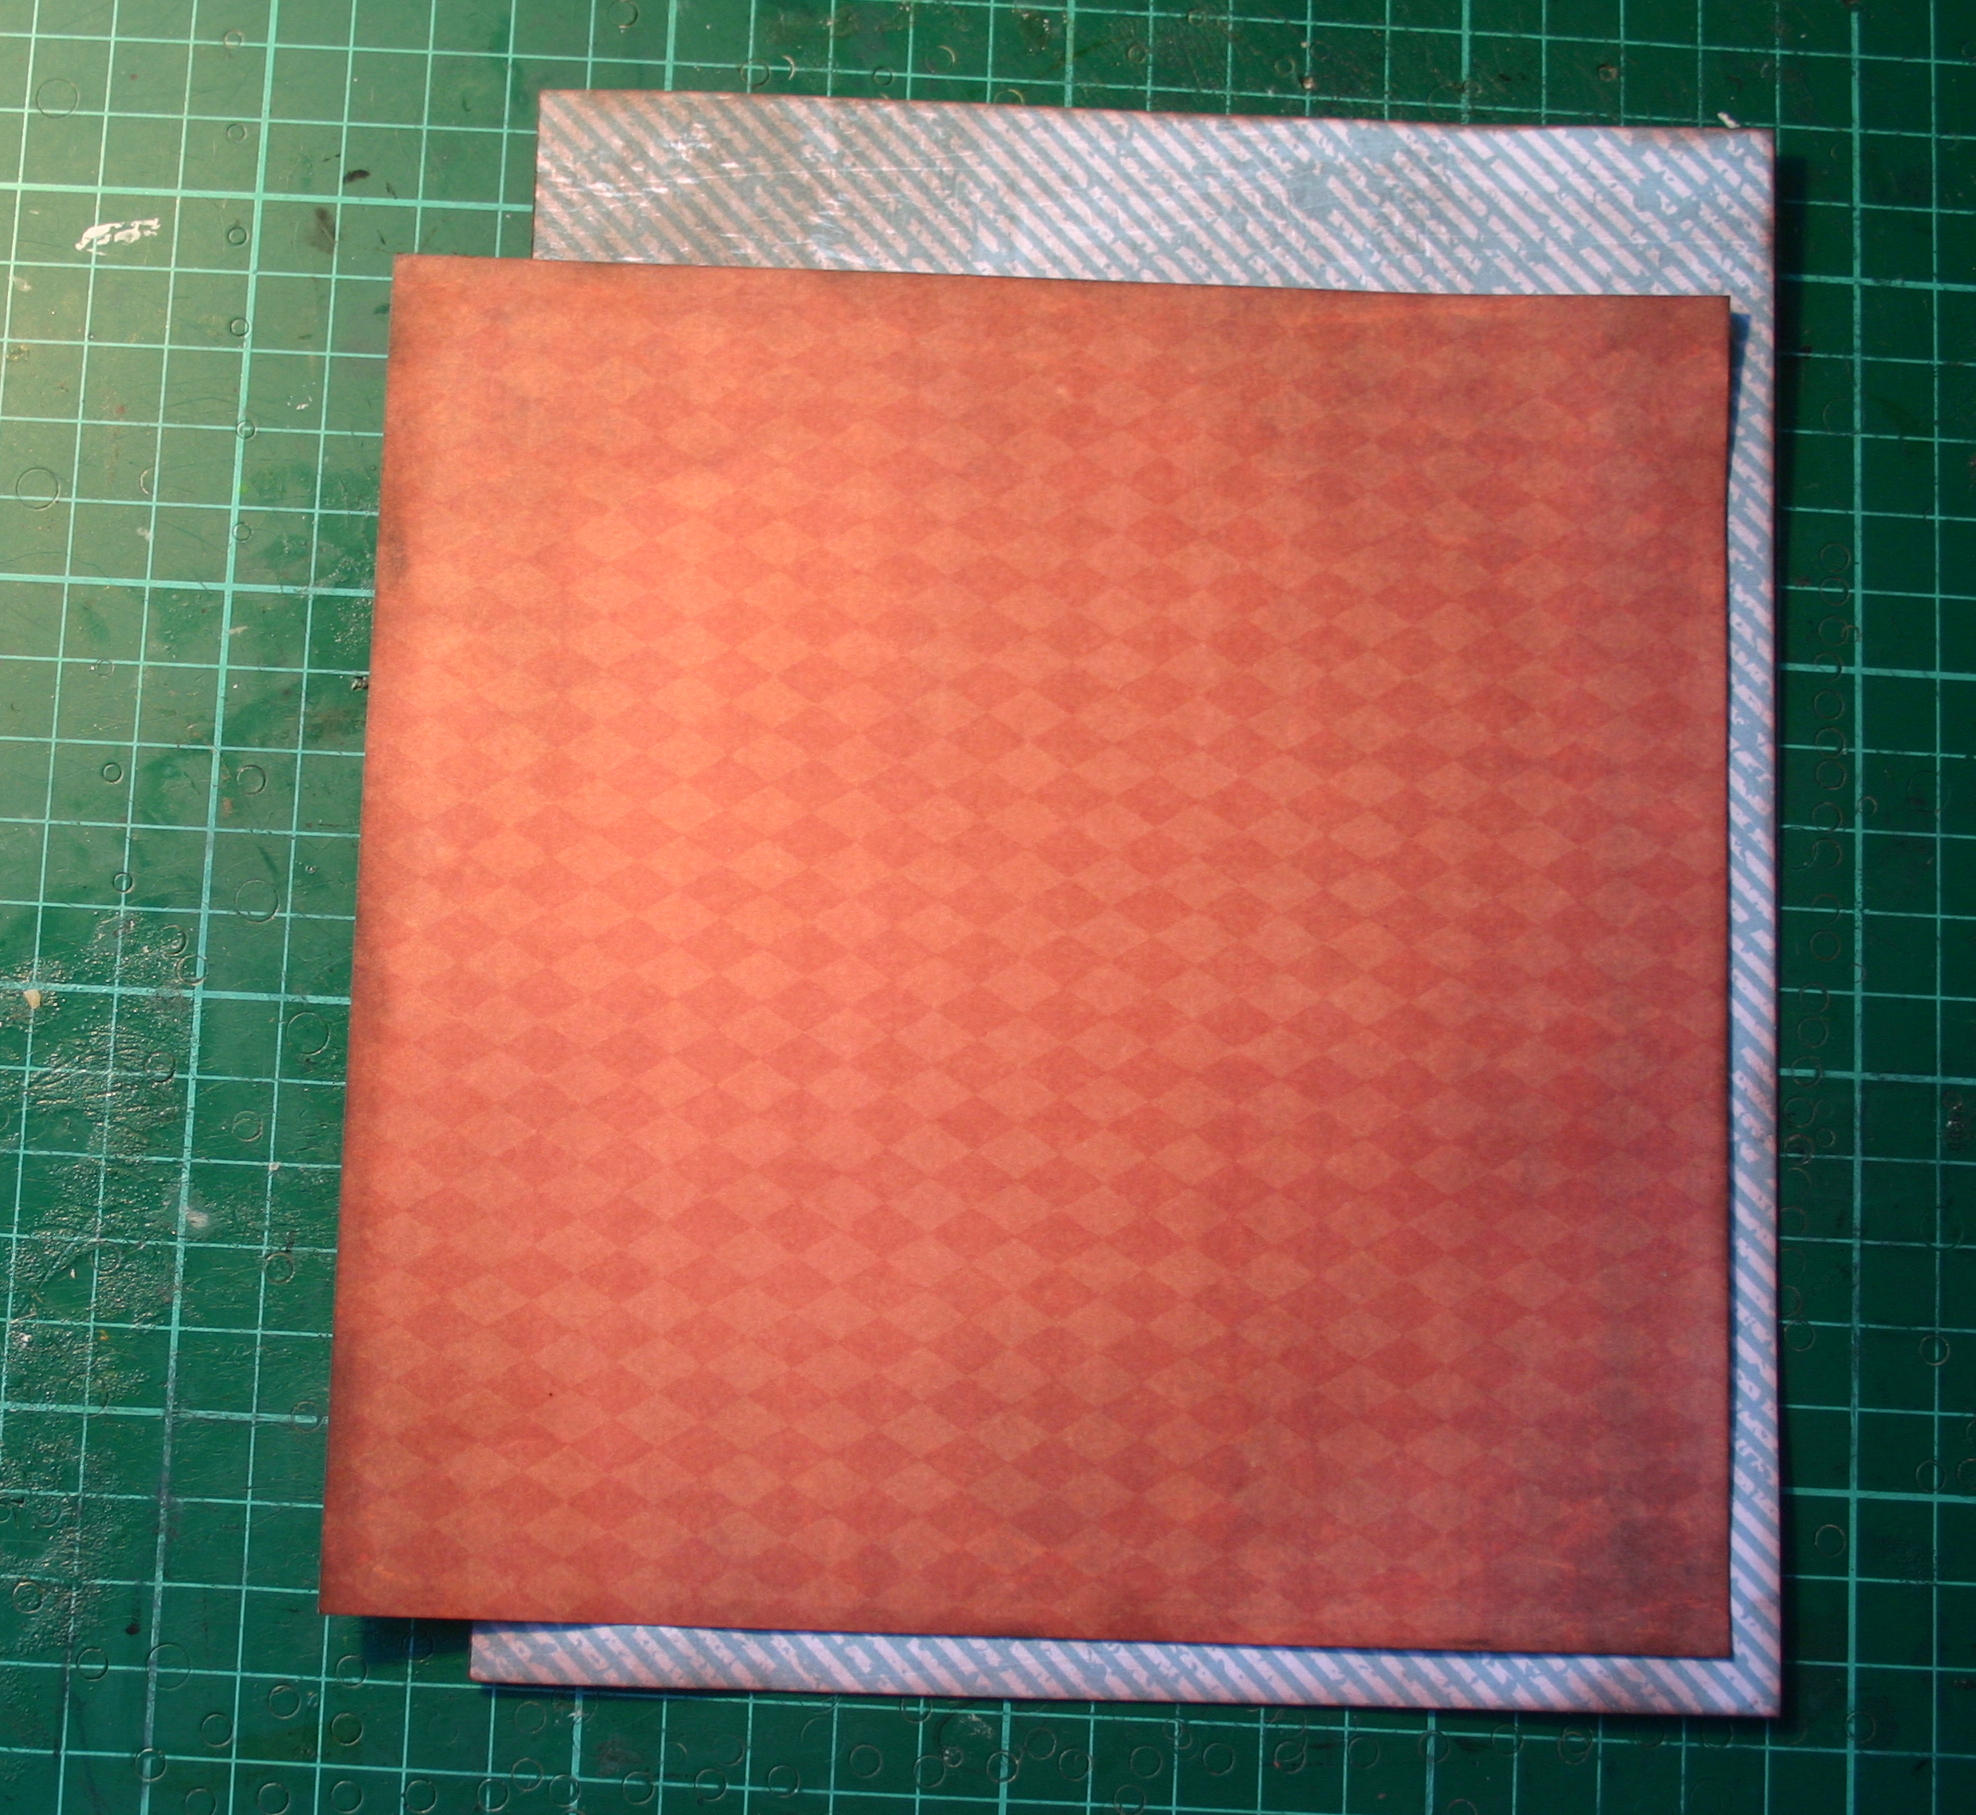
Another piece from the Paper Pad, overlaid on a section of Gas Tank ...

IMG_4071

and adhered over the ledger paper. The layering works as it repeats patterns (the diamonds) and colours (red and blue) - you end up with a complex look to the layout without much effort (well - without much apparent effort).

IMG_4073

Finally - the photo. Madame and her adoring Daddy sharing a moment together out in the backyard.

IMG_4074

I had a bit of a dilemma at this point - I liked the layering so much I didn't really want to hide it under a tonne of embellishments AND my poor brain is still a little fried, so simple was very appealing to my level of creative ability just at the moment. I'm having a bit of a 'funk' and rebellion at all the medium heavy and 'tonnes of stuff' trend at the moment, so I decided to keep it simple and see what came of that.

IMG_6380

I popped together a small cluster of assorted cog/gear bits that were left-over from other layouts - along with a couple of die cuts from the Collectibles pack, a small flower and a wayward bit of twine. Some are only pieces of cog, whilst others are the full thing - and they have been inked with an assortment of inks (metallic silver, black and white with a light coat of Kindyglitz) to match the colours of the papers.

IMG_6381

Another smaller cluster used some more of the spare cogs/gears (some are wood and some are chipboard), another flower and another die cut from the Collectibles pack.

IMG_6383

I also used a diamond pattern die cut strip from the Sticker Sheet - but over the top of it I added a rubon from the Rubon Pack. As usual from Kaiser, it didn't work properly the complete length of the rubon, but since it is a grungy sort of layout, it didn't worry me too much.

IMG_6378

The only problem with the rubon was that it wasn't long enough to do the entire width of the page. This left me with a section of the diamond pattern die cut strip that would be without a rubon overlay. To hide this missing section I popped the largest embellishment cluster underneath the photo and over the top of the missing rubon section.

This time I used an assortment of cogs and wheels from my stash. They're all chipboard and probably from a range of different companies. I kept to the same selection of inks - but added in a grungy light blue I found that matched the blue in the diamond pattern of one of the papers.

The final element was a tag I made out of a left-over bit of the ledger paper and a piece of twine. I popped a note on it about how much Madame loves her Daddy and cuddles with him.

IMG_6385 skewed

So here is the final layout. Looking back at it now I am not sure that I like the simplicity of it after all - I might just have another play with it over this week. Browsing through the store pages for these papers I noticed some of the other store items that Tracy has popped in as suggestions - and there are a number of charms I want to add now - along with some of the new stamps Kaiser released with this range.

Garage Days is an awesome range to play with - I do like the way it suits a girly/daddy layout - as well as being great for all types of masculine layouts. So check out the store for Garage Days, you won't be disappointed.

Ngaire

Tuesday, November 5, 2013

Kaisercraft Garage Days

If you have been waiting for a masculine collection then it's time to pick up your tools and get to work.  Garage days is here and has more tyres, cards, tools and grease than your local mechanics.  Roll up your sleeves and get the job done with this wonderful male collection available here 


and check out these great new texture stamps and label pulls (available in brass and silver)  from Kaisercraft, also in the new arrivals section


Hi Michele here,
 
Kaisercraft have another awesome ''masculine'' collection coming soon - ''Garage Days'' - and I was lucky enough to get my hands on some to preview for you! Trust me, you will be buying this one to scrap your boys :)

My DS and his partner have been in Europe for the last three weeks or so, and thanks to Facebook we have been able to follow some of their adventures through their photos. My layout is based around photos they took and posted in Croatia (I think!) in some kind of weird looking car. How amazing is social media - before they are even home I have scrapped some of their photos. LOL!! For the same reason though I have no title for this layout yet...that will have to wait until I've heard their story :)


Because the Kaisercraft papers are not as robust as some others, I started with a sheet of cardstock - and left just a thin border around my layout. The main paper is a sheet of Tool Box, distressed around all the edges. Around about the centre of the page and on a slight angle I stuck a wide strip of Gas Tank. I've also added a bit of Pumice Stone Distress Ink to dirty the edges a little bit. 
Using a Twiddleybitz Narrow Arrow Template and white Gesso I added a chevron pattern to the top and bottom corners. When it was dry I used Peacock Feathers Distress Stain with a paint brush to add some splashes and drips of extra colour. A line of cars from the 12'' Sticker Sheet, travelling up the hill, draws your eye away from the edge of the page back to the centre.

There are three layers of paper under the photos. The first two, a contrasting orange/red and a shiny metallic silver grid pattern, are from the 6.5'' Paper Pad. I've punched the edge of the silver paper with a film strip punch and saved the punched out pieces to add to my banner later. The third layer is from the 'Oil Change' paper - a stitched blue denim.


Embellishing this one was a different experience for me...have you noticed there are NO flowers at all! Not even a rosette?? For the most part I used bits and pieces from the Collections pack - the ones that didn't refer to Fathers and Dads. One of my 'Gas' signs is cut from a piece of pp though - the 'Spare Parts' page is full of signs that can be used as embellishments. I punched a hole in the top of the larger one and added a Buggy Car charm on a silver jump ring.

The 6.5'' Paper Pad is also a great source for these. It has perforated cut-outs on the back four or five pages. My two small denim tags are examples of these, one of which is for journalling and can be pulled out from behind the Tyre Shop sign by it's Ball Chain.


I also used several pieces of the Ball Chain, all linked together, to string my number plate banner across the bottom of the photos. I cut the number plates out of the 'Tyre Shop' paper and threaded them on together with those left over punched metallic pieces. The pieces are all popped up on little pieces of Foam Mounting tape. At the end of the chain are two Boys with Caps silver charms on silver jump rings.

Other embellishments are a small torn piece of  the new Aqua Filmstrip printed tape along the bottom edge of the page, and five Water Bubble Cabochons which were perfect for this page.


Stop Press: The travellers are home today and tell me that this Buggy Safari was in Korcula, Croatia and was awesome fun. DS has a few souvenirs of the day that I will add to the layout - tickets and a few small coins. With some journalling on the pull-out tag at the top and a title (there is an alphabet included on the 12'' Sticker Sheet) it will be complete.

Get yourself some ''Garage Days'' as soon as you can - you wont regret it!
Michele xxx


Monday, November 4, 2013

Pretty in Pink Shadow Box

I have these shadow boxes here that a friend has been making up for me and looking at them gave me ideas - so I decided to have a play with my Kaisercraft Damask Template ...


some texture paste, 
a bit of Distress Paint and Distress Stain

  *Tim Holtz Distress Ink Stain GATHERED TWIGS Ranger TDW36135

and just for some fun .. a little Inka Gold.


Woo hooo - this is the gorgeous result I got from throwing all that together. Isn't it beautiful???


 First, I covered the base with muslin and pink tulle.

Then I cut our White Scalloped Felt Frame to fit a 5x7 photo would fit - leaving me space to  embellish with lots of flowers and charms
 to hide the "cut" corners.


Now I was ready to apply a coat of  Gloss Claudine Hellmuth and then go crazy with Glimmer Mists.

 Here it is before I applied any mediums ...


... and here it is afterwards, it all its glory!


All that shabbilicious goodness - how awesomely feminine is this?


The frames are made to order and fit a 12x12 layout perfectly inside ... if you would like to preorder one or two please let me know


They are $20.00 with a removable back so you can swap and change layouts on display when you want ... fab idea for a Christmas present


Friday, November 1, 2013

Sale Time at my2angels

As if we are not cheap enough???
We are offering you 25% off everything in store at my2angels - but just for a limited time.
(sorry - sale excludes Gift Vouchers and Classes)
All you need to do is enter "Crazy" in the promotional code at checkout to receive EVEN more goodies for your dollar.
(Offer ends Sunday 3rd November Midnight Qld Time)
AND ... IF you refer a friend to my2angels and they mention you at registration, look out for the postie, as he will be bringing you a special "thank you" gift from us.
Have fun shopping!!!