Showing posts with label mini album. Show all posts

Friday, March 21, 2014

my2angels Masculine-themed Mini Album class

Your chance to take part in a once in a lifetime opportunity, the my2angels Masculine-themed Mini Album class ...


I never thought I would say this, but I seriously enjoyed making this mini Album for boys, using the masculine-themed Kaisercraft 'Garage Days' range. I've never been one for making mini albums - but a bunch of my regular customers convinced me I needed to have a go - and I must thank them, because I had a ball.

It's pure grunge heaven ladies. A bunch of grungy, distressed masculine papers, some art mediums to splash around here and there, enough stamping to keep the most obsessed stamper happy and charms, charms, charms and other oddments galore.

Messy, stampy grungy fun for all. Book in fast, as there are limited places  (Ngaire has already booked a seat, just so she can see for herself that I have made a mini album.)

Date: 20th April 2014
Time: 10.30am till approximately 5pm
Cost: $45.00
What to bring: Basic tool kit with adhesives, GLUE STICK, Lunch and Snacks.  Coffee and Tea supplied.

During the class, we will have a large collection of additional embellishment choices for you to purchase to add to your album, should you wish to. It would be worth bringing a selection of photos along, so that you can complete your album fully as you work through the pages. The album is designed more for smaller photos (1/4 and 1/2 sizes printing sizes available from Big W), but there is space for a couple of 4 x 6  sizes if you prefer them.  However you can add your photos afterwards.


Close-up of the front cover showing grunge detail.


Inside - showing the pockets holding the mini album.


Back cover.


Check out this cute mini window wiper, hanging from the mini album.


The mini album - detailed views.


BOOKINGS ARE ESSENTIAL, AND A DEPOSIT OF $20 IS REQUIRED TO SECURE YOUR SEAT

Pop over here to book


Sunday, August 4, 2013

Graphic 45 Mini-book

Hi everyone, it's Tina Connolly with a mini book I made using Graphic 45 Secret Garden.

I embellished the front cover with a mauve and silver "Remember Charming Word", as well as some flowers, leaves, and a little bling. 


The tags have photos on both sides and I've included plenty of journal spots to record my daughter's memories of her Debutante Ball. 

I used a bronze and mauve Charming Floral which co-ordinates perfectly with the papers.

I've created a cluster using flowers, leaves, heart locket and key charm.


The pages were cut at 4 x 9 inches.  I scored them at 6 1/2 inches and folded the lower edge up to create pockets for my tags and photos.  I was able to include fourteen photos, and there's still room to add more.  Other memorabilia, such as tickets or invitations, could also be tucked into the pockets.


Better rush over to my2angels, as there aren't that many of these gorgeous papers left
and don't forget this Birthday sale for every $5.00 you spend you get to choose 1 item from the 5c sale section - woo hoo bargin!!!

Tina

Wednesday, September 12, 2012

Create an album with me - part 10

This is my last page for my Russian album and it's ready to be mailed off. There are lots of photos left, but they will go on a CD in a pocket at the end. 
This last page has a hidden photo, which is a great technique for private photos, or like in my case, really goofy ones. Simply pull on the tag...
  ...and another photo swings out:
This sort of photo happens when you wait around at a tiny deserted train station in the Urals....

First, you will need 2 photos in the same size and direction. Create a mat under the main photo to give your secret photo a place to hide. Mine is 3 1/2 x 9" and the flower strip is 1 1/4 x 12". I just used some of the leftover papers. 
 The 2 photos are attached at the top right corner (main photo) and the bottom right corner (hidden photo). Here is how it will look from the back.
 Put a strip of sticky tape along one side of the main photo, close to the edge and line up the hidden photo so it butts up against it. This will stop it from swinging out too far. 


Punch a hole through both photos for a brad. The brad needs to be fairly loose for maximum swinging action, so put 2 layers of scrap cardstock under the legs when you open them up and then remove the cardstock:
 Add a tag and you're ready to swing!
(I later sprayed the patterned paper with some white mist to tone down the colours a little)
 Now on to the background. This masking technique will work with any stamps you want to layer in different colours. First stamp a few random tags. Stamp 2 more on a post it note and cut them out carefully, just outside the edge. They will be your masks. 

 Stick them over 2 of the tags on the background... 

... and stamp over it with a background stamp in a contrasting colour. There are many wonderful background stamps to be found in the stamps section at my2angels and these distress inks work great for nice crisp images. 
 Peel the masks off and repeat all around the edge of the cardstock. 
Now you can add your photo mat, but be careful not to glue down the main photo on any part where the hidden photo needs to swing out from. In my case it meant leaving most of the left half of the photo and the mat glue-less. 
Now embellish with some leftover stickers, a guitar charm... 
 ... make some flags with leftover papers and some baker's twine... 

...and add a couple of star flowers. These ones have some pearlized mica fragments in the middle. 


Quick and easy. Why not give it a try sometime?

If you have missed the other 9 pages, here are the links:
part 5
 and ....

Our street

Remember the days when kids played on the street? When I was little, we lived on a very quiet street and  played there all the time. My kids aren't as lucky as we live on a busy road, on the other side of the world.

 Most of the flowers I used are available at my2angels:
giant white flower, which I embossed:

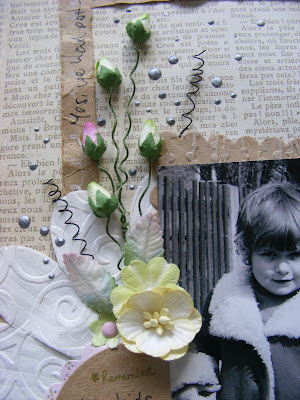
 rose buds and cherry blossoms (both available in several colours), mini mulberry leaves (available in white) and the dots are made with Liquid Pearls
 (Yes, it's mini me again.)

A bit of scrunched up muslin and some dry embossing:


The journalling says, "Yes, we had potholes and crummy Trabbi cars in our street, but this will always be home to me. Here we played ball games, elastics, hopscotch, stilts and roller skates.
GELI

Tuesday, September 4, 2012

A mini step by step

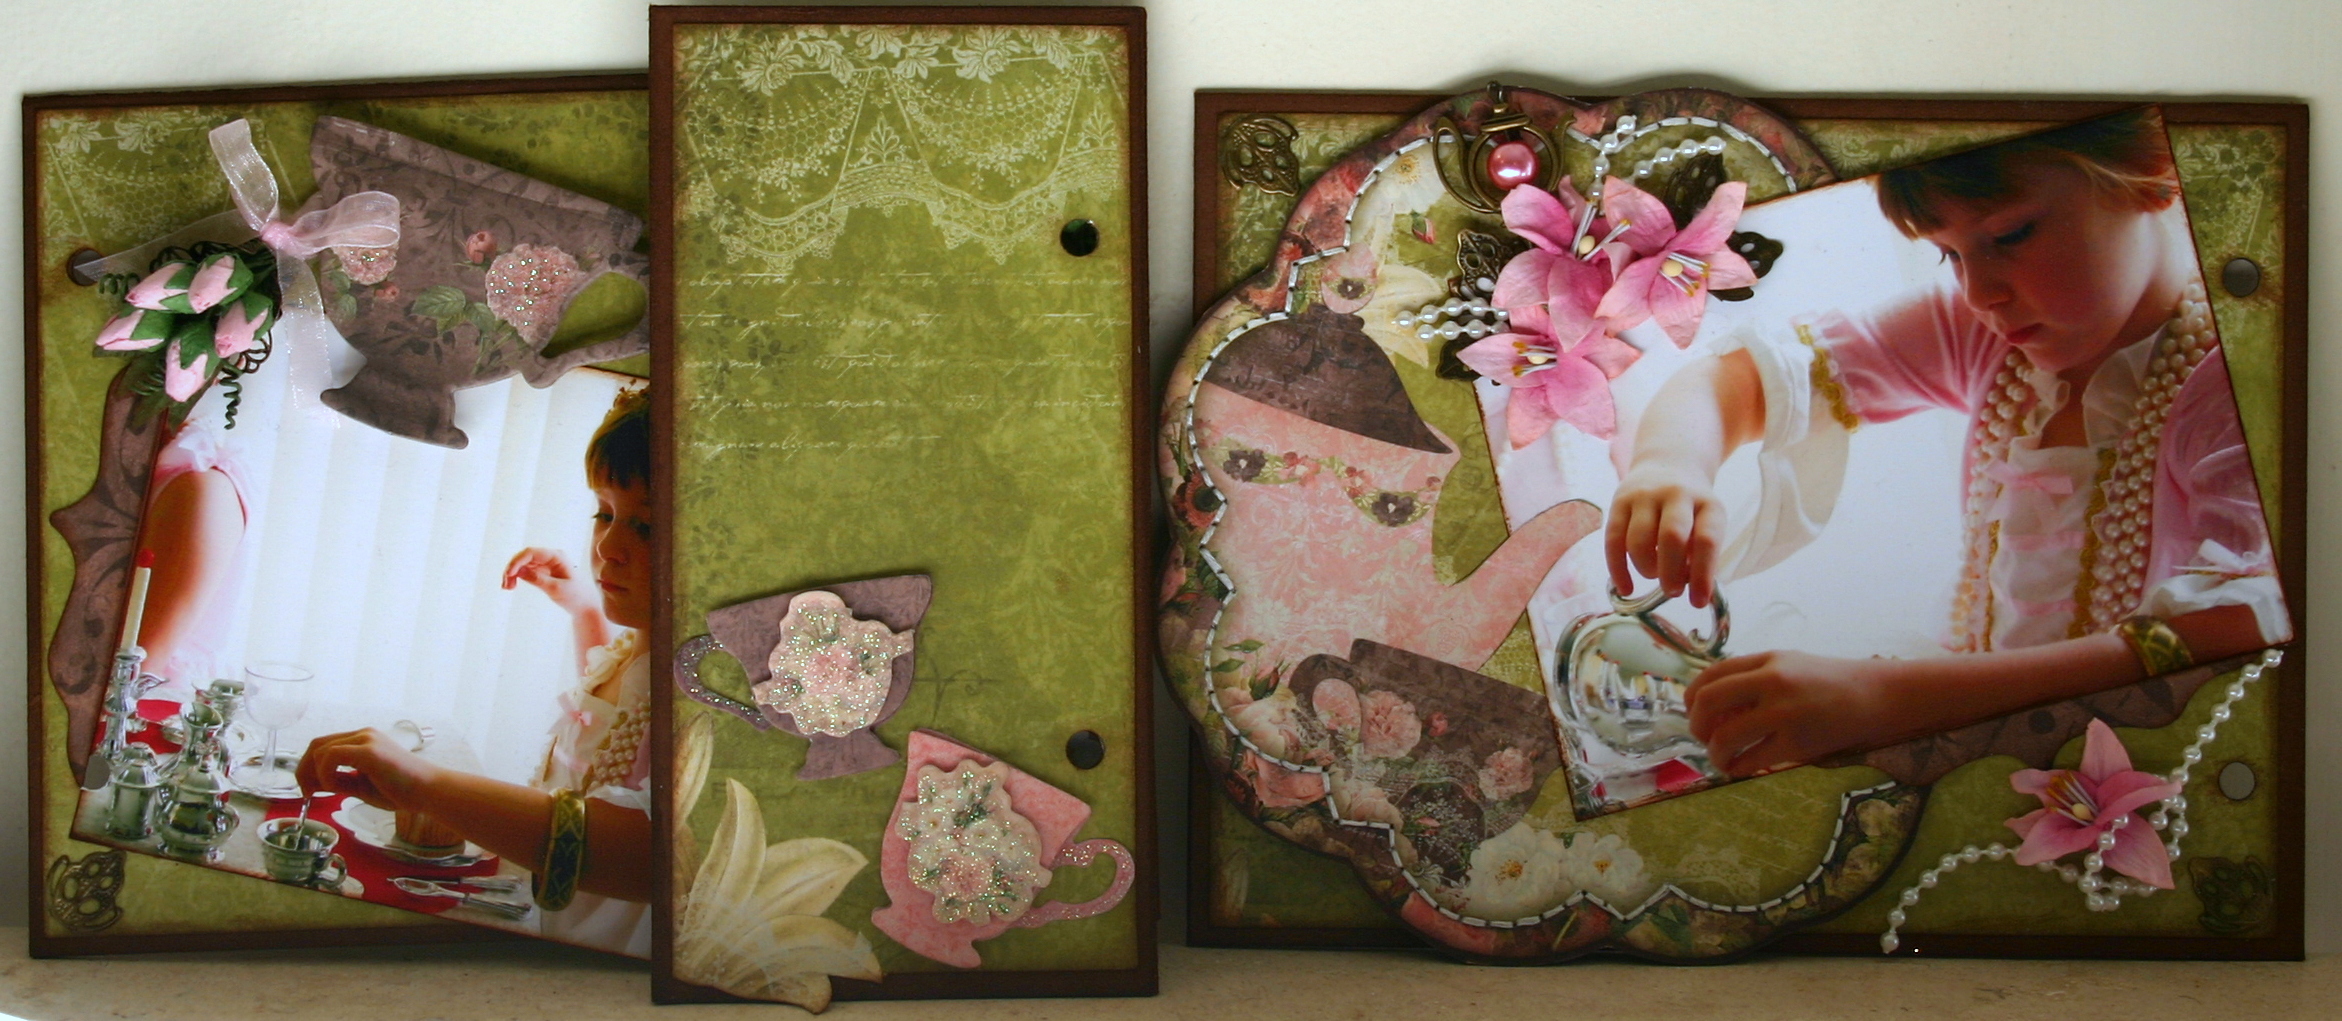
With September being the start of Spring - this week is officially blossoms week for me. To start off, I have a couple of pages from my latest mini project – this time a girly one using the very pretty Little Miss from Bo Bunny. It was supposed to be for last month (since it has a Party theme), but a few medical issues at my place have seen all things scrappy put on the back-burner for a bit.

The recent arrival of boxes of blossoms at Tracy’s place was cause for much celebration at mine and I couldn’t resist using them with this mini project. I make my minis from scratch and Tracy has the perfect chipboard for this - it comes as two 30 x 30 Bare Chipboard sheets to a pack and is very easily cut down to your preferred size.

I mark mine up with a pencil to the size I want and then run it through my paper trimmer. Each sheet produced 2 separate chipboard pages for my album and a couple of spare bits that I am able to use for other elements in the album.  From there, I sanded the edges down and then inked them in my preferred base colour - in this instance I've used Vintage Photo Distress Ink (or you could use the Stain as well). I've also punched the holes to bind it together - though I have not yet decided whether I will use rings or ribbon to bind it.

I use a normal stationary holepunch to put the holes in - if you do it now, before you add anything to the chipboard, you can fit it into the punch fairly easily. (You'll have to excuse the photos - I scrap mostly at night and the photos reflect this.)


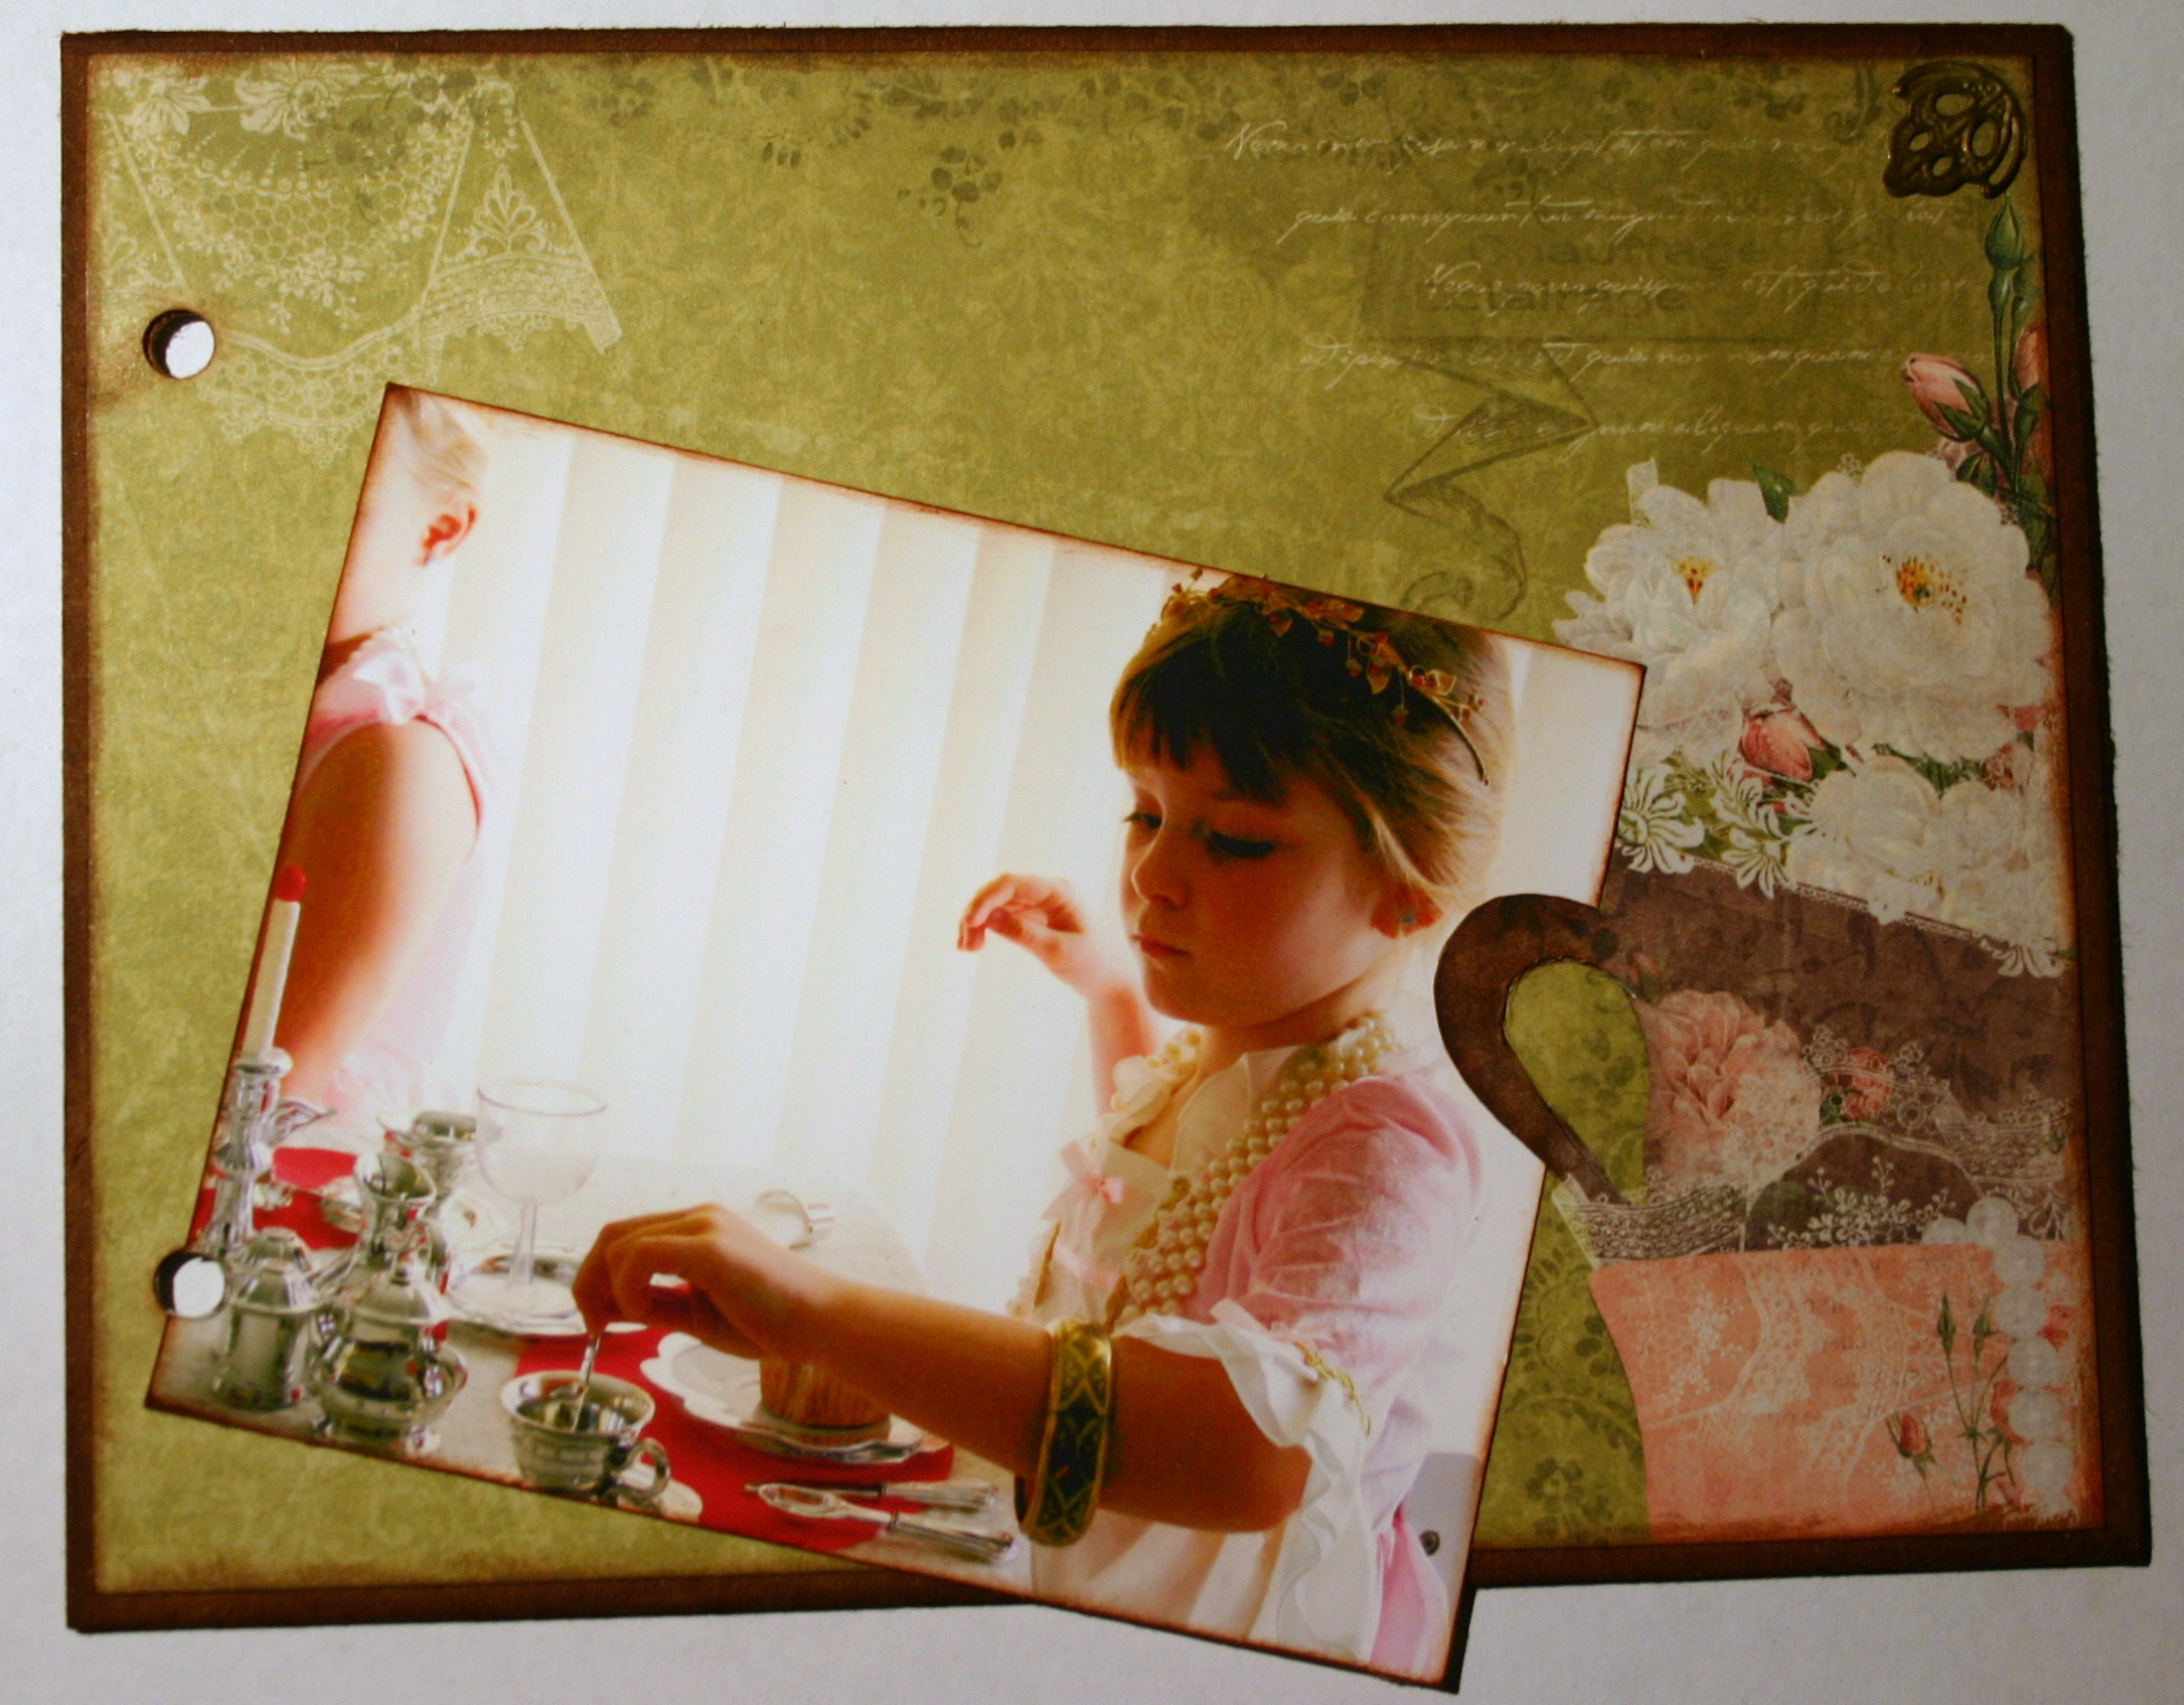
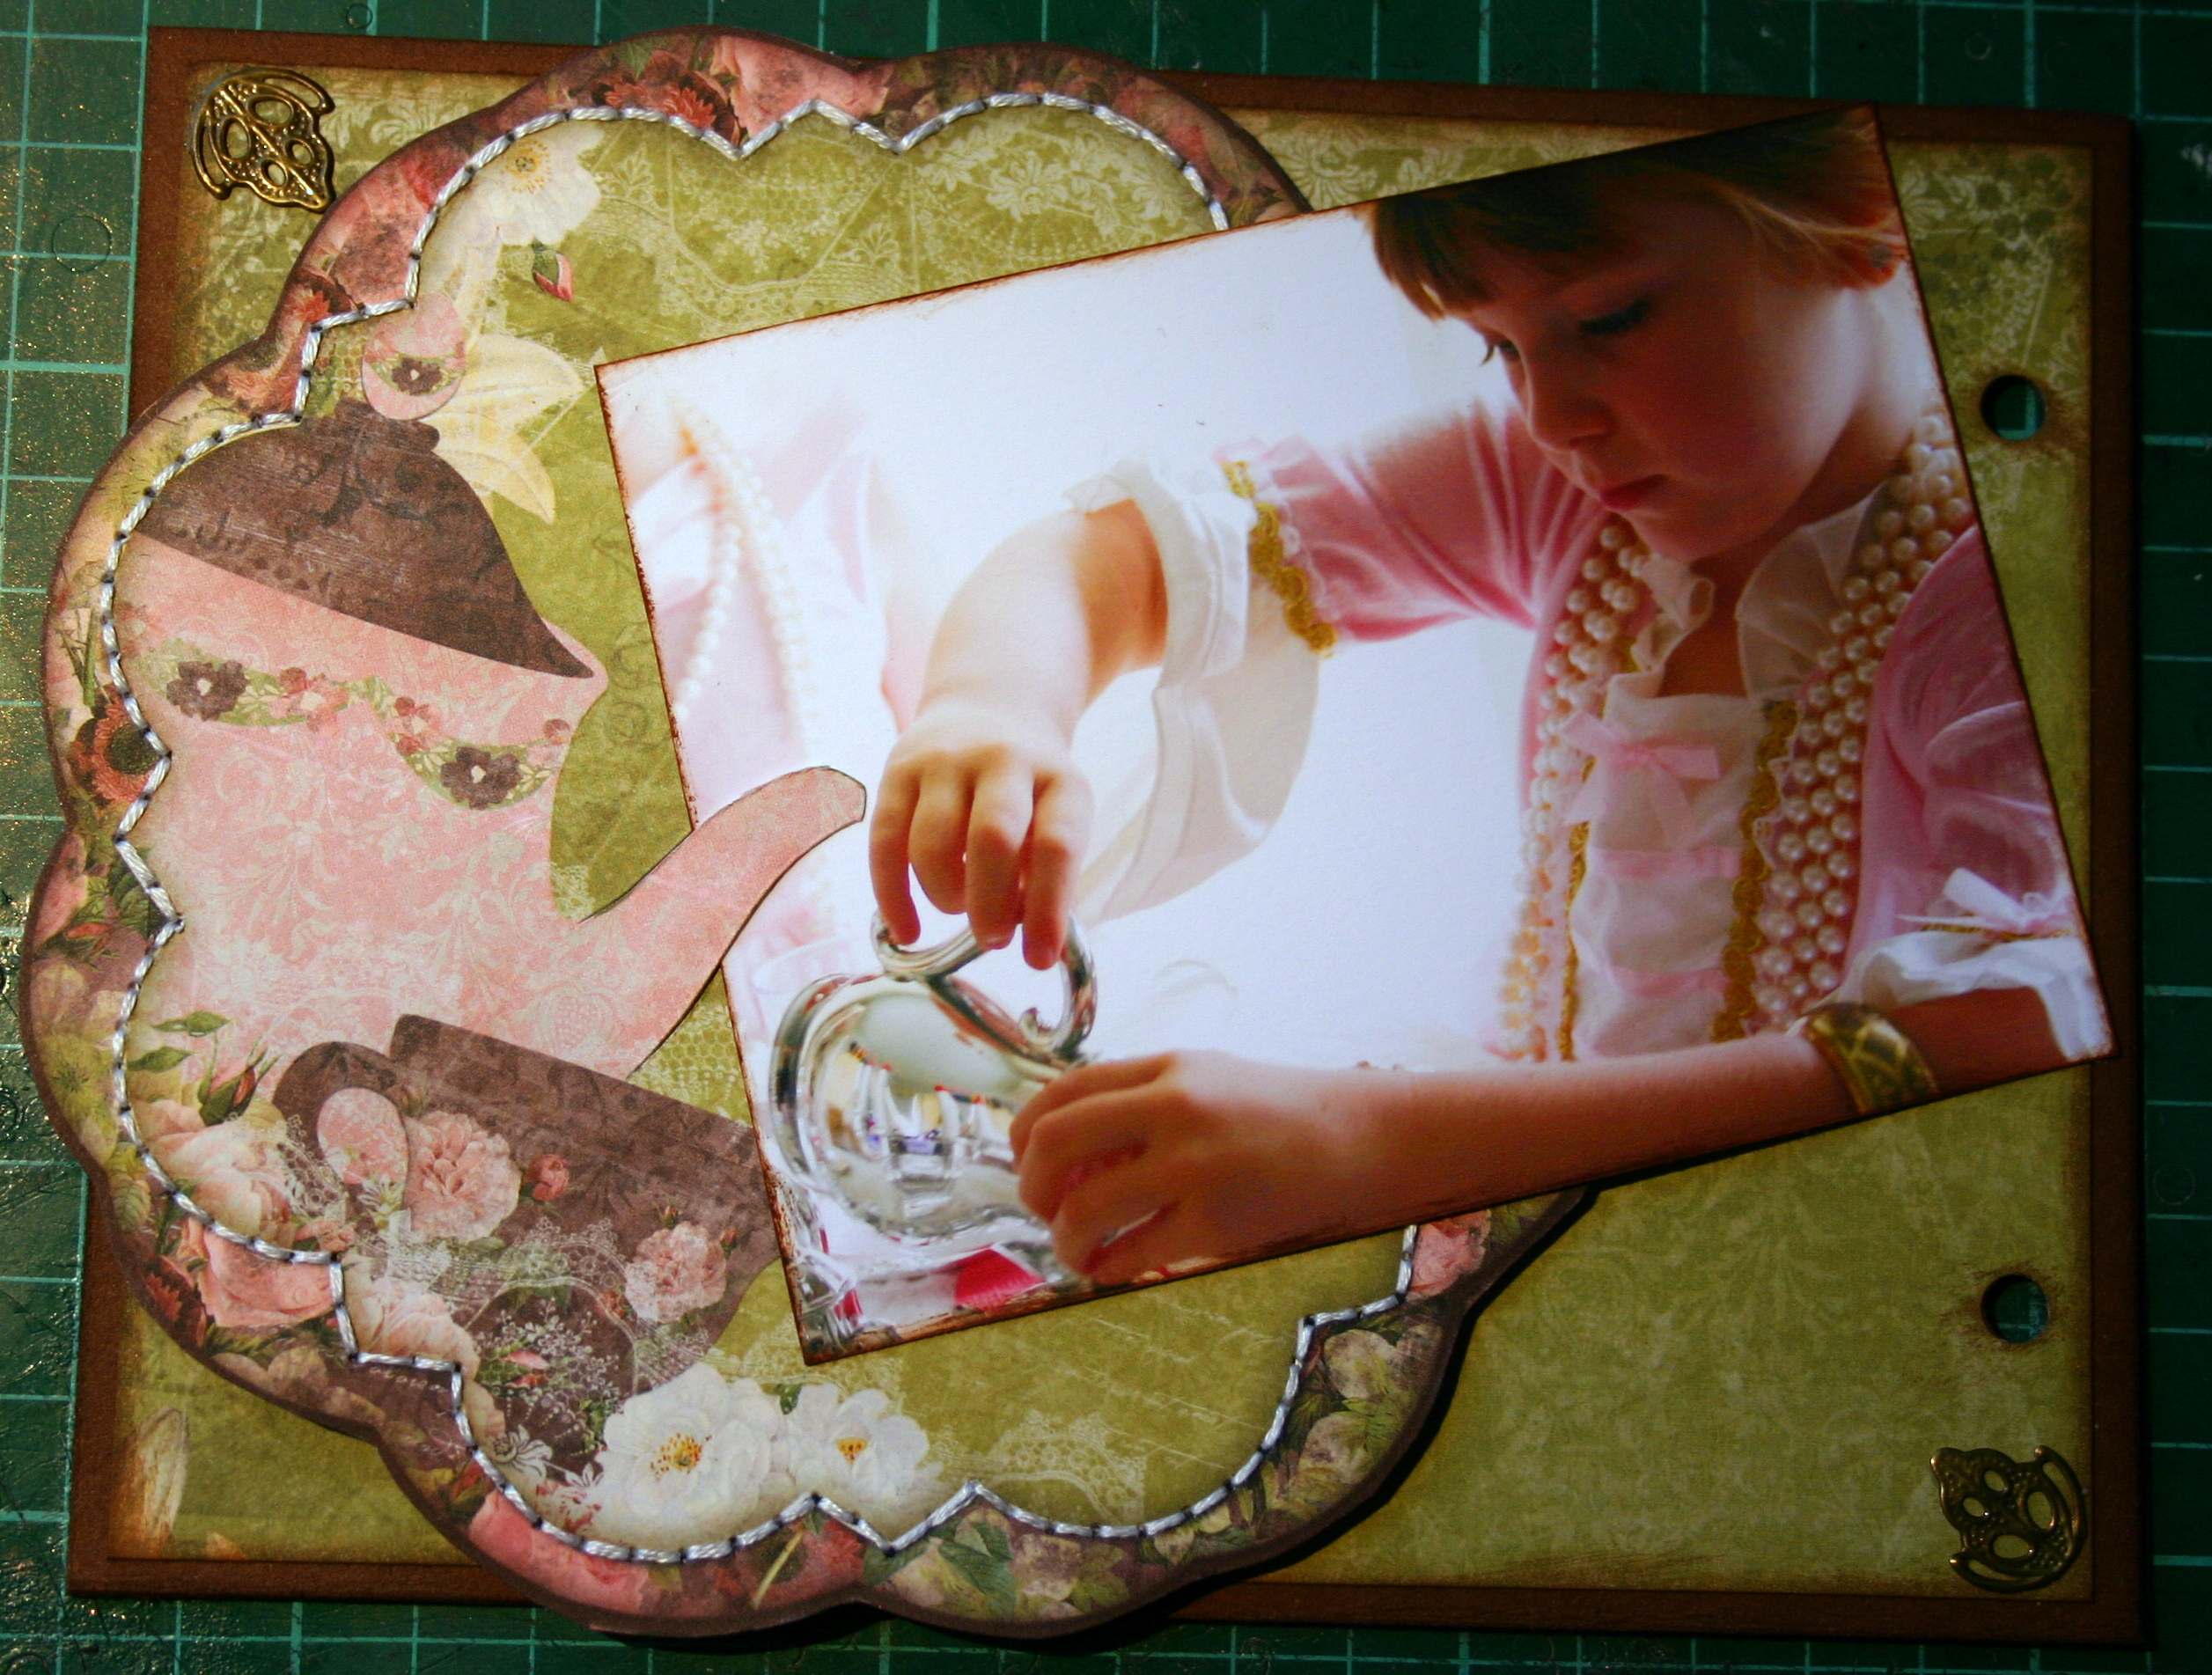
For this pair of pages I am using Alice. I prefer to have similar elements on facing pages and this paper best suited my photos. I've trimmed my chosen section down to about 5mm less than the chipboard, so that some of the lovely inked edge will still show. I inked the edges to match and then carefully cut the edge of the 'cup' in the design so that I can slip the photo in under the edge. I've also popped a section of one of the Filigree Crosses into the top corner.


To create this lovely filigree page corner, I simply snipped one of the crosses into quarters. Many of the filigree shapes make gorgeous little 'bits' that can be popped here and there on your layout. I use some as leaves or to embellish flowers, but these fitted perfectly into my page corners.


After inking the edge of my photo, I tucked it under the cup from the paper pattern. Because the photo overlaps the hole punched for album binding, I traced the position of the hole onto the back of the photo and used that as a guide when punching the hole.


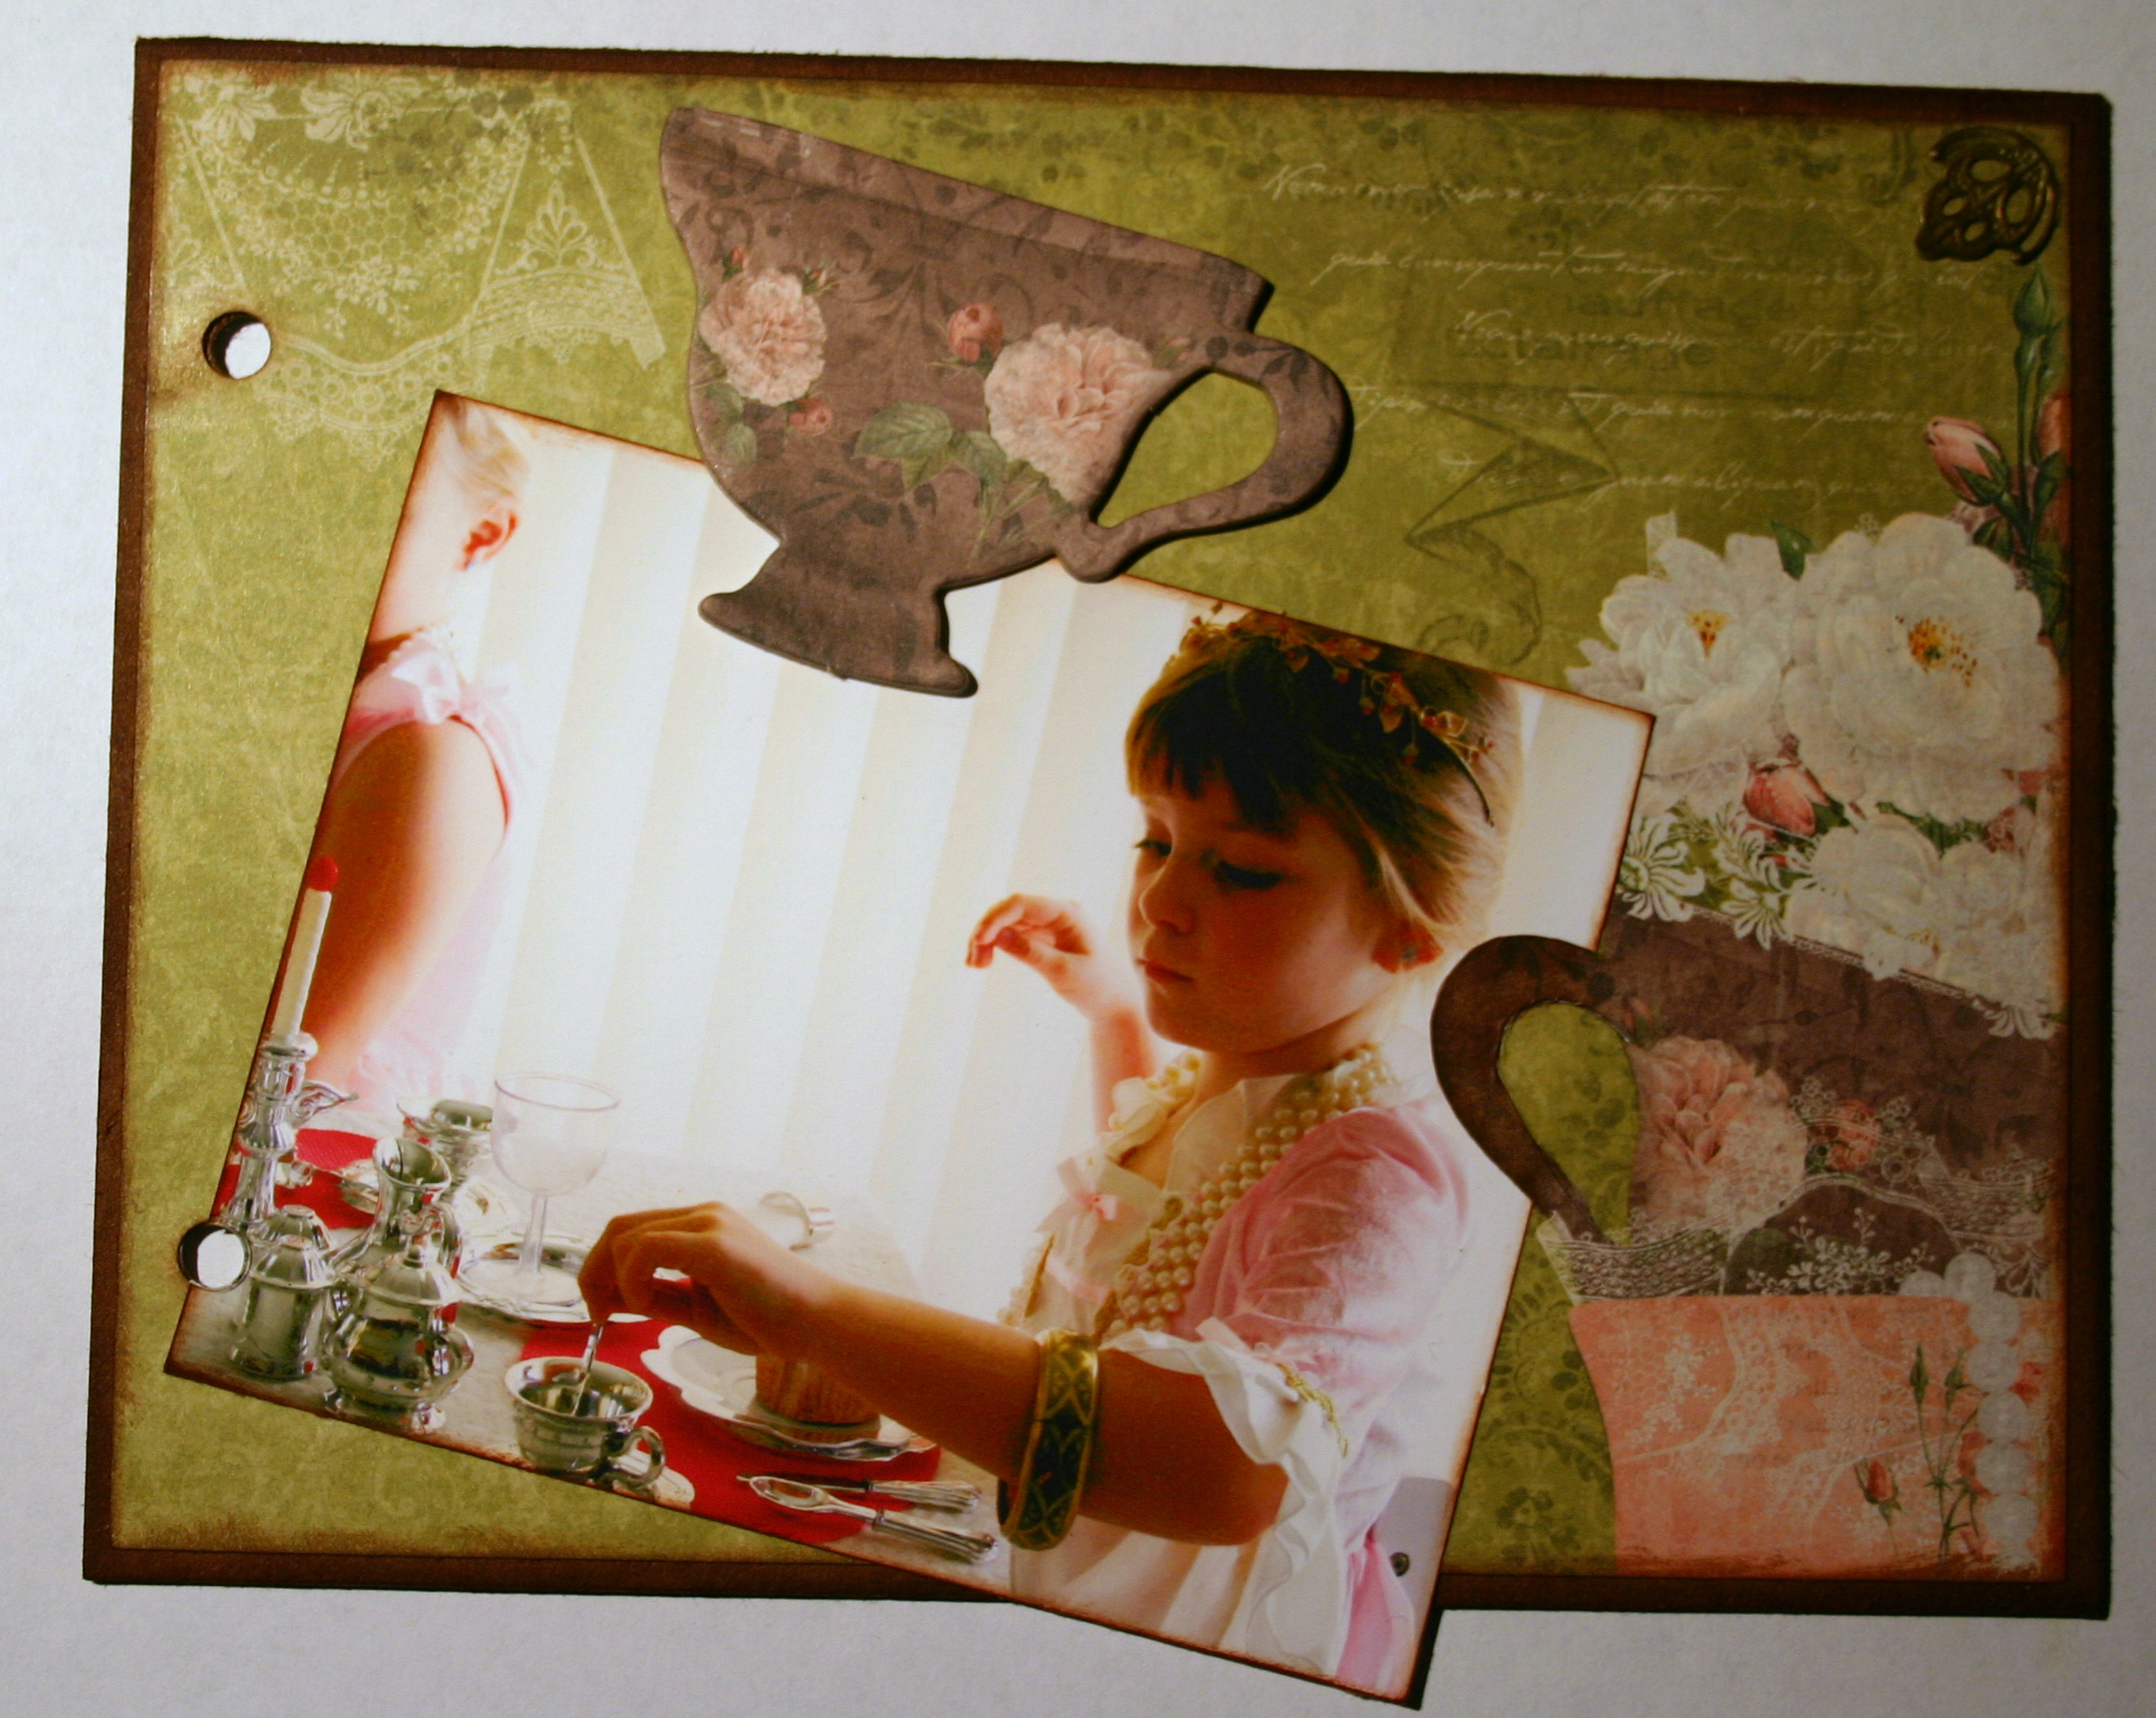
I love the 12 x 12 Chipboard Stickers for this range and this little tea cup matches the one on the patterned paper. It's up on pop dots, as I intend putting something else underneath one edge. One of the best things about Bo Bunny is their wonderful range of embellishments - no hunting through the stash trying to match things - just pick them up and pop them on.


I also love the Noteworthy Journalling Cards - you can use them whole or as I have - cut up with just a strip along one edge of the photo.


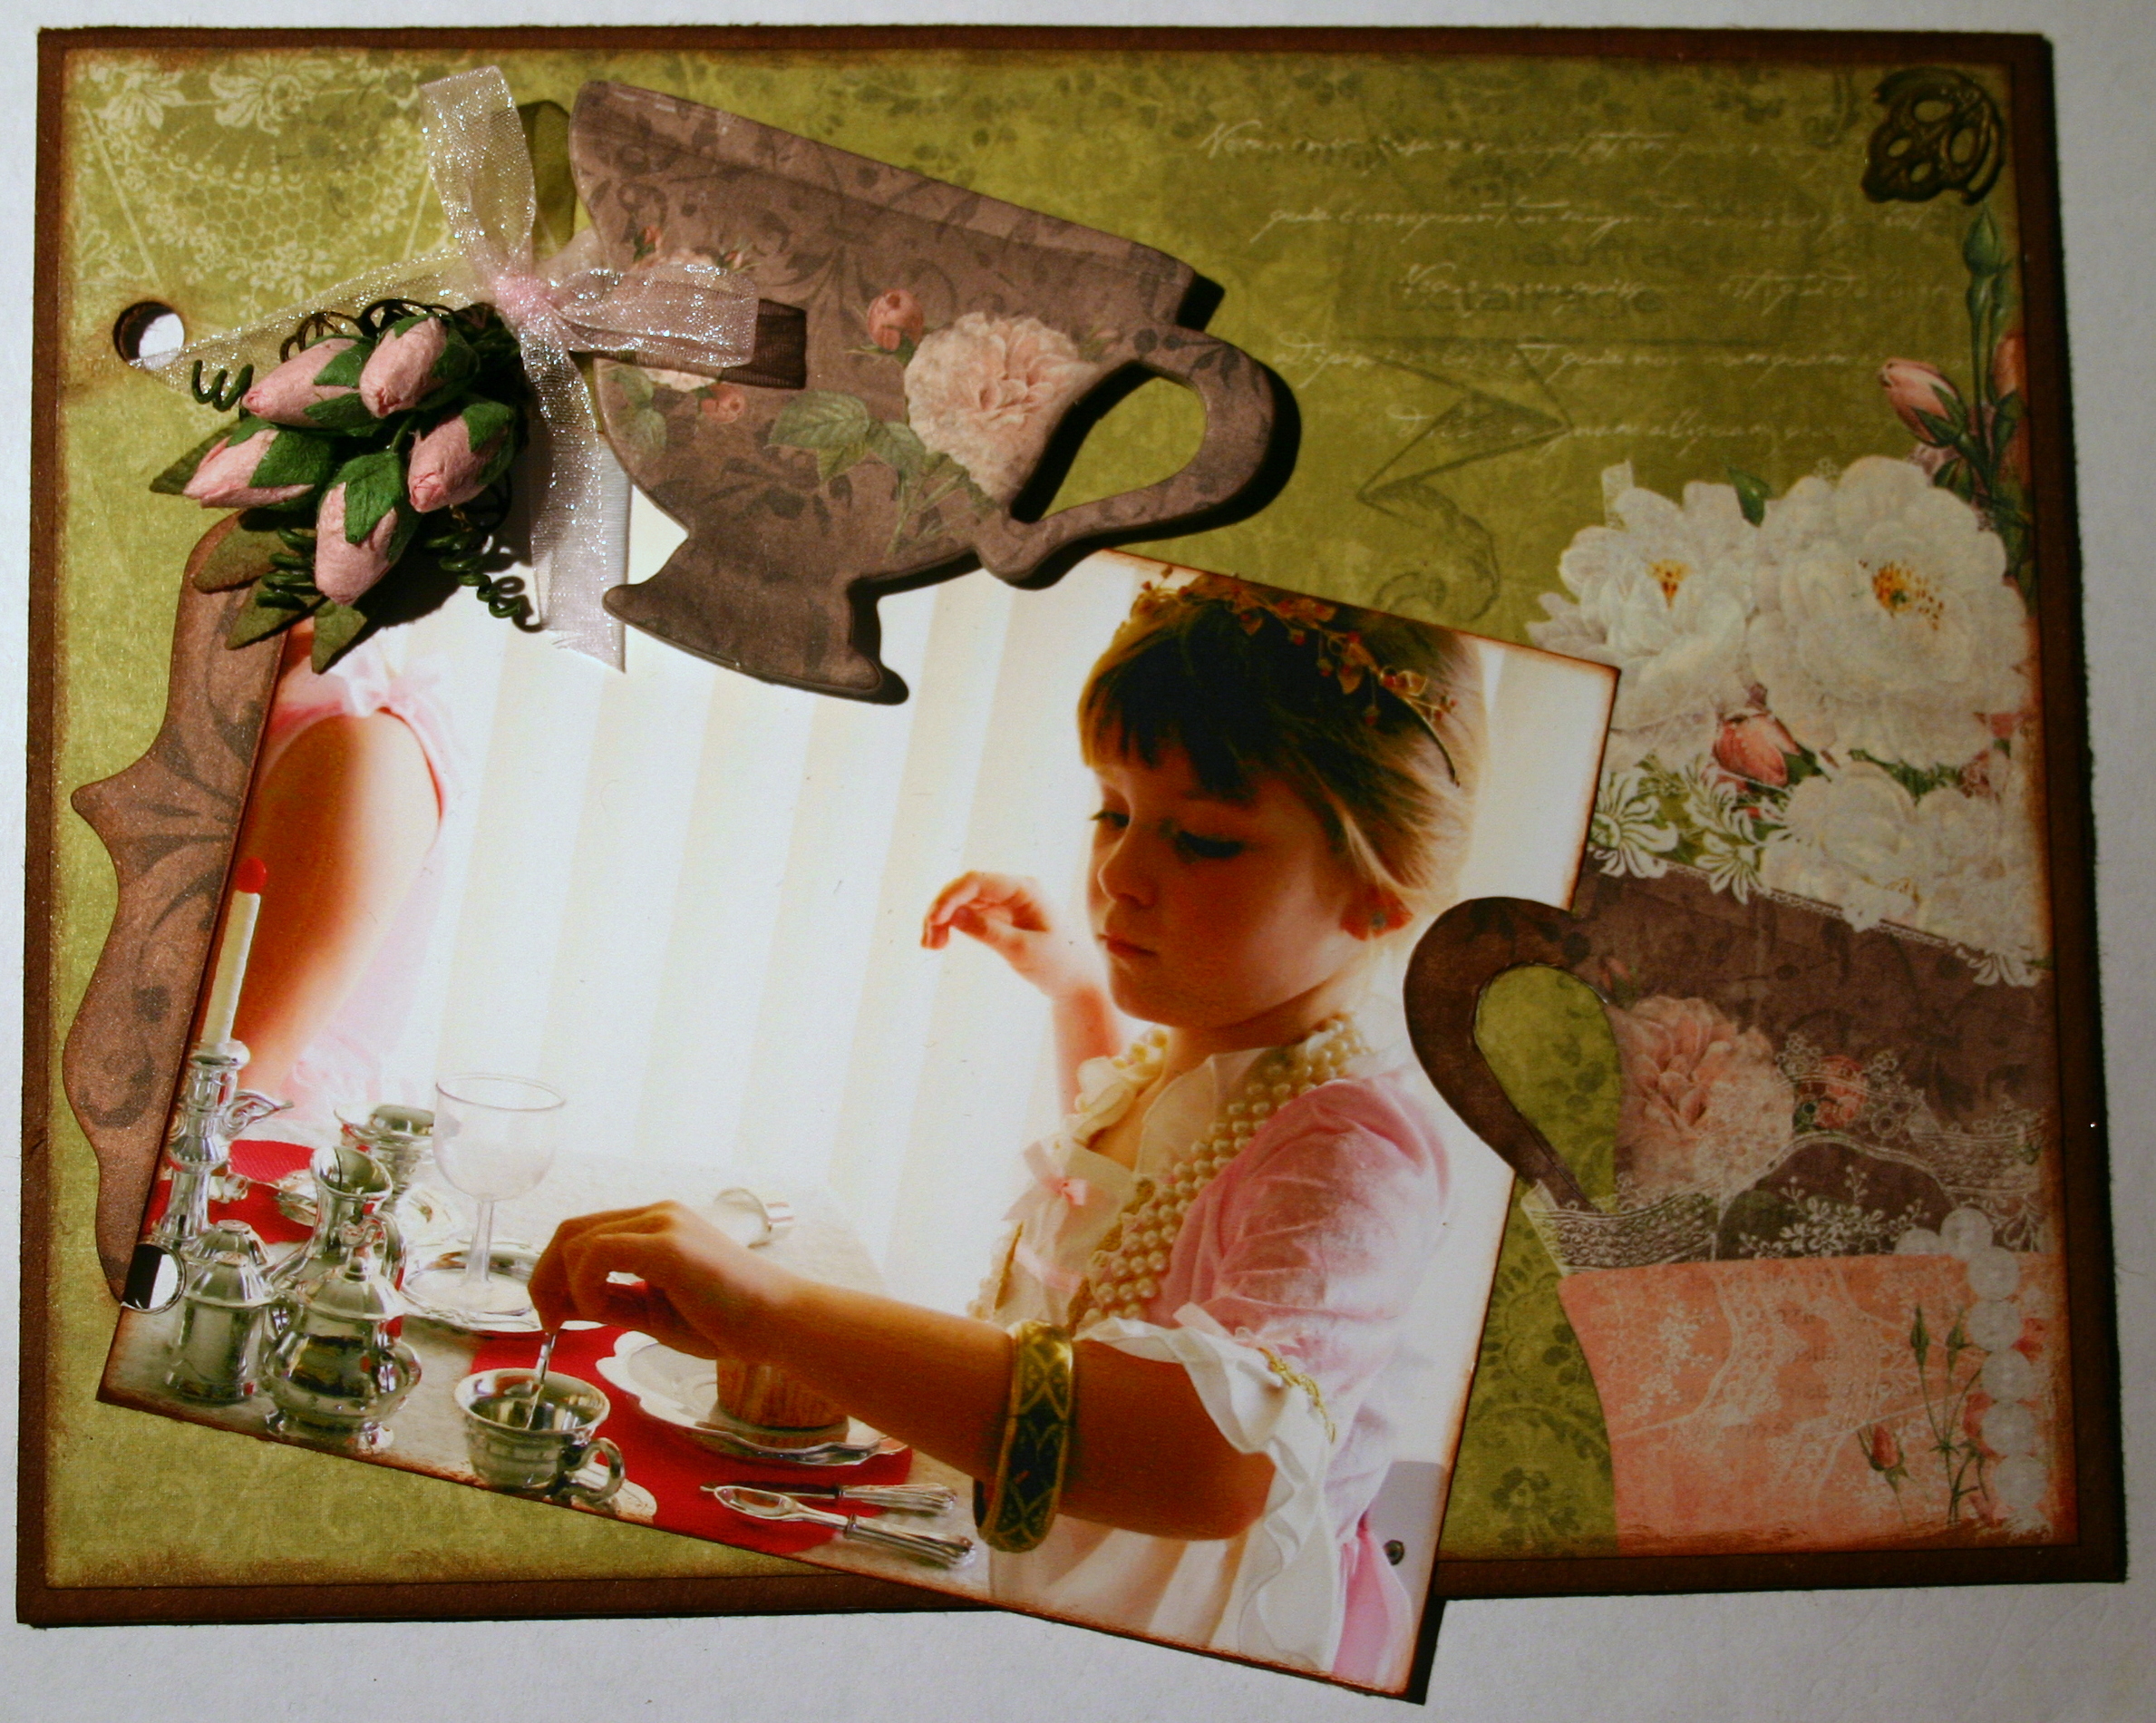
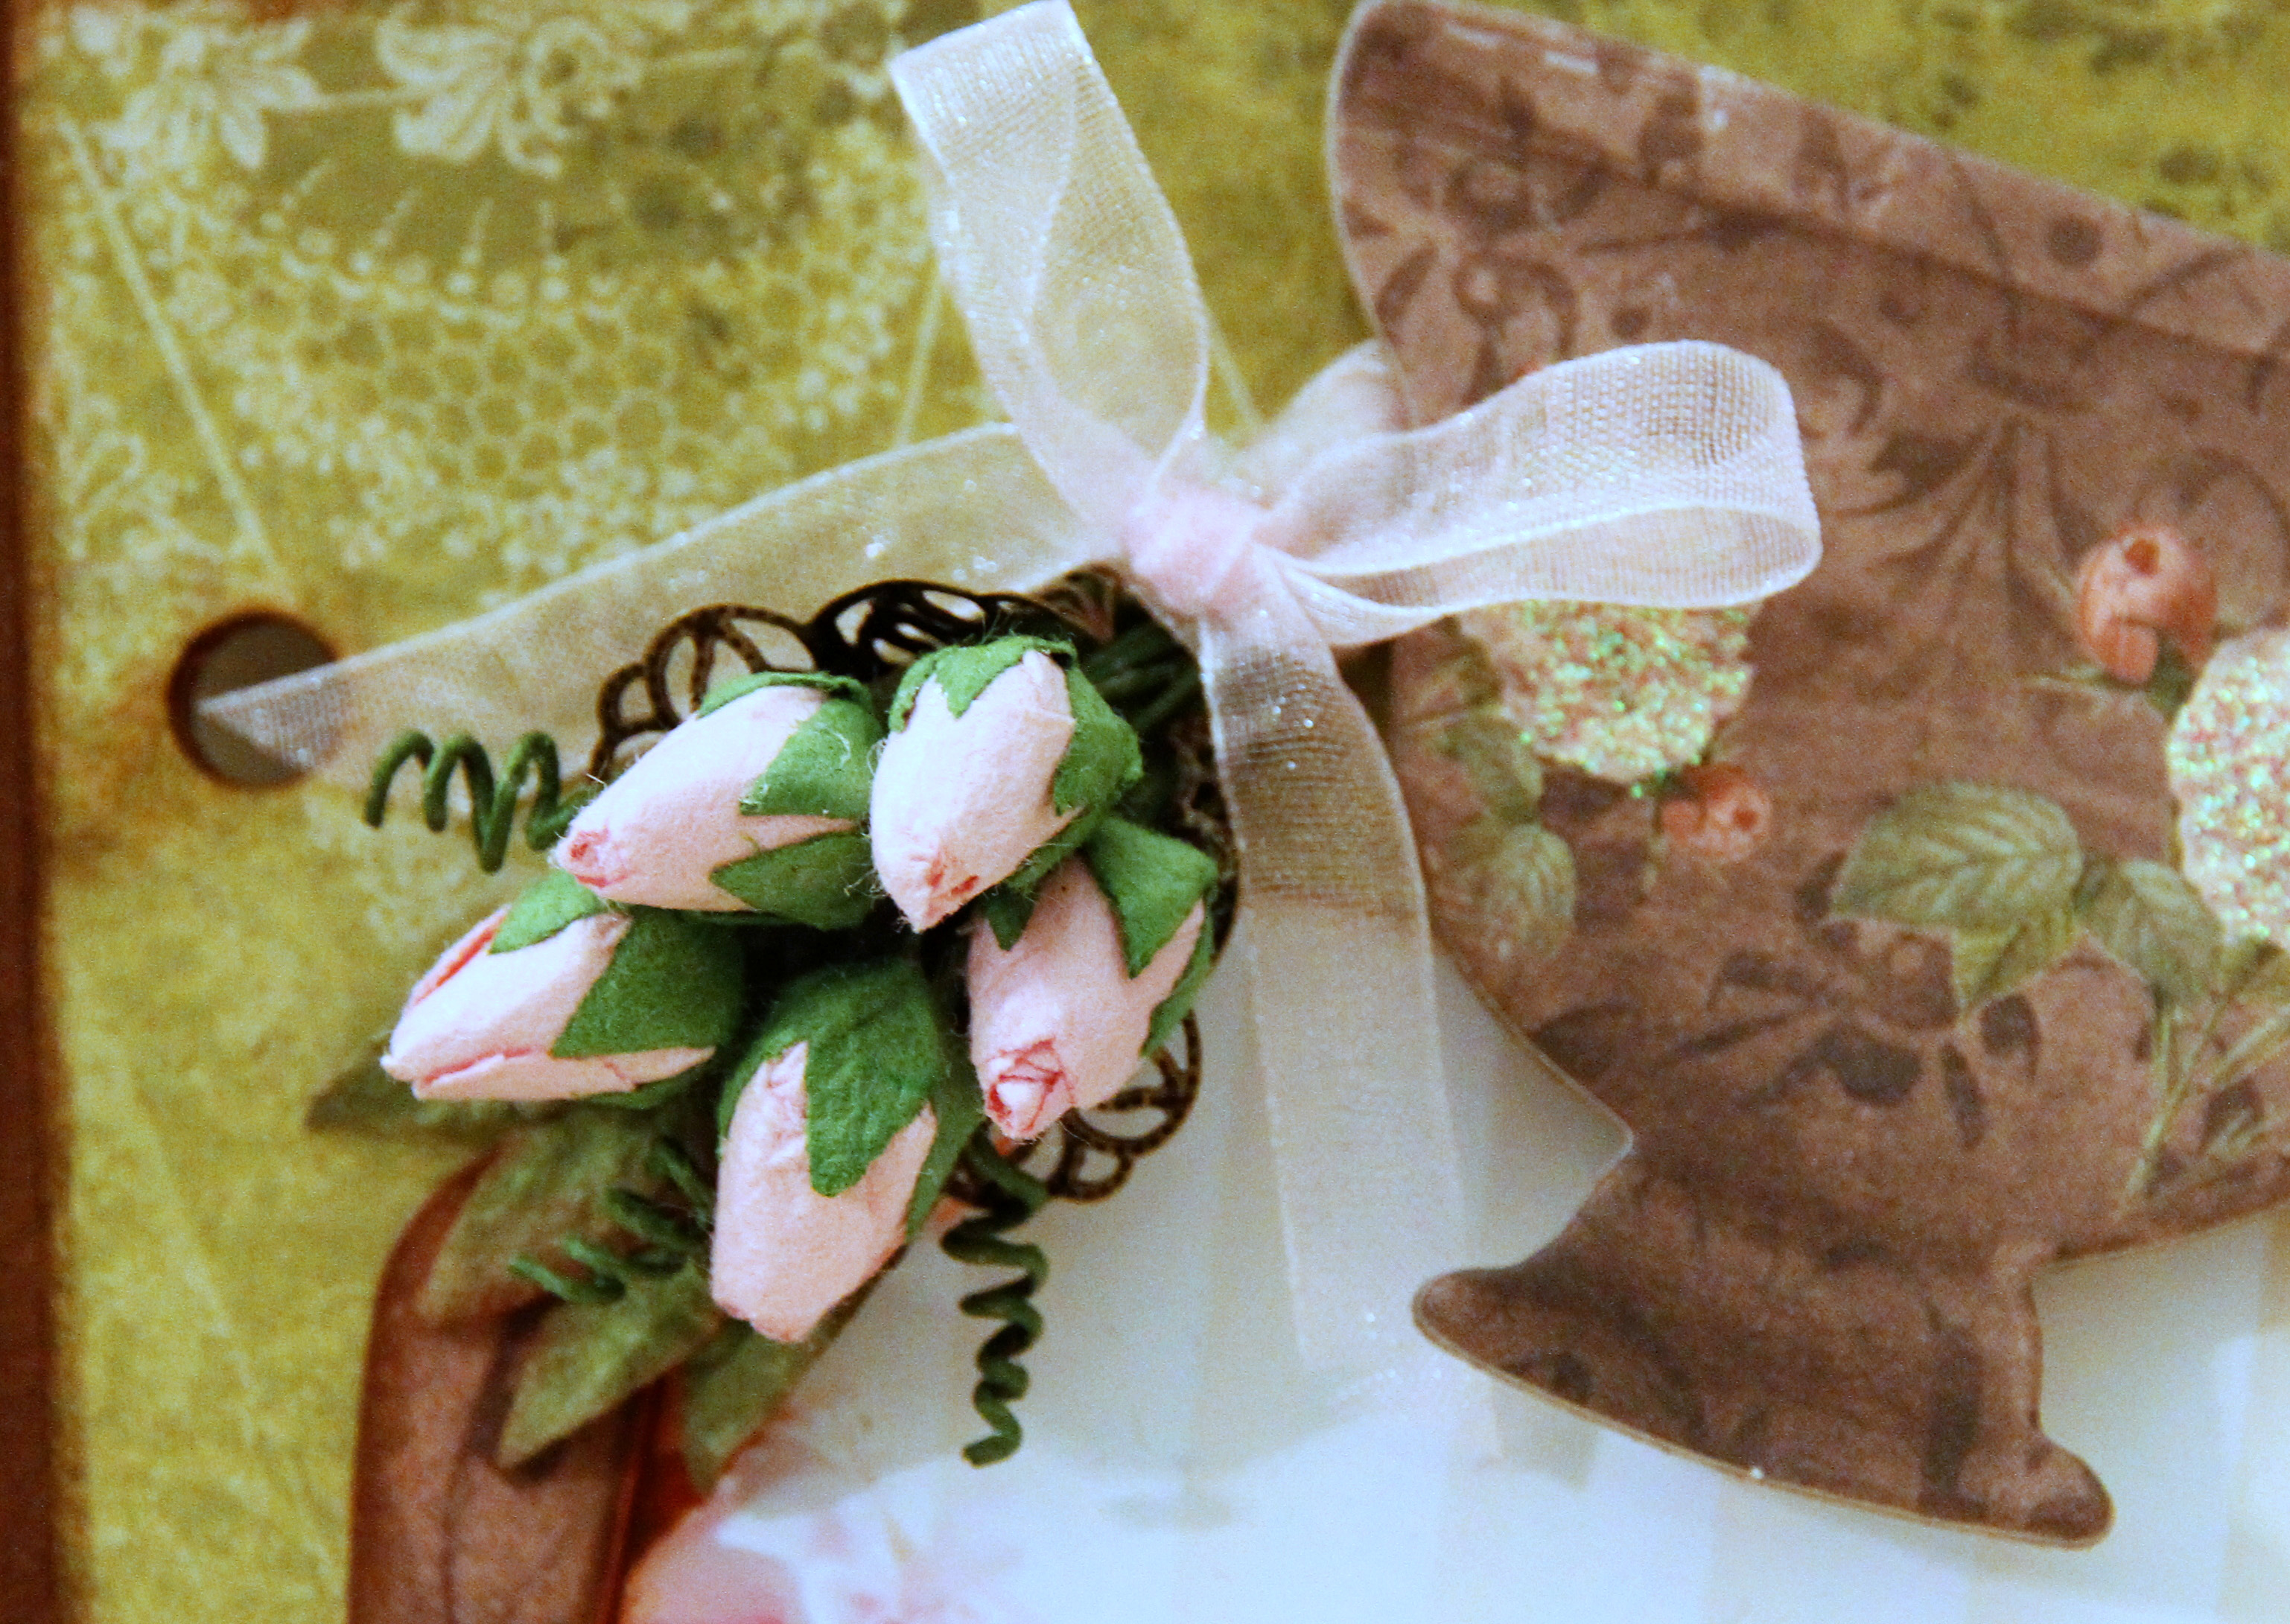
Those gorgeous new Pink 7mm Rosebuds make a lovely little bouquet, together with some Mulberry Paper Leaves - Thin Green with Brown Edges for foliage and Pink Organza Ribbon for a bow.
After cutting off the long stems on the rosebuds I curled them up around a skewer to make those lovely tendrils. The whole bunch is tucked inside a filigree (ssshhh - don't tell Tracy - I pulled apart one of her creations so I could make this one of my own) and then the whole thing is tucked under the edge of the tea cup.


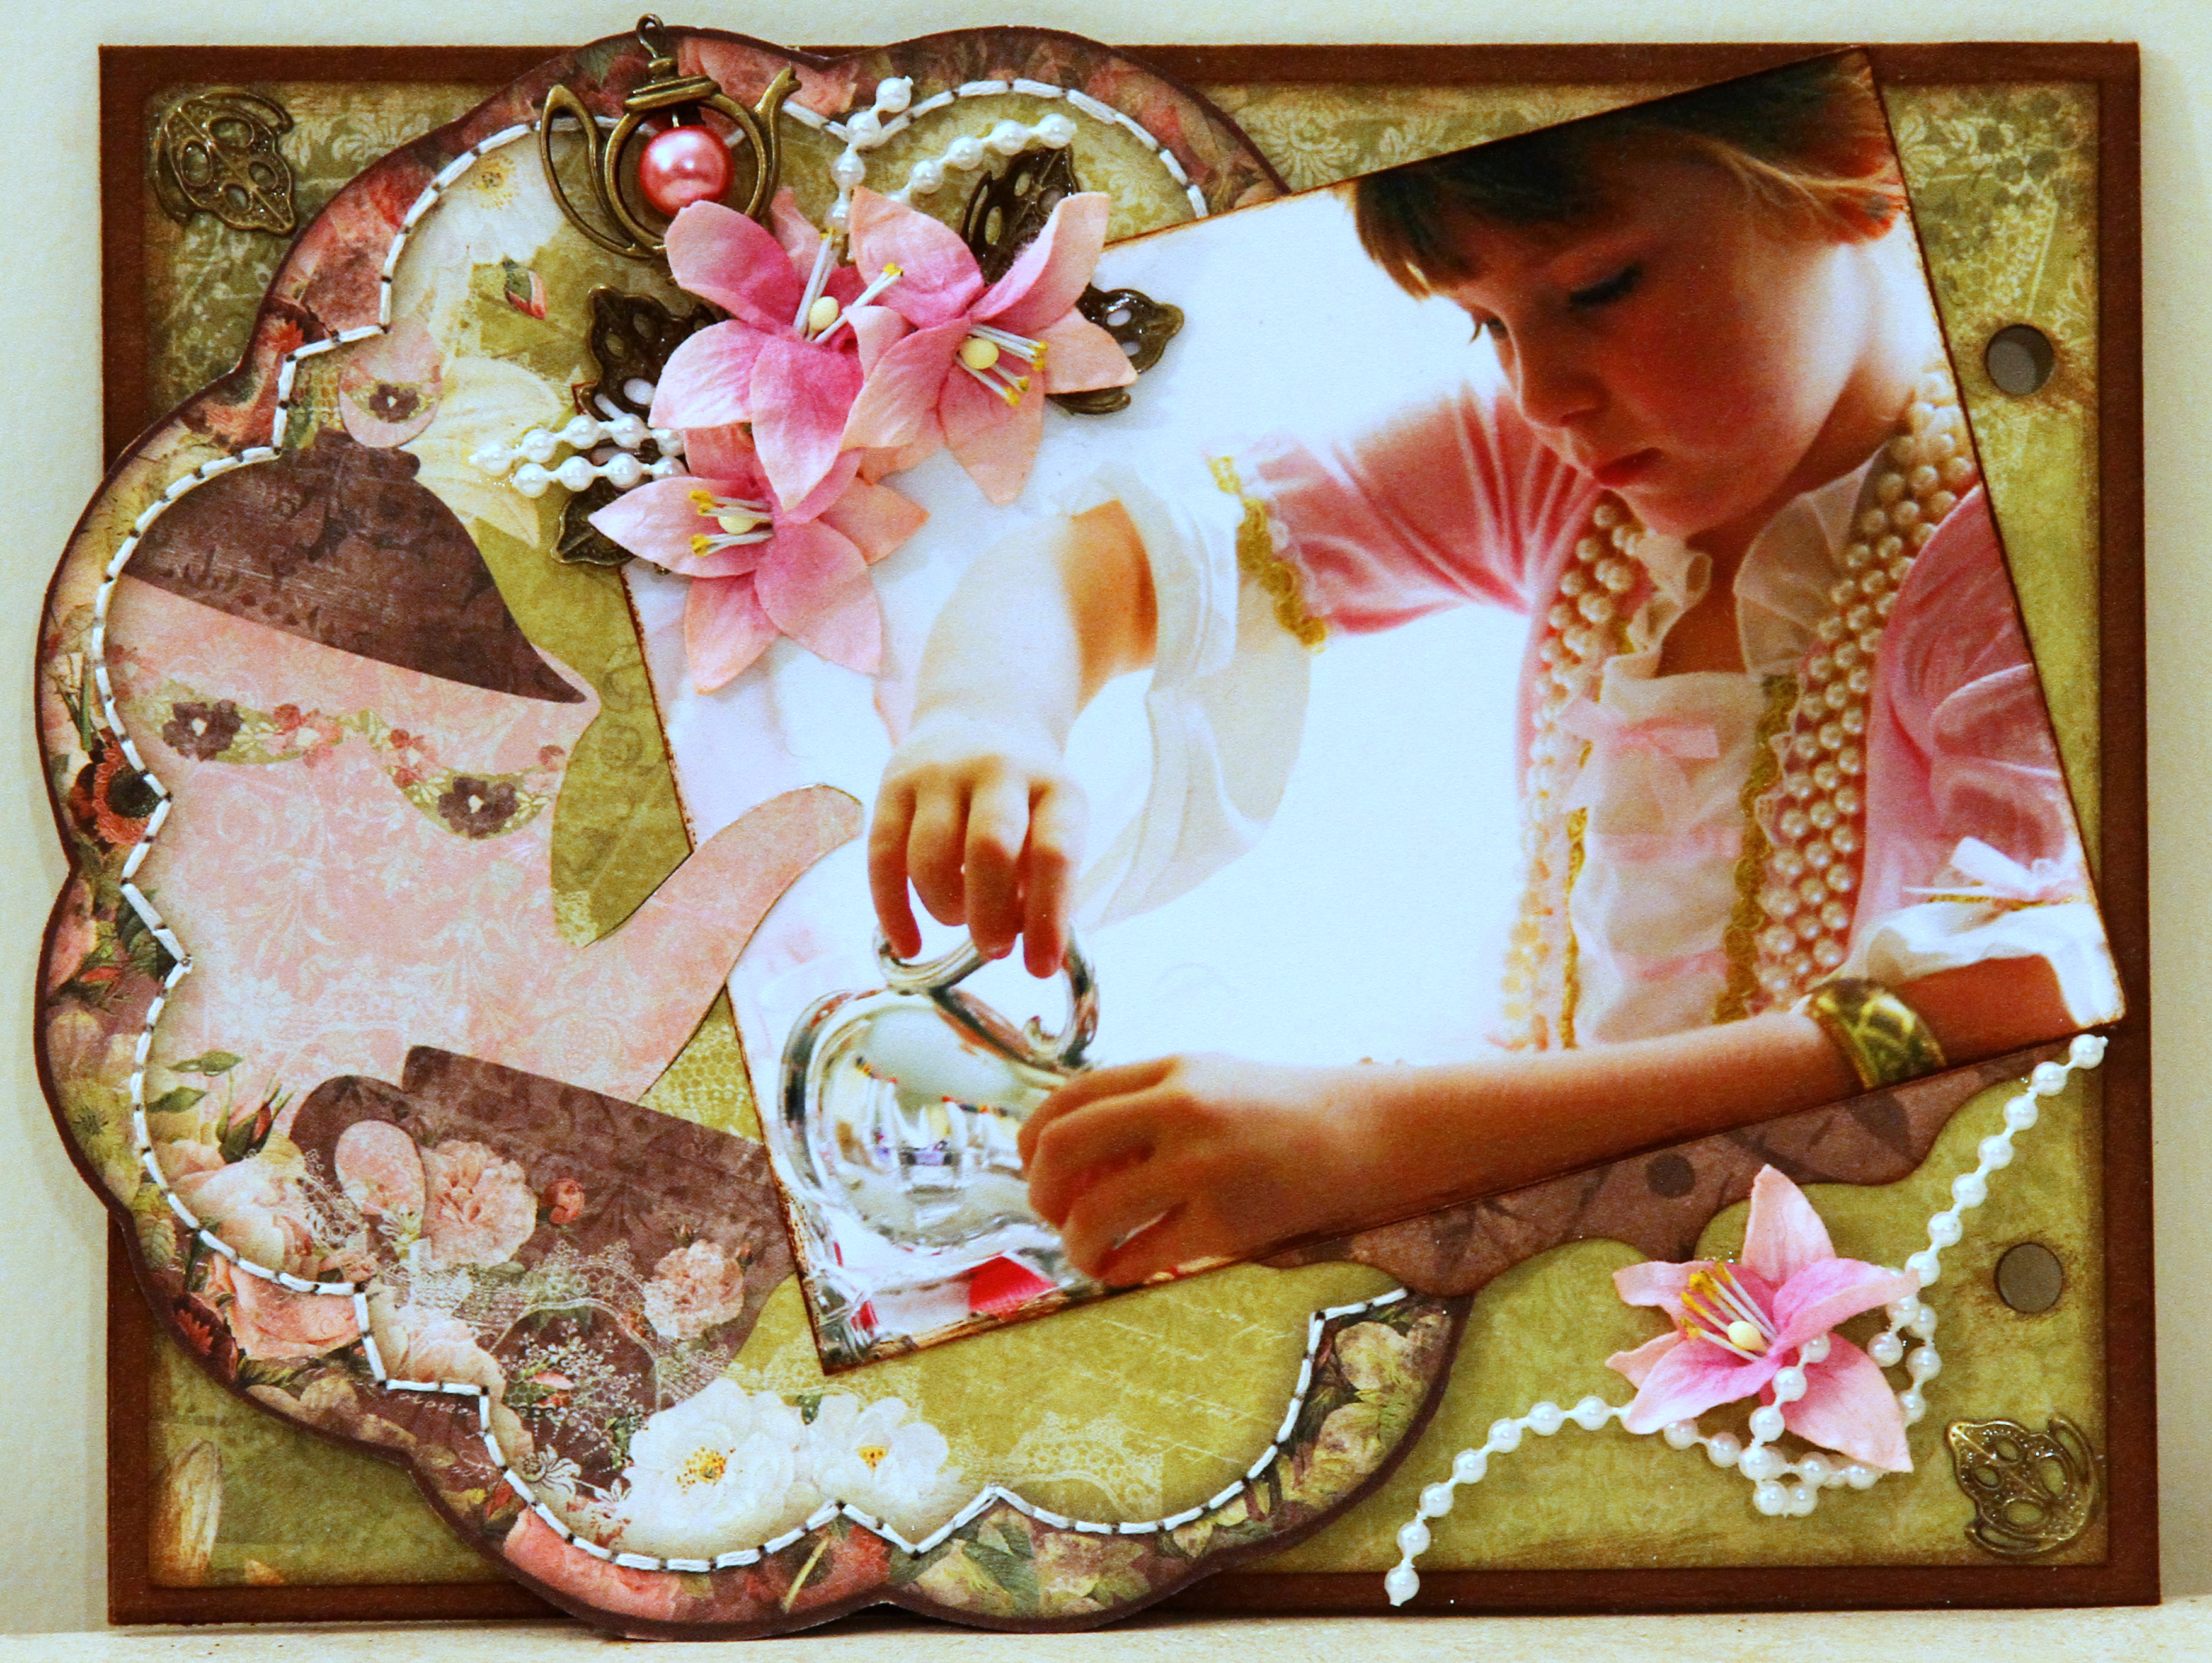
To finish off the page I added another filigree corner to the bottom left corner (this was done because I had put 2 corners on the other page, so this one had to have another to match); Kindyglitzed the pink flowers on the tea cups; and added a couple of tiny pink rose buds to the ones on the paper in the top right corner of the page.


And just because they are so gorgeous - here is a close-up of those stunning rosebuds.


The second page starts off pretty much the same as the first - with another piece of the Alice paper - this time focussing on the lovely lace pattern.


Using one of the die cut pieces from the Cut Outs paper (OOS), I first trimmed it down from the original square shape to the outer flower shape and then I stitched along the inner flower shape with white embroidery thread. I also cut along the edge of the pot spout so I could tuck my photo under it.


Here is the photo and my corner filigree bits added to the page. For interest, I've pop-dotted the die cut shape onto my page.


And finally - the embellishments. Using these stunning Pink Lilies, I've created a little cluster of embellishments at the top of the page.  I pulled them apart and cut off their stems and then popped them on some half Filigree Crosses  (which act as their leaves). The white pearl ribbon is from my stash and it mirrors the pearl strand on the patterned paper. To finish off my cluster, I added one of Tracy's Tea Pot pins - though I did get her to custom it with this matching pearl. (you can get a similar one in Antique Bronze and Pink that has a pink glass bead rather than a pearl). I added another Pink Lily and some pearl ribbon to the bottom corner of the page.


And again - another close-up of those yummy flowers.


Making a mini can sometimes leave you with little space to journal. You can get around this in various ways - this time I have chosen to add in some smaller pages in-between the main pages and my journalling will go on there.

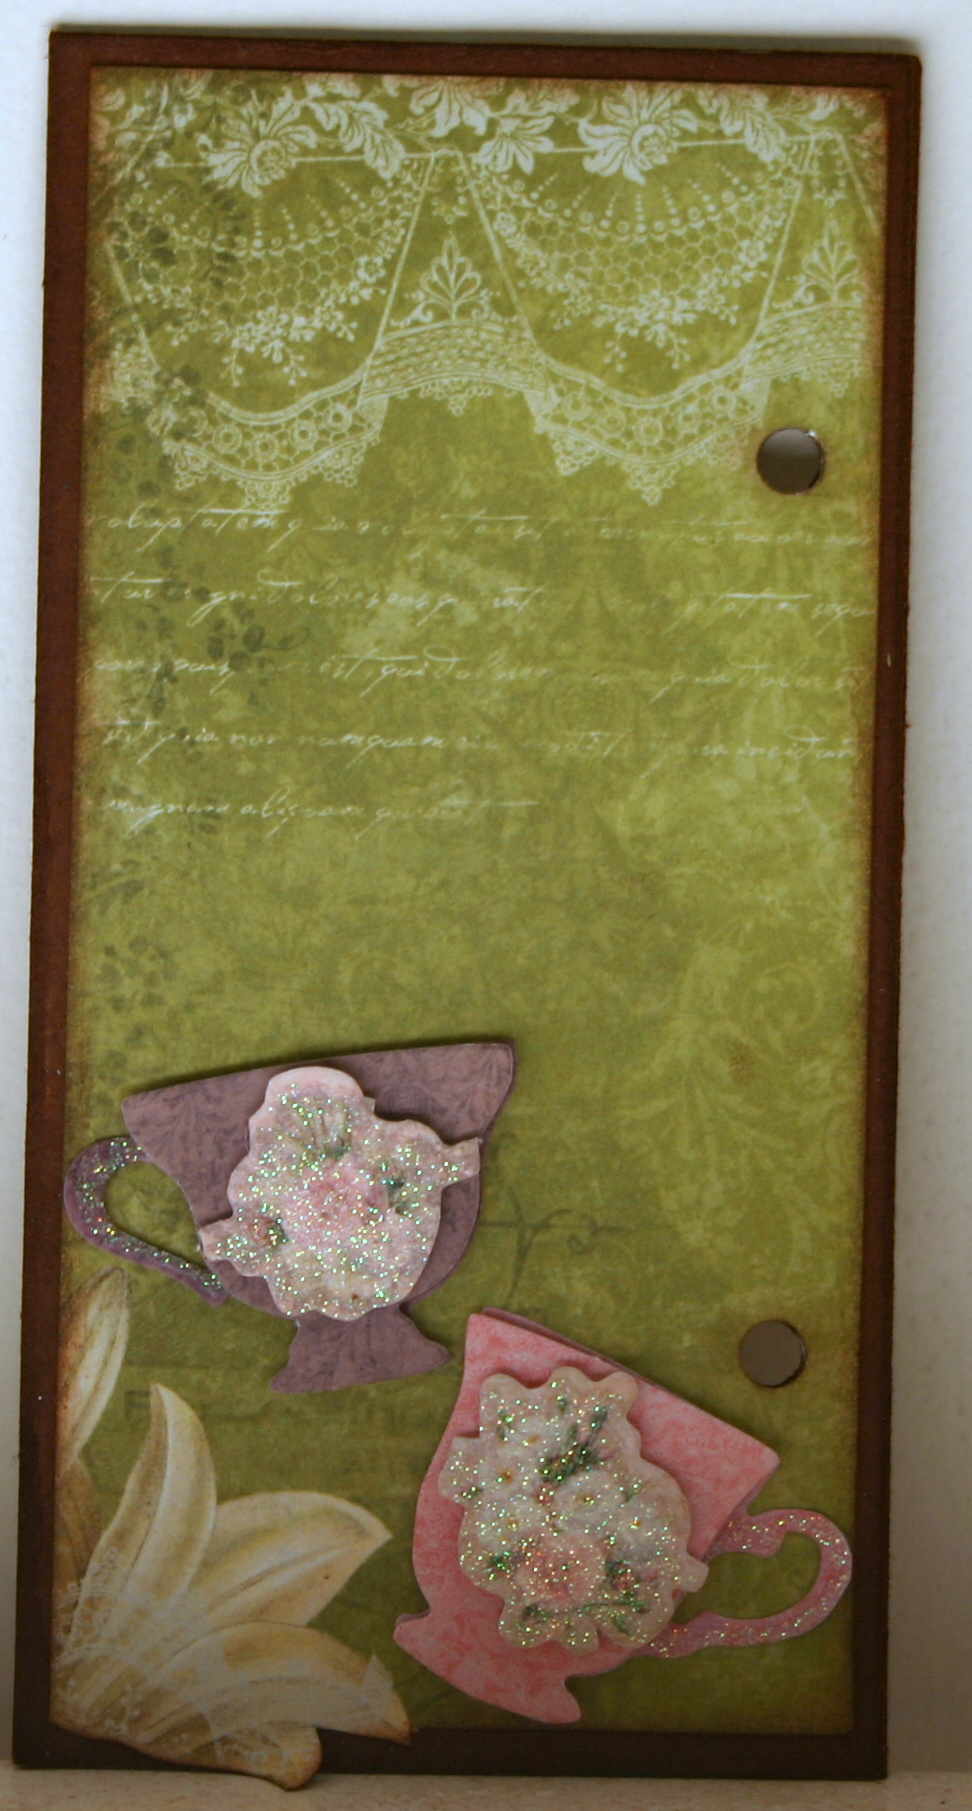
Using one of the left-over strips from making the mini album pages, I have made this much smaller insert. I've left it a little taller than the other page, as I want to showcase this die cut section from the Cut Outs paper.  It's way cool on its own - so I have left it as is.


The other side though, has some of the tea cups from the 3 Dimensional Stickers with Glitter and Jewel Accents  pack added to it. The rest of the page will have the journalling on it - but these were too pretty not to use here.


When put together - the 4 pages will look like this.


Next week it's my turn to have a Father's Day layout for you using the masculine Sears & Son papers.

Happy scrapping until then.

  Ngaire