Monday, December 31, 2012

Lots of New Arrivals in store now ...

my2angels staff and families would like to wish all our customers a Happy New Year.
Here's to a fabulous, happy and safe 2013 for us all.


  New Arrivals in store now ...


Pink Paislee Secret Crush

Fall in love with Pink Paislee's new Secret Crush collection. Perfect for weddings, true love’s first kiss, baby girls and any other girly girl moment!

pink paislee collections

Graphic 45 Place In Time 
Collection Packs and coordinating Sticker Sheets

TO VIEW WHAT YOU WILL RECEIVE IN THIS COLLECTION PACK POP OVER TO THE G45 BLOG HERE

 
Graphic 45 papers

 
New Flower Arrivals
Including 3 gorgeous new cherry blossom colours, more large rosebuds, holly leaves and metallic poinsettias for your Christmas layouts


Kaisercraft Album rings and Printed Tape

With mini albums proving so popular, we have sourced some metal album rings to make it easier to bind them. Kaisercraft have also released some very pretty printed tape and we have limited stock of this in-store at the moment.
 
kaisercraft scrapbooking papers

 
New Crafter's Workshop templates
and restocks

Check out the restocks and newest in-store stock of Crafter's Workshop templates - from trendy hexagons to classic butterflies and dainty doilies - there is a template pattern there for everyone.
crafters workshop templates

Tim Holtz Distress Markers
Finally!!!
Sold Individually and only $3.99 per pen
Available in 36 colours

Tim Holtz Distress

 
3 new Spellbinders Embossing folders
2 perfect for your boy layouts and cards and we also have a 2 in 1 embossing folder of bricks and bark.

 
spellbinders embossing folders

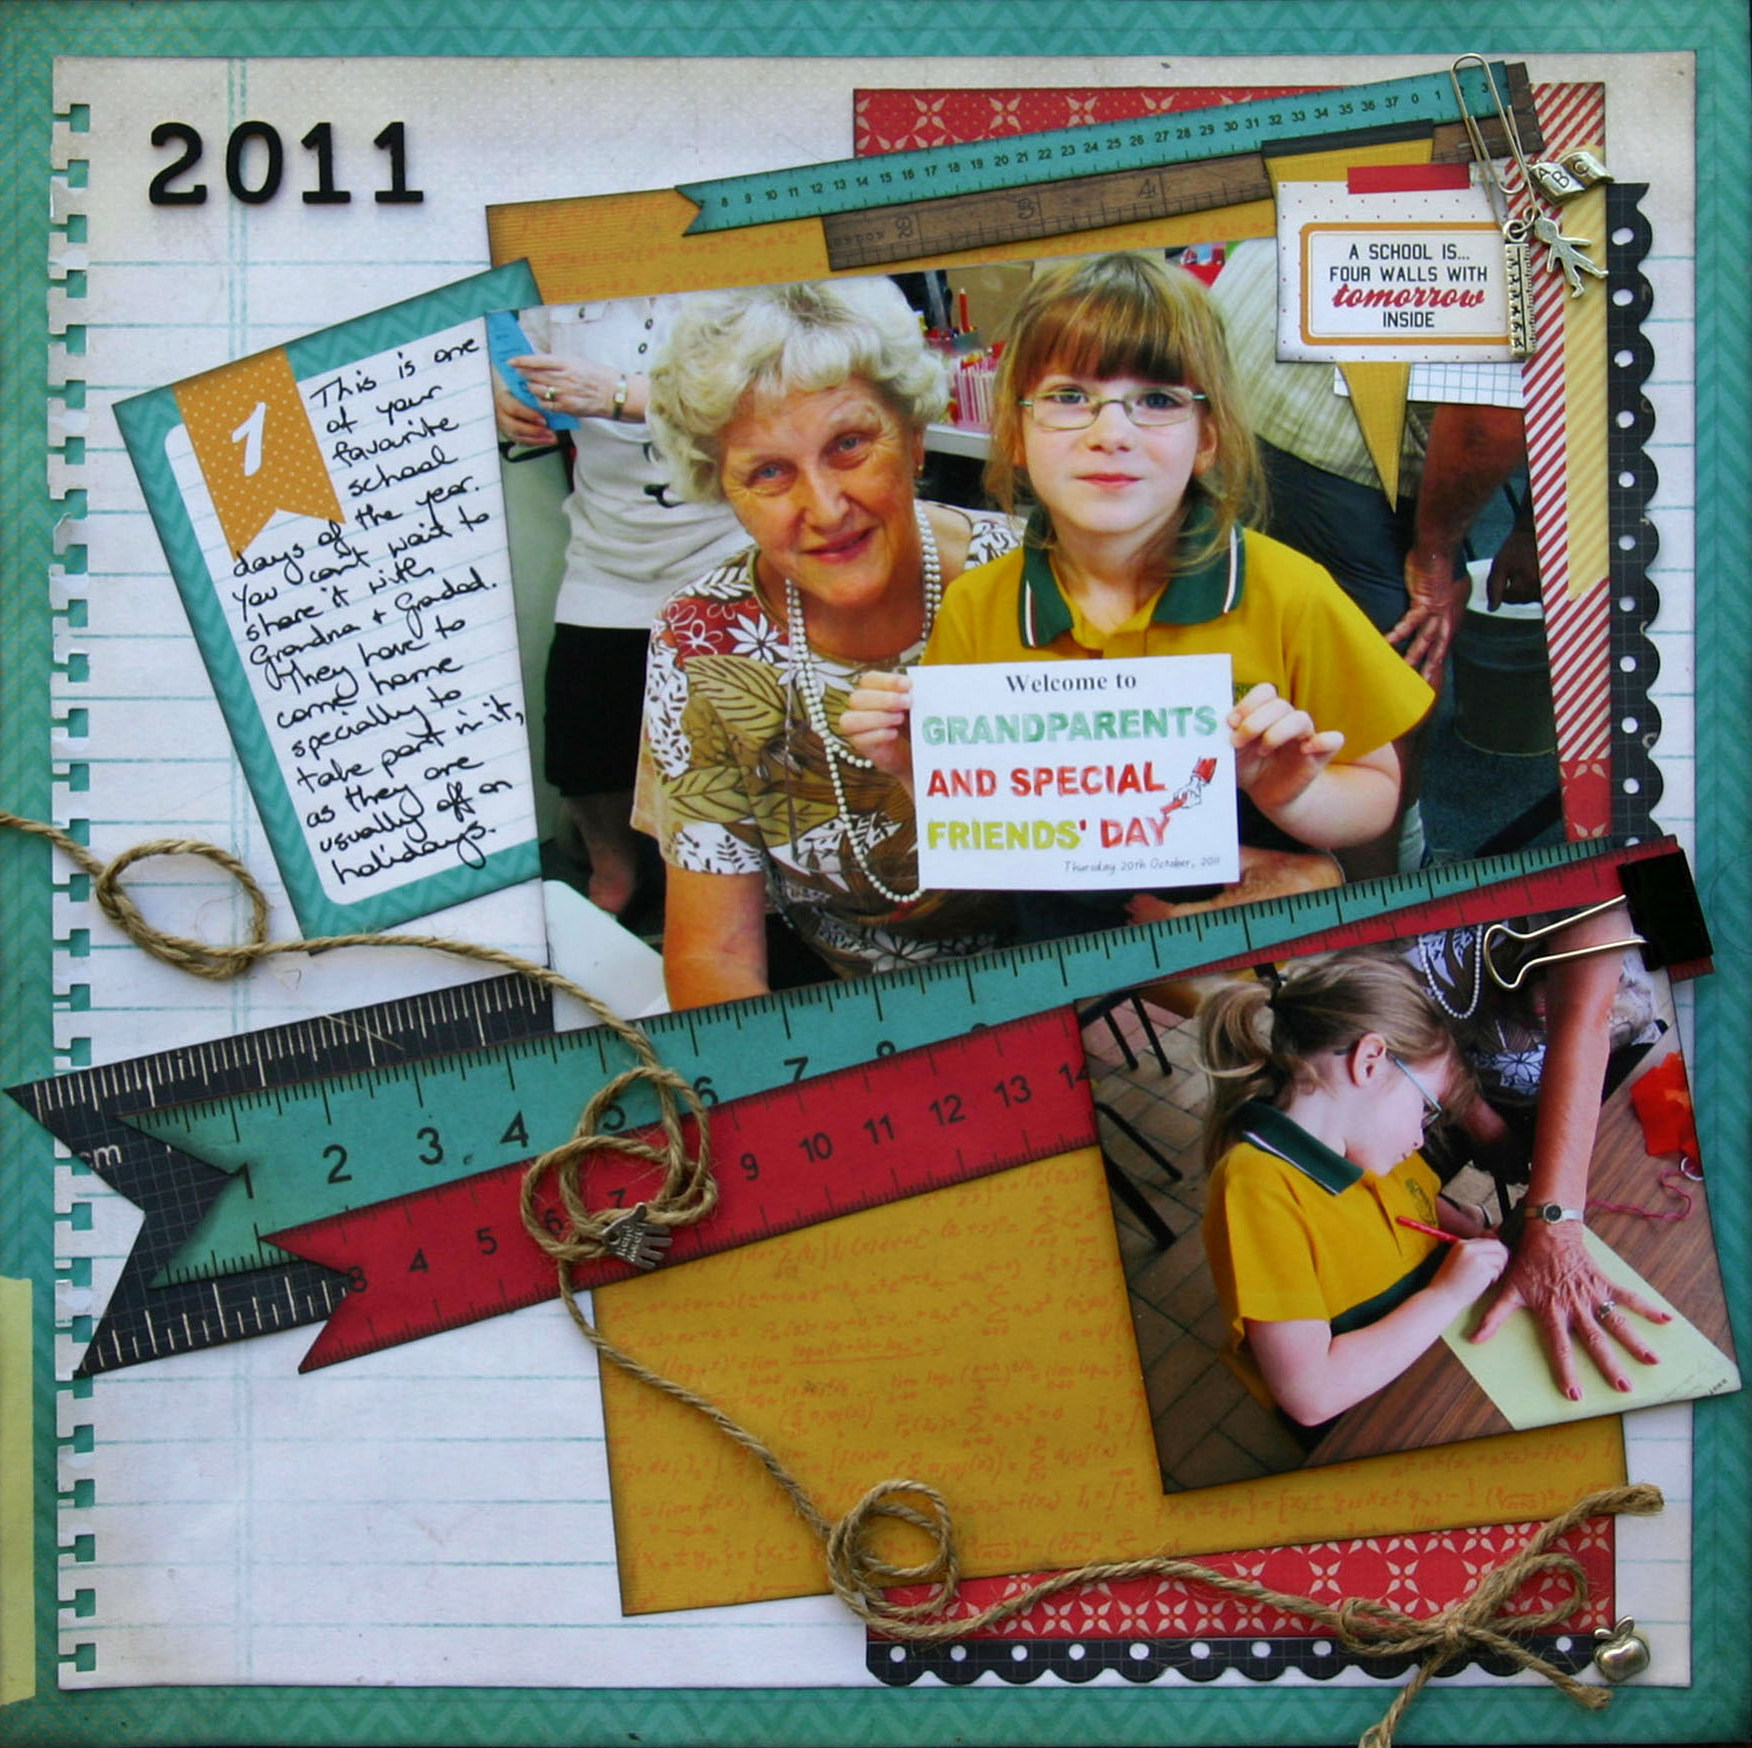
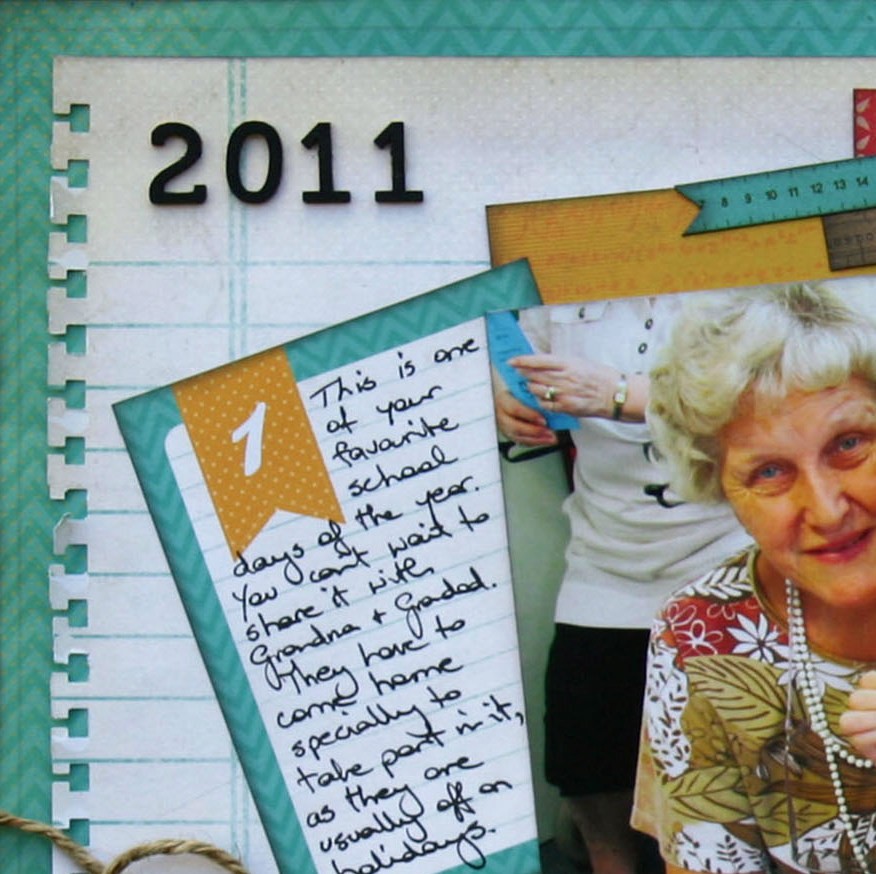
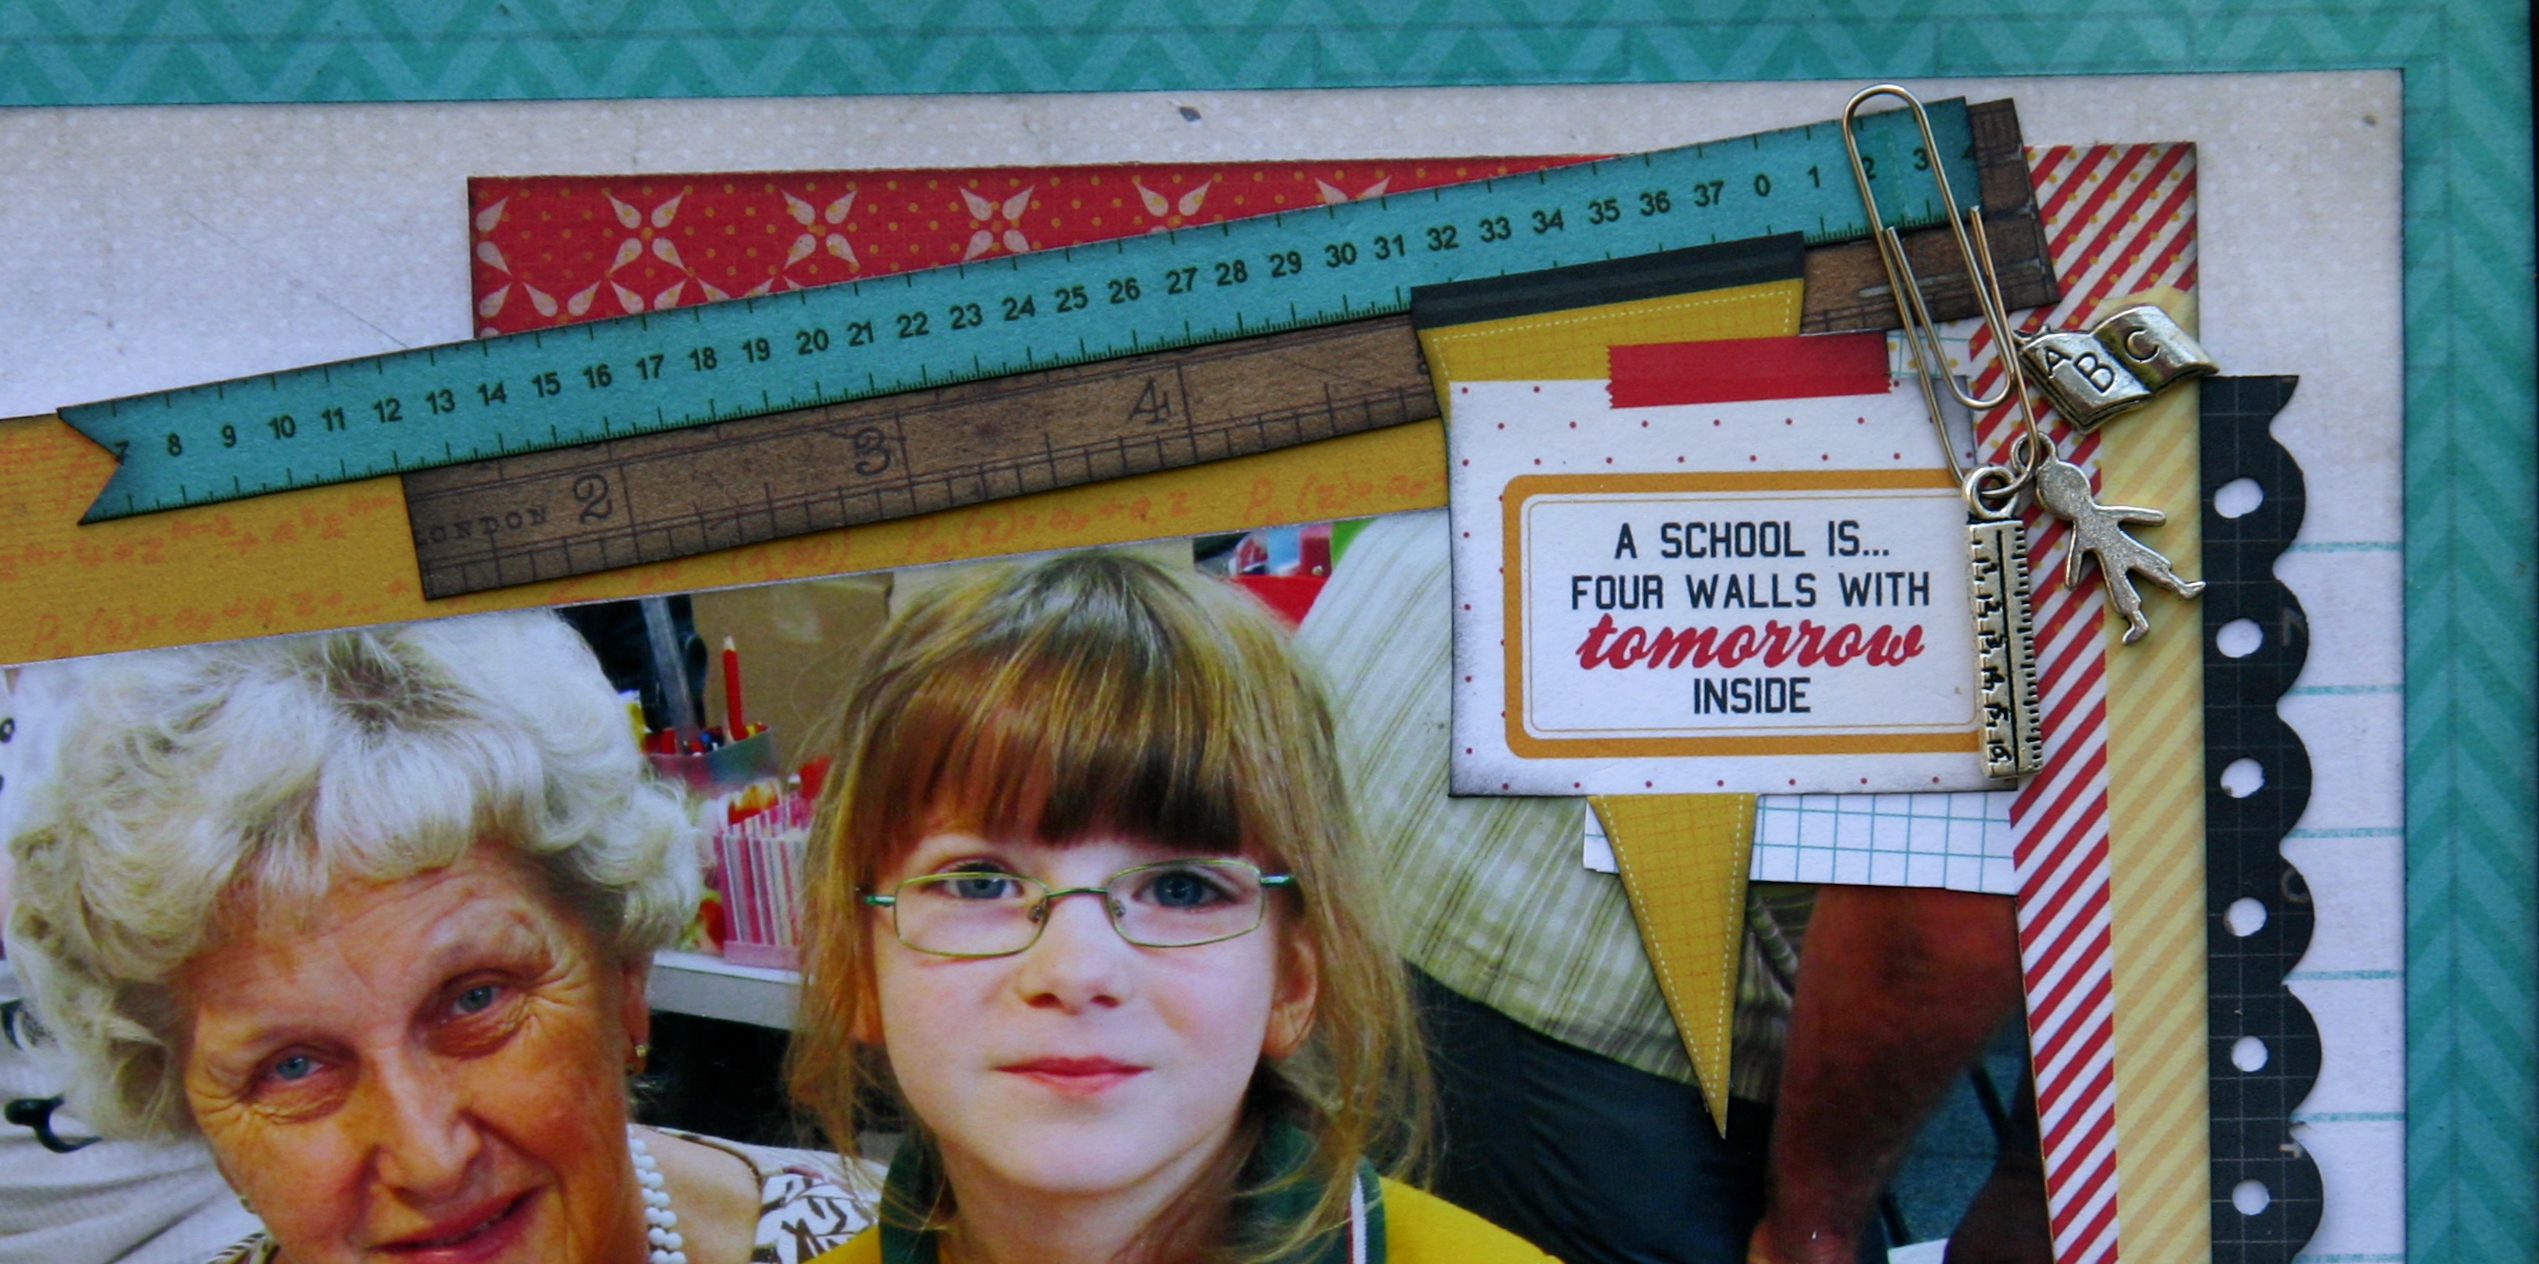
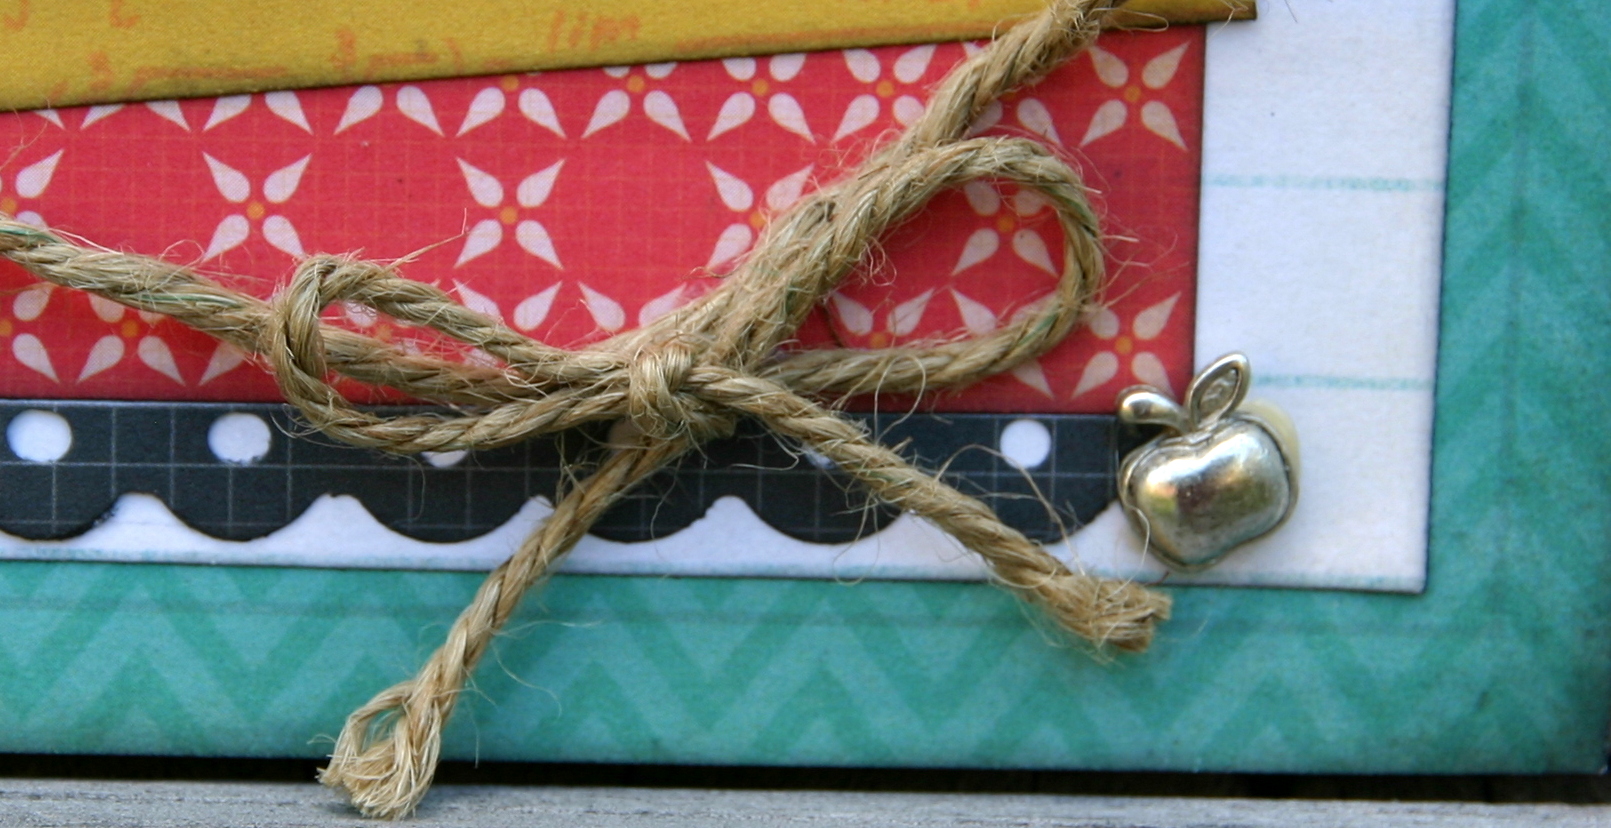
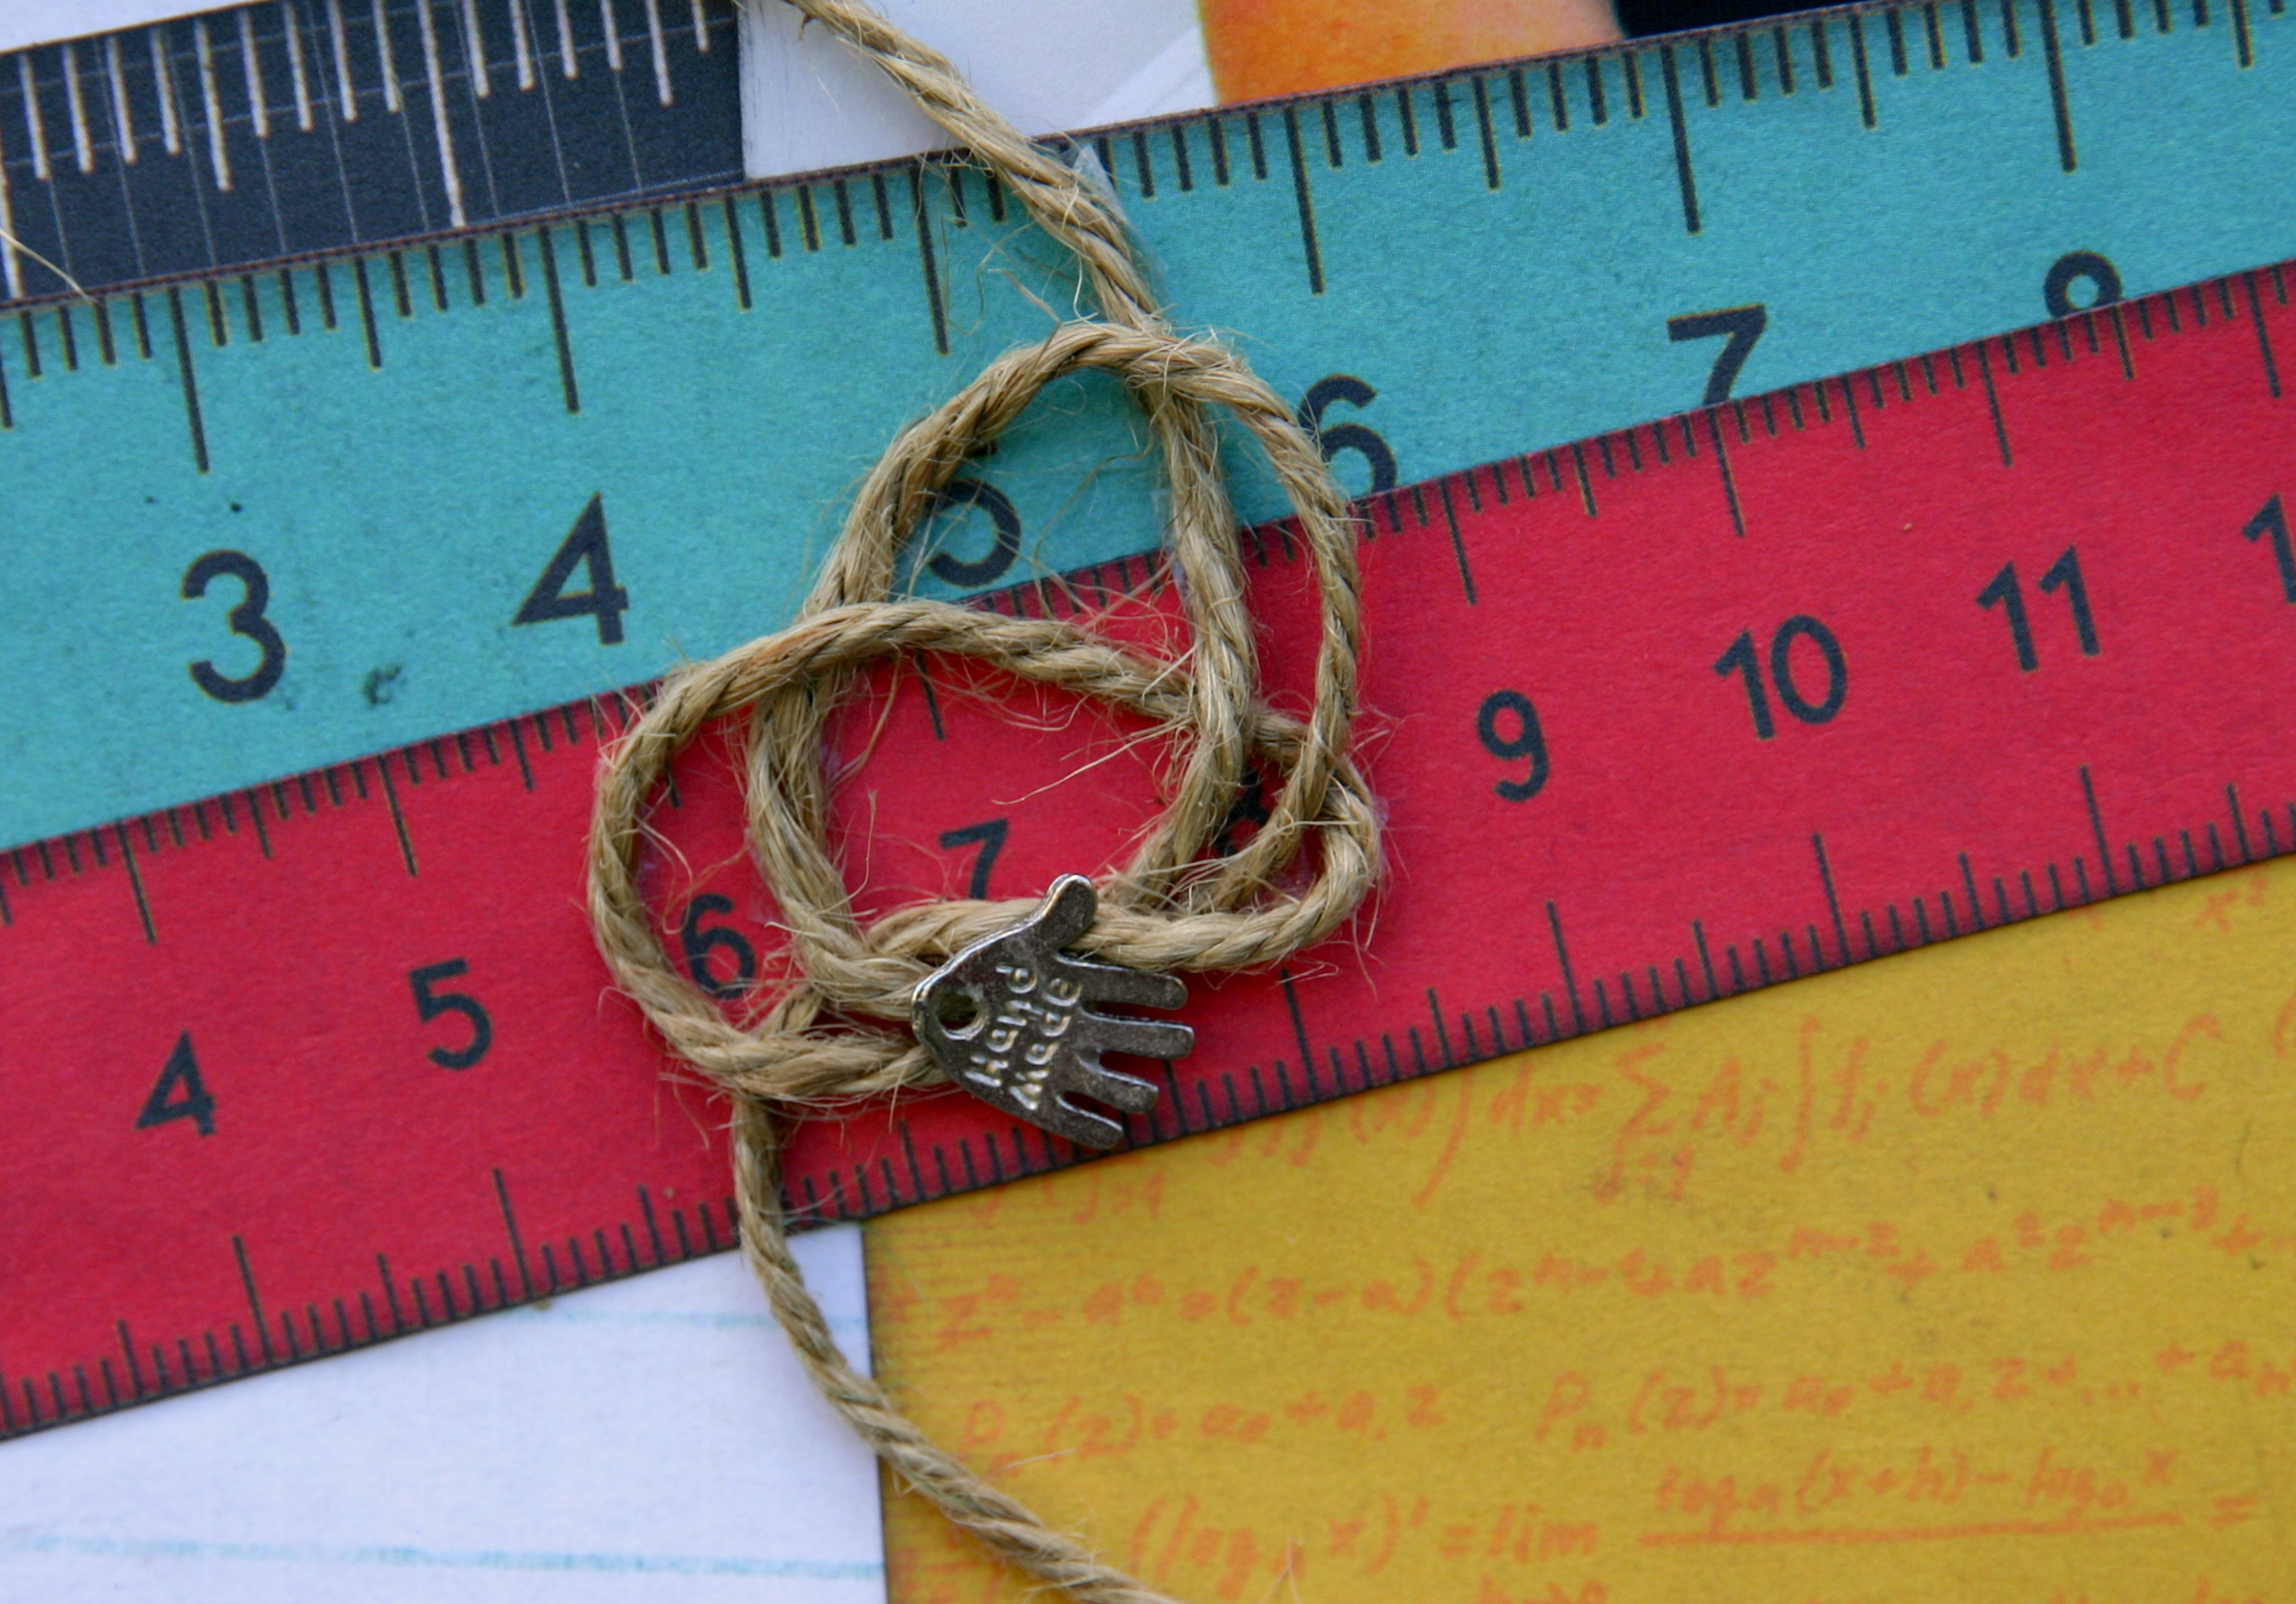
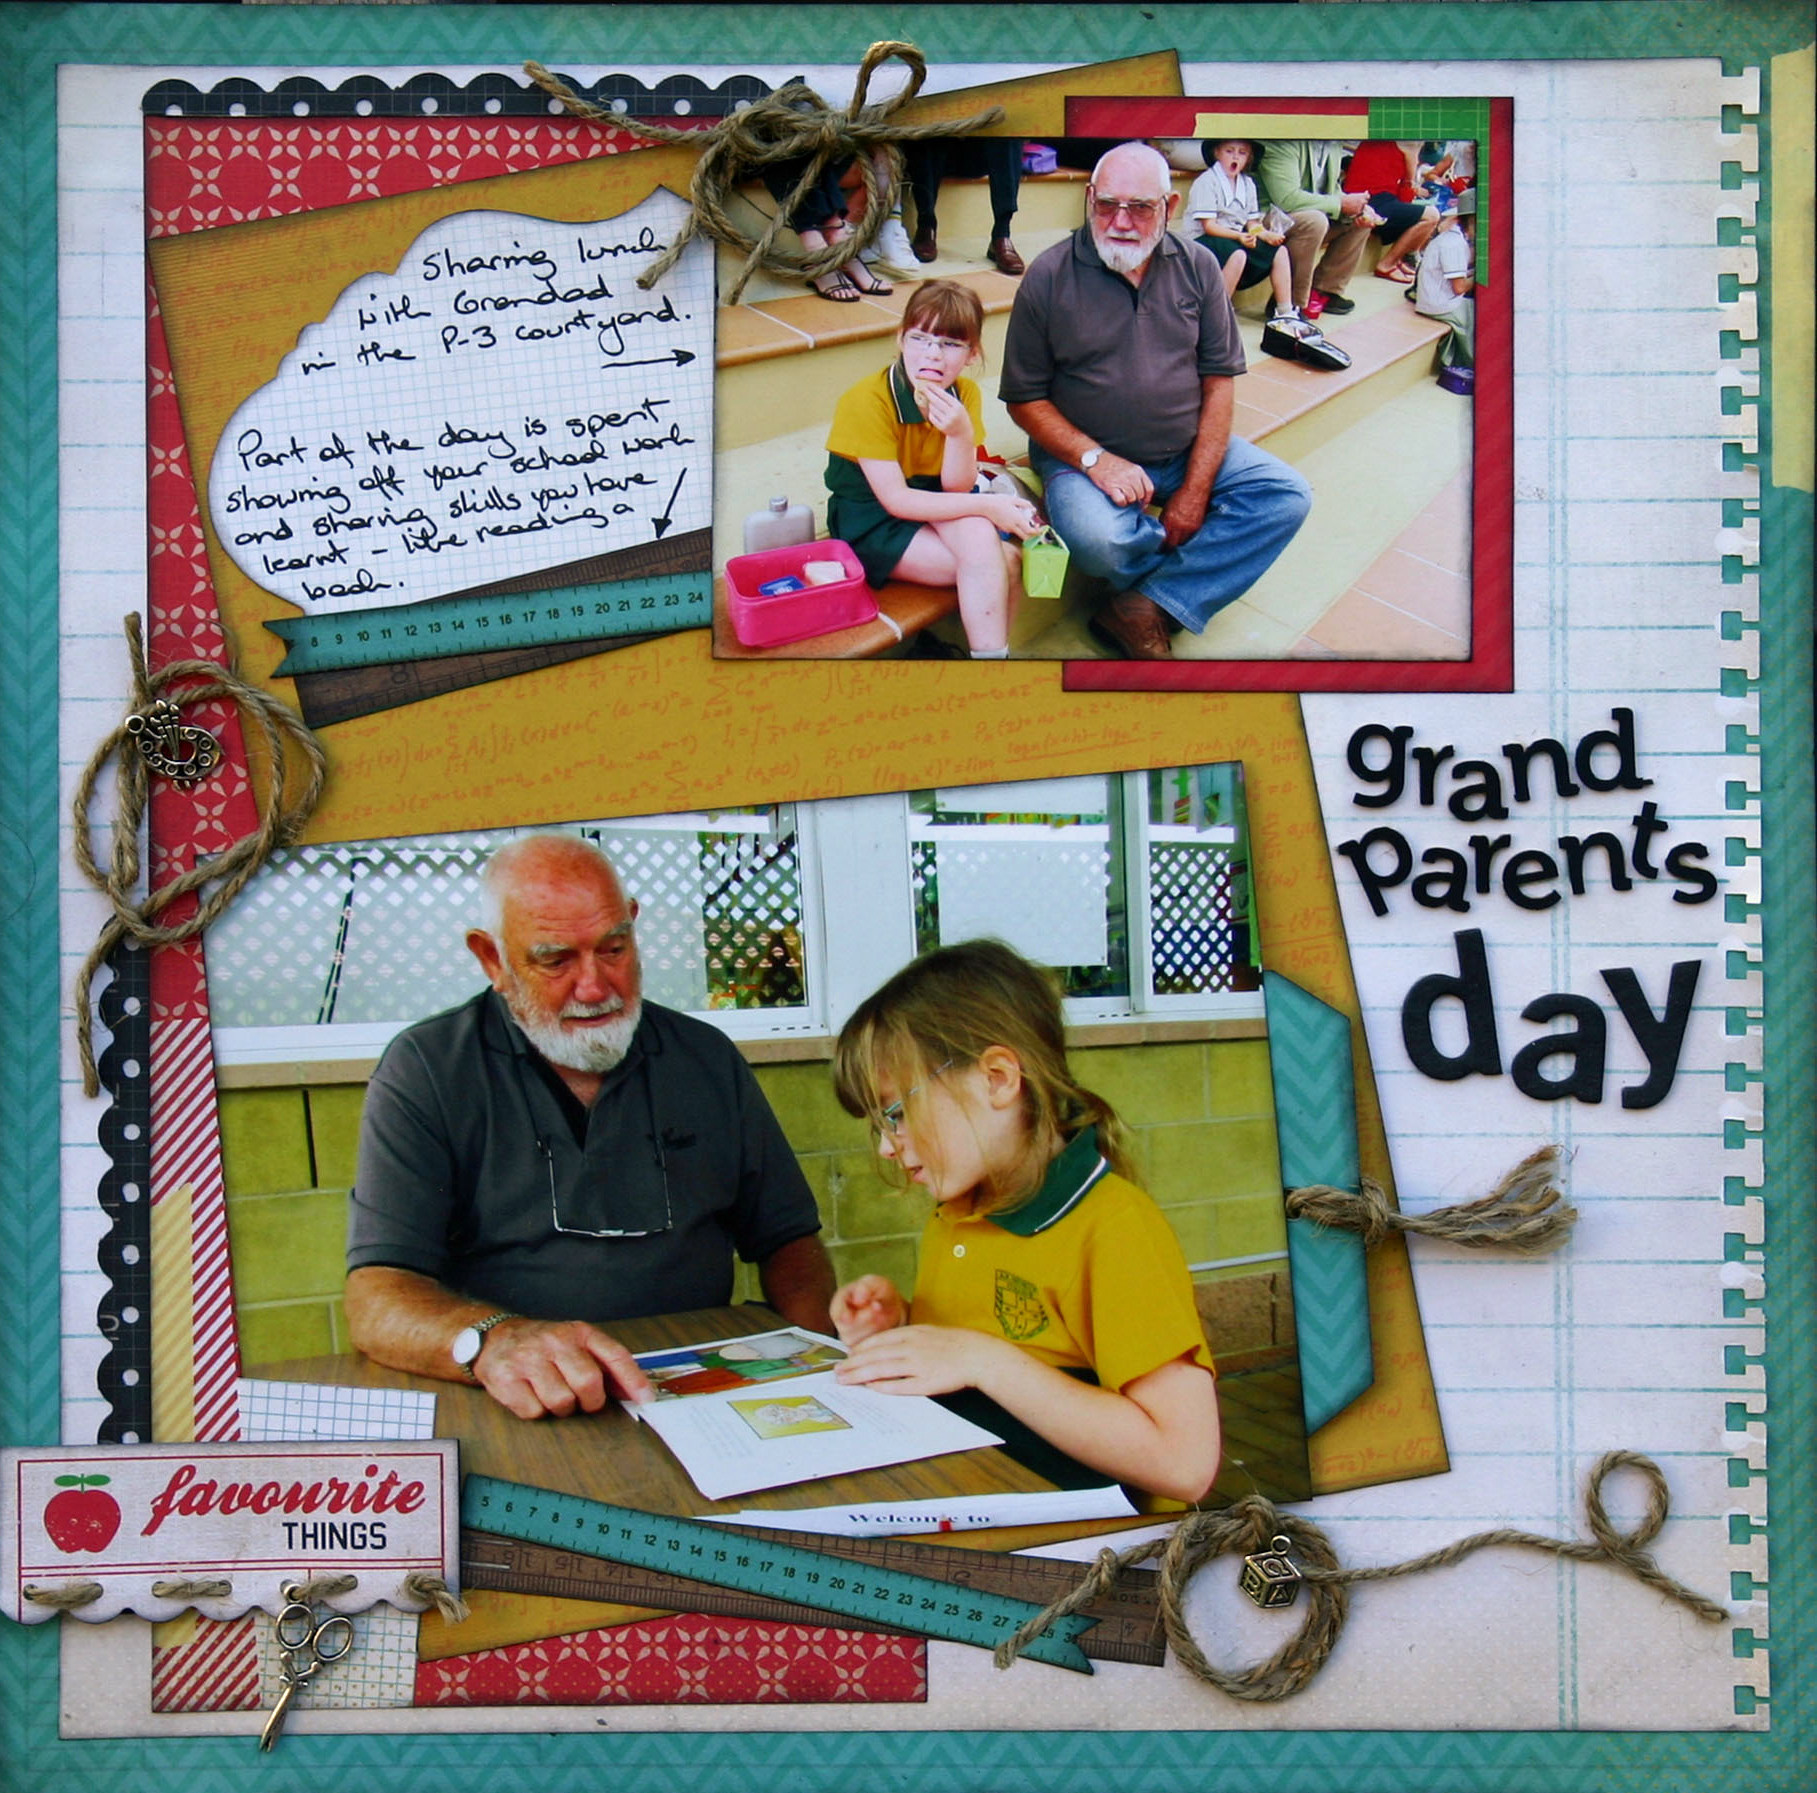
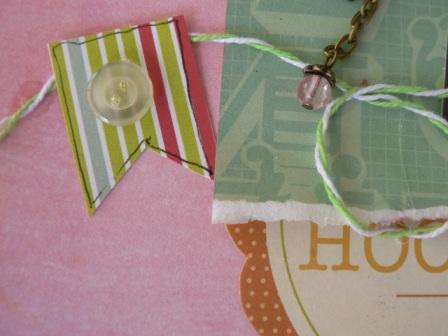
With 8 new colours and restocks of existing colours, we have the twine for every layout.
New colours include the gorgeous Shimmer Gold and Plantinum twines.

twinery Bakers twine


3 new colours to add to our Stickles Dry Glitter collection

Stickles Dry Glitter


To view all the new arrivals pop over to our website here


Sunday, December 30, 2012

Kaiser Class Act - Double layout


Kaisercraft Class Act
now in store
Calling all parents who have children in school! With the new school year not that far off - we have a "back to school range" you will love. Kaisercraft have just released a great range called 


Class Act


to help make the start of school fun.  Bright primary colours make up this collection,

which features rulers, pennants and encouraging statements that are sure to make

scrapping those school achievements oh-so easy.


Hi 
Ngaire here today

Hmmm - interesting way to spend the post-Xmas euphoria period - scrapping a range outside your comfort zone - with photos you wouldn't normally use in a pink fit. Tracy needed someone to work with the new Kaiser release - Class Act - so I put up my hand. Now primary colours are not my usual thing and cutesy themed ranges are generally outside my personal preferences zone - but I am fairly happy with what I managed to put together. Lol - especially since it meant using REAL photos rather than my preferred arty ones. You know, casual snaps - the ones with chaotic backgrounds, mis-matched clothes and messy hair - that don't make picture perfect photos, but capture the nitty-gritty of everyday life.

Kaiser's new range is bright and funky and very school-themed in appearace. Bright red, yellow and turquoise dominate the papers, with patches of orange, black and creamy white (think writing and grid pad patterns) and the odd bit of green and brown. To embellish, there are lots of rulers (some in almost glow-in-the-dark colours), pennants and small funky patterns - but most importantly - there are 3 wonderful pages of journalling blocks that cover all the year levels and almost all the possible school activities that you could think of.

My children's school has a Grand-Parent's Day every year and it is the highlight of my daughter's school year. To record this day, (since parents are not allowed to attend), I usually end up with some happy-snaps that are slightly out-of-focus, poorly composed and which feature backgrounds that are a photographer's nightmare. Still - they are cherished memories and need to be recorded in a layout.

Left page

IMG_3619edited

Both pages in the double are based on the same general structure and the majority of the paper edges have been inked with black ink (Black Soot) to help make them stand out.

For the base page I used the bright turquoise (chevron) pattern on the reverse side of Accomplish. Rather than lose the entire page (and thus all those lovely ruler bits on the other side) - I trimmed out the middle section first and then popped a piece of the reverse side of Complete (the writing pad pattern) over it, as the centre section of the layout. It already has a notebook edge along one side - but I chose to punch over this with my EK Success Notebook Punch to emphasis this pattern.

There's this really interesting funky pattern on the edge of Perform - so I chose to cut this in a way I could make a feature of this edge piece. I flipped the remaining piece over and used it reverse-side up (the yellow with orange writing bit) under the photos.

0-0-IMG_3619edited

Under the main photo of my daughter and her grandmother - I tucked in one of the journalling panels from the Superstar paper. Not only does it make a nice journalling spot - but the large "1" on it also stands for the year level she was in at the time of the photo.

The numerals for the year section of the title come from my Itty Bitty Alphabet (ALPHA005B) by Twiddleybitz. They're the perfect size for that space and being already black - I didn't need to do anything to them.  DO YOU WANT MY2ANGELS TO STOCK THESE ALPHAS?  LET TRACY KNOW

IMG_3614

Here you can see the funky patterned bit along the edge of Perform - I've cut under 2 of the edges of the pattern and tucked the photo under them to try and hide some of the messy background in the photo. Then I cut out some of the ruler bits from the cut-out section of the base Accomplish paper. Overlaid over them, is a section hand-cut from one of the journalling panels on Personal Best. To embellish this corner - I added a paper-clip from my stationary collection and 3 silver charms from my2angels: the ruler, abc book and little boy (which in this case is just a 'little person' charm).

Finding a 'dark contrast' colour in this range is a little difficult (other than the Finish paper - which isn't really that dark and I didn't have it anyway). The Threading Water punched edge section you can see tucked under the edge of the Perform paper, is actually created from the black ruler design. Luckily, that ruler bit is pretty wide - so I cut it up and have used it in several spots around the layout.

Underneath this larger photo is a smaller one, which, along with the ruler 'bits,' is held together with a stationary metal clip - which I pop-dotted to the layout.

IMG_3616


Under the smaller of the two photos, I popped some twine that was just randomly twisted here and there to make interesting loops. At the end of the twine I glued on a little bow and a small silver apple charm. Behind these bits, you can see another section of the Threading Water punched length of black ruler from the Perform paper.

IMG_3618

On this section of the random twine embellishment, I added a silver handmade charm to represent the 'hand activity' that is shown in the smaller photo.

And that's the left side of the double done.

Right Side
IMG_3621edited

For the right side, I pretty much started off with the same composition of papers, but flipped the page so that that yellow edge pattern (on Accomplish) was diagonally opposite to the left side of the double; and the funky edge section of Perform is now at the bottom, left edge of the page and not the top.

The rest of the title has more of my favourite Itty Bitty Alphabet (ALPHA005B) by Twiddleybitz - though the larger text is one of the Kaiser chipboard alphas I have left-over bits of in my stash.

All the left over (and 'not so' good) photos will go with more journalling on a series of tags -which I have/will pop under the larger photo on this page. The tags are/will be made from odd bits of Class Act papers - I've still got a few to make - and I will share these later down the track, when I get enough paper to finish them all off.

IMG_3623

The photo (of Madame reading to her Grandfather) is still tucked under the funky edge section of Perform and I used the same combination of ruler 'bits', but this time I popped on a different hand-cut journalling element from the Superstar paper. A bit more twine and a pair of silver scissors charm finishes it all off perfectly.

IMG_3628


Above the photo I looped some twine to make random circles and then embellished this with a silver artist paint tray charm.

IMG_3629


For the photo of them sharing lunch together - I matted it with another journalling panel from the Superstar paper. I needed something to provide some visual interest and contrast; and having just the edges of the journalling panel showing was perfect (though the whole panel is very pretty in itself.)

The actual journalling is written on the left-over section of the Personal Best journalling panel (used on the left page) - since I didn't want to waste it. I also popped bits of twine here and there on this layout, rather than making a long senction like the previous page - and here I simply made some loose circles and then topped these with a bow.

IMG_3625


Under the larger photo I popped another of the twine circle and loops embellishments and finished it off with an abc silver block charm.

So there it is - my venture into the raw reality of candid photos. The whole thing is still way too fussy and cluttered for me - but Madame adores it and that's all that counts.

So if you have school photos from past years - particularly primary or prep photos - check out the Class Act collection at my2angels. The range of colours in the papers will suit most school uniforms; and the huge selection of journalling panel prompts, cover pretty much anything your kid will do at school. And then get scrapping - you have about a month before the new lot of school photos start rolling in ... ;)

Ngaire

Monday, December 24, 2012

Merry Christmas everyone and lots of catch up layouts


We at my2angels would like to wish all our customers and their families a Merry Christmas and a Happy New Year. Thank you for the support throughout the year and we look forward to sharing our creations with you (and you with us) in 2013. May you have a safe and festive time.


my2angels  offers Gift Vouchers to give to your scrapping friends or family this Chrsitmas OR drop those hints for your family and friends to give to you for a perfect gift this year.  

And yes ,we are open over the Christmas Holidays for purchases (no rest for the wicked).  Just as well we were open last year, as one hubby purchased a gift voucher for his wife at 5.30pm on Christmas Eve (typical male!). It might have been late - but at least it was a good gift.

We are talking a break from blogging until the New Year (even though we are still open), but we are leaving you with a few layouts that we haven't had time to post on the blog yet.


Geli here - with my final project for the year.


 This piece is about my husband's brothers, living the good life in Vanuatu. As you can see, they're working extremely hard ... 


 ... about as hard as a pair of sloths in a tree ...


I found this chipboard frame at Kaisercraft. It's a little bigger than 12x12". I painted it, crackled it, sanded it, misted it ... the poor thing has seen 100 years of wear and tear in one afternoon.


The paper is all from the gorgeous new Tropicana collection, nice and beachy with a touch of vintage.


A lot of the embellishments, like the net, the beach sign and the charms came from the my2angels beach kit (click on the word to find it).


Would you like to know how to make this bottle cap embellishment? Click here to go to my bottle cap magnets tutorial, they are fun and easy to make and make great gifts for teachers and friends.


Cheers, Geli 


 Lisa here ...


As I get older, my hair just gets curlier and curlier - I am certain I will end my days as a fully blown poodle!! As a teenager I used to get my hair permed - now I wonder why the heck I needed to?

So I had fun with these old photos and this one is of me as a little girl and shows that I even had curls back then. I am seriously loving the colours in the Carta Bella Alphabet Junction papers and they were perfect for this photo!

To start with, I used my favourite Crafter's Workshop template - the spotty dotties - together with my Tim Holtz Broken China distress ink to create an interesting background.


I then used a series of smaller cut sections of Alphabet Junction papers - the blue under the photo is the backside of Dear Dear Little Dots . I then cut a long strip of the pink spotted Handwriting - again using the B side. I also had a small strip of the green Alphacards, which I slipped in under the blue paper.


In the top, right-hand corner under where the photo would sit ,I used some of the reverse side Alphabet banner. I also pleated a strip of the striped Delightful stripe and adhered it across the pink paper for additional burst of colour.


I am a HUGE lover of ric rac - it's so versatile and easy to use ... and Tracy has an awesome ramge. I have used some of the pretty pink ric rac, but you could use any range of colours, depending on the primary colours in your photo!!

I then went to the coordinated sticker sheet and selected a range of stickers to add to my layout. I always love a journal spot or two and I also liked some of the coordinating strips, so I added a couple once I had adhered my photo. I also slipped in a pretty, small doily under the top left side of the photos and cut it and used the remainder at the bottom right. I find it just added a bit of softness and prettiness!!

Tracy also has some wicked buttons and some gorgeous resin flowers,  so I had to add a couple of those!!


As a last minute touch I couldnt resist Tracys gorgeous fairy girl charms.
Finally, I used the alphabet sticker sheet for my title, using two different fonts.


I also like to outline some of my papers when they have a white background, just so they stand out a little more ... I love the little touches like this to finish a layout.
What do you think??

 
and another layout
I've put them together with some more gorgeous Save the Date from Kaiser - so that I could scrap this photo from Teleah's fifth birthday, which we celebrated at Noosa ... one of our favourite holiday spots!!
I used a plain pink background paper and then added a piece of Save the Date Streamers to it. Then I used the strips from the bottoms of the papers (clever huh!!) to add some more interest - they look like strips of ribbon.

I also added a length of pink ric rac - just because I LOVE ric rac!!
I handcut a banner and adhered that to both sides of the photo and then I added some clusters of flowers, using the gorgeous Gardenias and Roses available in the my2angels store.


Tracy also makes the most fabulous handmade embellishments and I was able to include this little beauty on this page ... the Pink Present charming chain. These are available in several colours and I just love them all!!!


Using off-cuts, I  made my own little funky banner and decorated it with buttons, cutouts and stickers, before attaching it to the page with some green twine.


After inking the edges, I used the square die cut element from the HIP HIP paper for my title "Today I turn...5".


And here is the final layout.


LISA


JESS HERE

Righto ... I have a scrappy share today. This is a just cos layout.
I've been having a play with the Kaisercraft "Save the Date" range. 
 Usually I'm not super keen on really "themed" ranges, but this one really caught my eye. The colours are fab and all the embellishments & stickers etc that come with the range are super cute.


I'm really loving layering pennant/banners at the moment ... as well as loving "splats" on my page. I've had a couple people ask how to do them, my2angels has a tutorial HERE on how to do them : )

How cute are these cabochons over the save the date heart rubons! 


Layers, layers , and more layers ...


Here is a list of products I used:

- Kaisercraft "Save The Date" Papers, Aplha Stickers, Rubons Stickers & Pennant/Banners.
-Distress Stain in "Mustard Seed" for splats.
-Glimmer Glaze in "Oil Slick" for black paint splatters.
 -Glimmer Glam in "mermaid" for stamped circles.
- Manila tag.
-Scrapware "ATC Frame". Which I painted with white paint and doodled on.
-White scalloped edge felt frame.
-Transparent glass Cabochons.
-Black and White spotted acrylic button.
-Small holed red acrylic button.
-Staz on ink pad in Jet black.
-Baker's Twine in Teal & White.
-Tim holtz paper rosette die.
-black cotton thread.
-black pilot permaball pen.
-Chevron washi tape.

love and peace xox

Jess

PS.  Have you seen Keonie's fantastic layouts and cards in the gallery where she uses 'Save the Date'?

I love the different styles of layouts she has used .. here is the link to view them all.


and lastly, from me, 
Tracy

with some layouts using our Sport Embellishments


with Plain Cardstock and scrap pattern paper to create this double layout
with Jack Frost Glimmer Mist flicked over the snowflake coredinations cardstock


Left Side


with our blue flowers

and
Stampendous Marine Aged Embossing Powder on the chipboard letters


our cheerleader charms
and Royal Blue Liquid Pearls to create the circles on the background


and the right side


with more of our blue flowers
on the powder blue rockabye thickers for the date I sprinkled Stampendous Powder Blue Fragments


and now using our Softball Pins


Softball Charm


and Cheerleader charm


with our blue star felt ribbon, blue felt star and Tim Holtz Rosette


Stampendous Marine Aged Embossing Powder on the chipboard letters


I wiped a little Timber Brown Stazon on the Softball Charm to tone down the silver and blend in with the gold in the embossing powder on the title


See you all in 2013
PS Keep an eye on the new arrivals section we have lots arriving in time for the New Year