
Hi Ladies,
Ngaire here.
I don't do doubles all that often - about as often as I do multi-photo layouts - so it makes a nice change to work on a multi-photo double layout. There has been a lot going on over the past few months and I've not had much time to scrap and I am doubly pleased to get something finally completed.
The range is one of the two new Kaiser ranges for June - True Romance - and it is a sweet and pretty range, just perfect for feminine, shabby chic style layouts. The dominant shades in the range are pale blues, greens and pink - with a slighter darker reddish pink for contrast. Themes in the range include some gorgeous pink roses; birds with their cages; and lots of lovely luggage tags. All very girly and pretty.
For the base of 'Cherish Life's Moments' I used the reverse side of the Affection paper - but I cut it out as a frame, so that I could use the smaller piece as well. Over this went a slightly smaller piece of the reverse side of Faithful and then over this went the cut-out bit of Affection. I really like the old-fashioned script you can see on this paper and being a background pattern, you can pile heaps of other things over it without missing out on anything really pretty.
I distressed all the paper edges and inked only the base paper. Rather than use other paper layers, to embellish the page I added a paper doily and some hand cut roses/tags. The larger of the two tags comes from the Desire patterned paper. The hand cut title letters on it are from the First Sight paper.
The fussy nature of the hand cut flowers/doily make the layout look a little busy - so I kept other embellishments to a minimum.

I love these filigree edges - the Twiddlybitz Wrought Iron Mantle - it's so easy to pop them alongside a photo to make an interesting border piece. This one has been inked with several layers of ink to get that lovely mottled pattern. The first layer was a mid-dark grey ink. Over that went a layer of white - but very sparingly - and then random bits of white ink dabbed here and there. You end up with a variety of greys and some white splotches - all very chic and shabby.
Over the top I popped some hand cut roses from the Adore paper and the daughter charm from the Daughter Pink Charming Rose Chain. I embossed the charm (and all the other bronze charms on the layout) with some Stampendous Aged Embossing Enamel Ivory - but I need to make a note not to do this again with the 'text' still inside the charm. :( Obviously the glue didn't like being heated - oh well, you learn as you go.) The cream pearl is part of the Cream and Antique Bronze Keys Charming Chain set - I've used the rest elsewhere on the layout.

In the top right-hand corner of the layout is the rest of the Daughter Pink Charming Rose Chain set. I've curled over a bit of the top paper edge and tucked some more hand cut flowers from the Adore paper underneath the edge - just to fill this empty bit of corner.

I like to layer other embellishments on my chipboard pieces - here I've added some more hand cut flowers and the rest of the Cream and Antique Bronze Keys Charming Chain set- to the Twiddleybitz Eiffel Tower . Like the other chipboard pieces on the layout (the exception being the title) the Eiffel Tower has been given the grey/white inking treatment.
The Twiddleybitz chipboard title - Life's Moments - has been treated with Stampendous Aged Embossing Enamel Ivory embossing powder - which gives it a lovely creamy white colour with gold flecks through it.

Underneath the photo I added in a Large Antique Bronze Key charm and one of the tag pieces from the Perforated Tags Sweetheart patterned paper.

The second page of the double showcases Madame's (current) outfit. It's a very pretty, feminine tulle skirt and crocheted top from an Australian company called Dollcake.
I've used the same basic patterned paper arrangement as for the left side of the double and kept to roughly the same elements.
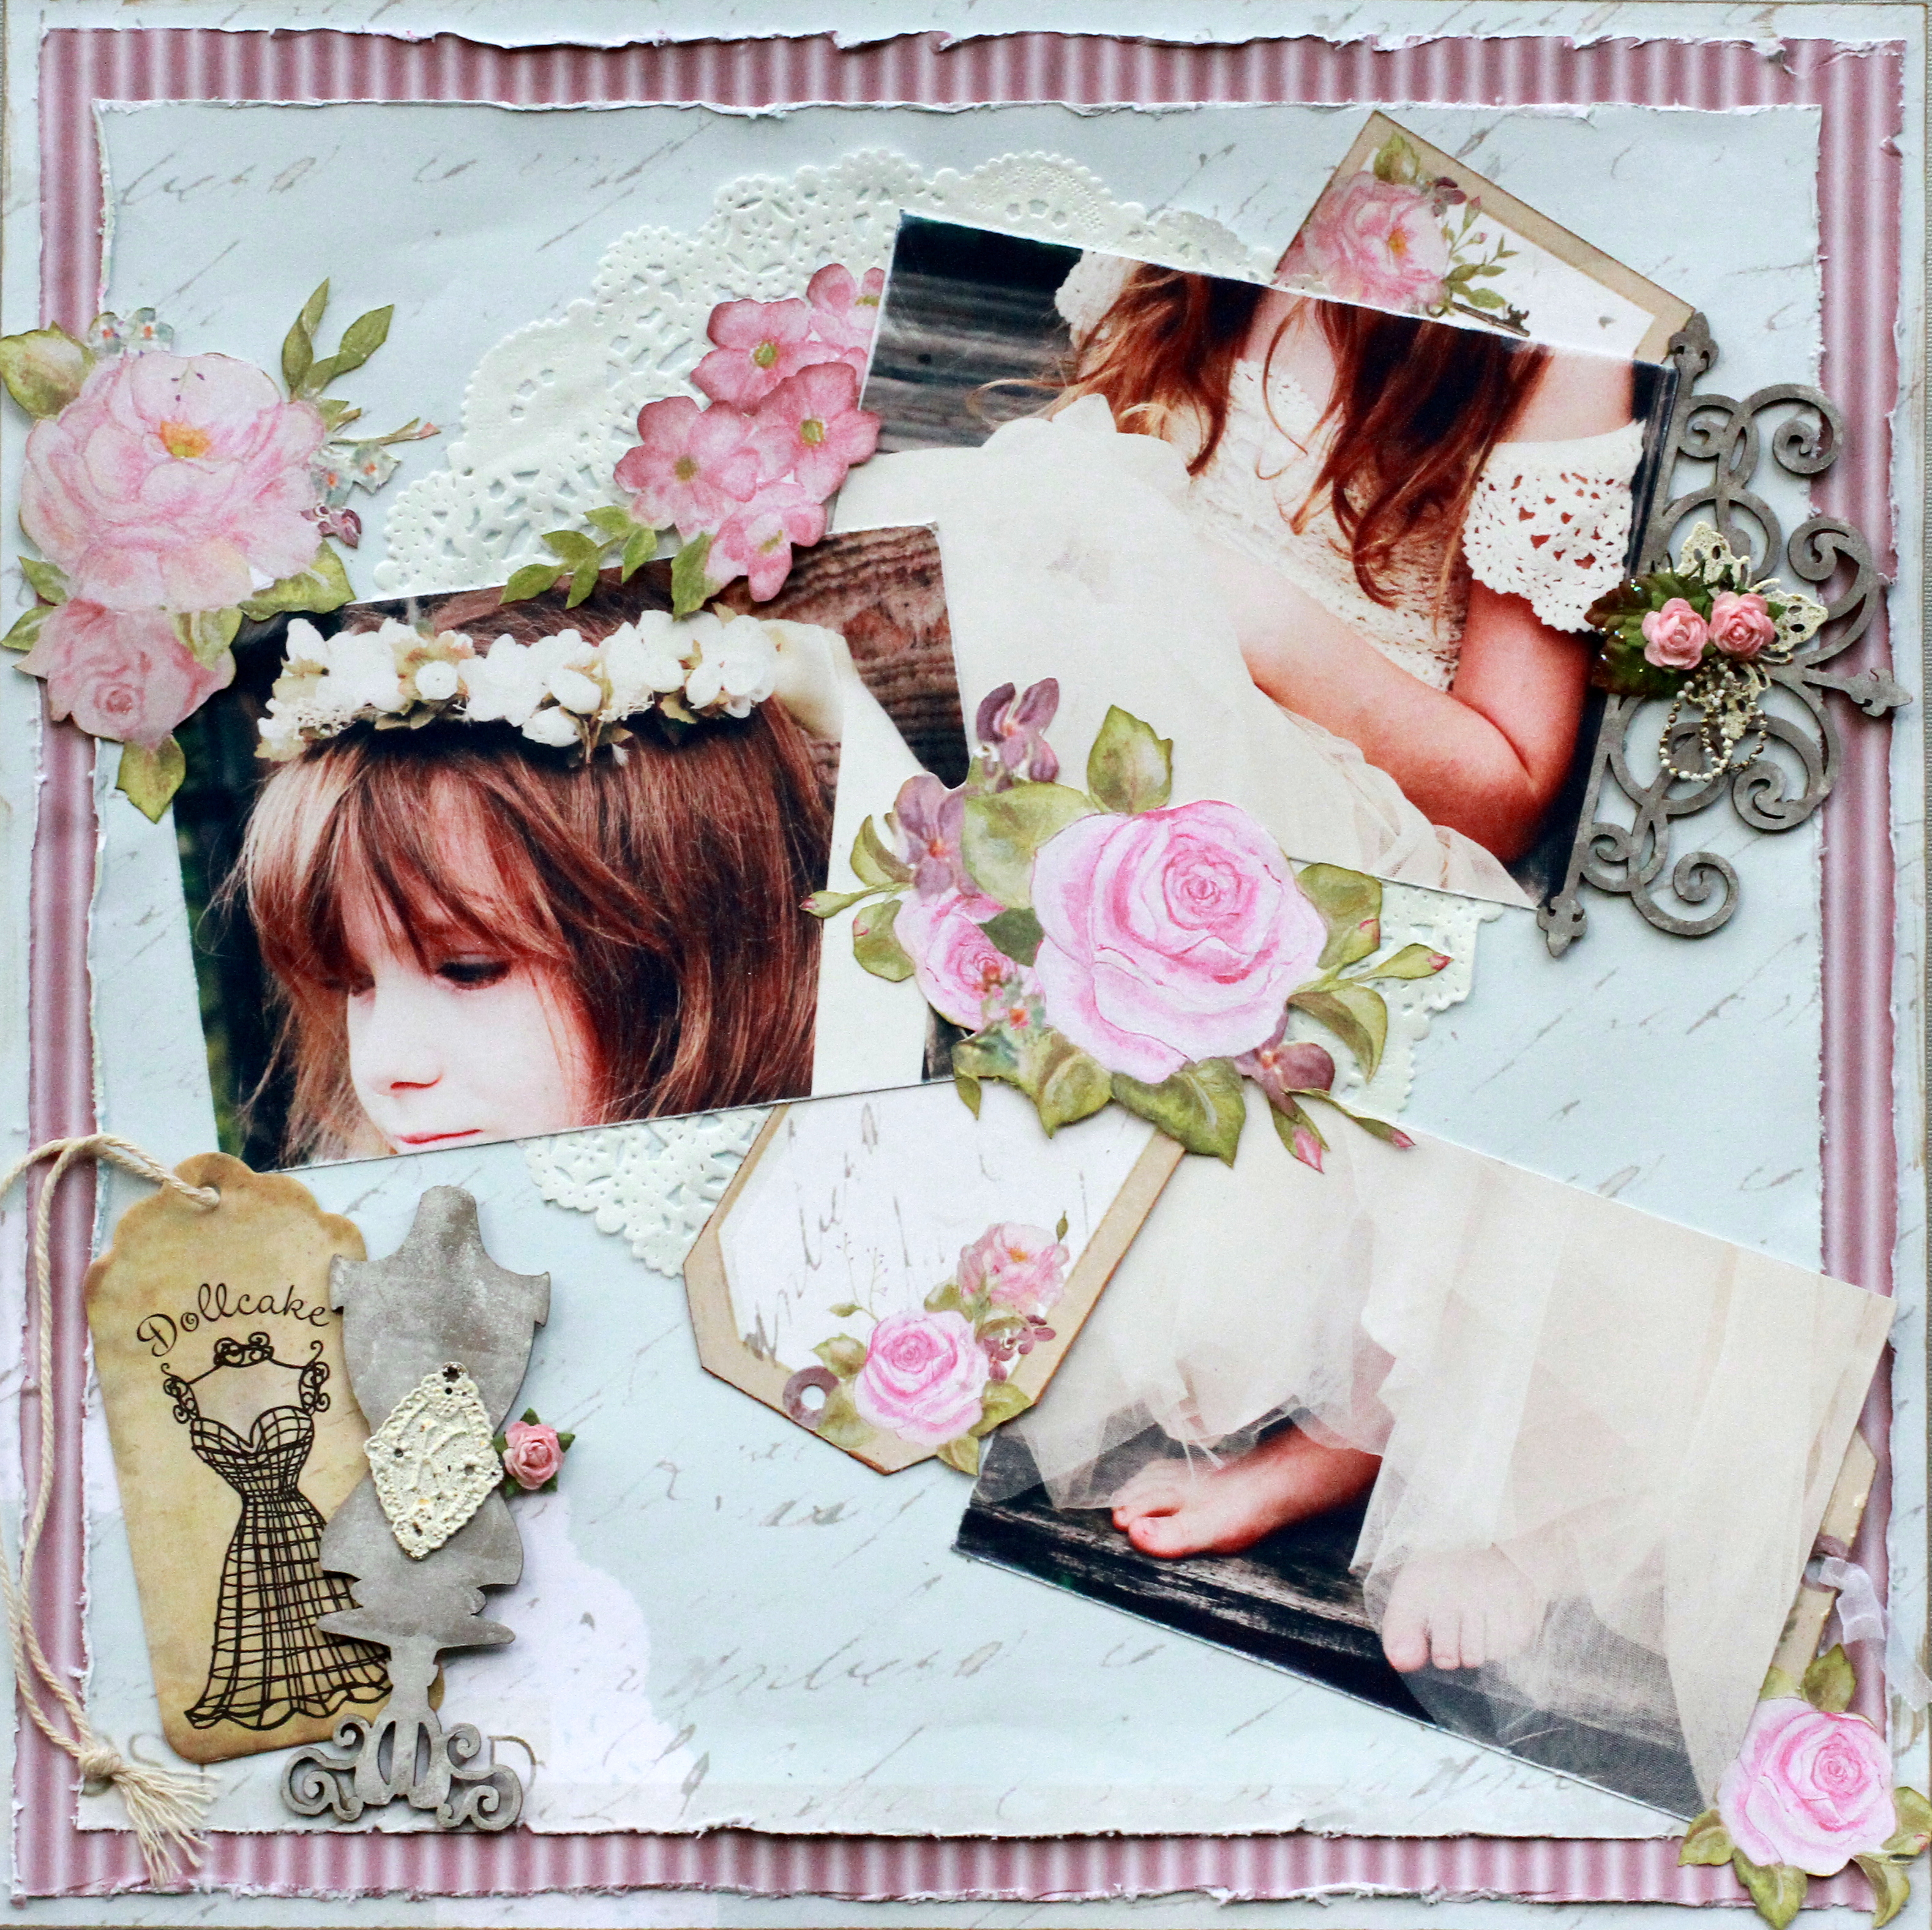
The filigree work on this Twiddlybitz Wrought Iron Mantle is a nice match for the crochet work on the top. The top was the inspiration for using the doily as well. The roses and charm embellishment is one I made up myself from various left-overs. It came up rather nice I think - and I can see myself making a few more.

All of the hand cut flowers come from the Adore paper and the two tags are again from the Perforated Tags Sweetheart patterned paper. I trimmed off the perforated bits and inked the edges to hide that they were once perforated.

The final elements in the layout are the gorgeous tag that came with the skirt/top and in keeping with the dress theme - I added in one of the Twiddleybitz Vintage Miss Mannequins. They come in a set of three - this is one of the plain designs. The "K" bronze charm is from my stash, but the rose next to it is one of the 'left-overs' I used to make my other embellishment.

So there you have it - my first layout in several months - and a pretty feast of girly sweetness.
Check out my2angels for the Twiddleybitz chipboard, True Romance papers and bronze charms I've used and have some fun making your own shabby chic creation.
Ngaire


.jpg)
.jpg)
.jpg)


