Ngaire here. So it has been awhile since my last post. :( Not what I had planned, but life has been very busy and I've not had time or energy to devote to my scrapping. I did, however, very much like this new range by Kaiser - Garage Days - and so I decided to spend a little time putting this layout together for Madame.
It's a nice, grungy masculine range - a bit vintage in the image choice (which you either love or loathe), but you can ignore the images and use the cool colours and patterns if you are so inclined. The blues, reds and yellow work together really well and there is a fabulous ledger page to provide a contrast to all that colour.
I started off with a piece of Workshop - but rather than trim off the Manufacturer's Strip at the bottom - I left it, and trimmed off some of the paper from the top. I also inked every paper edge on the layout with Versa Magic Jumbo Java, just to grunge it up a little more.
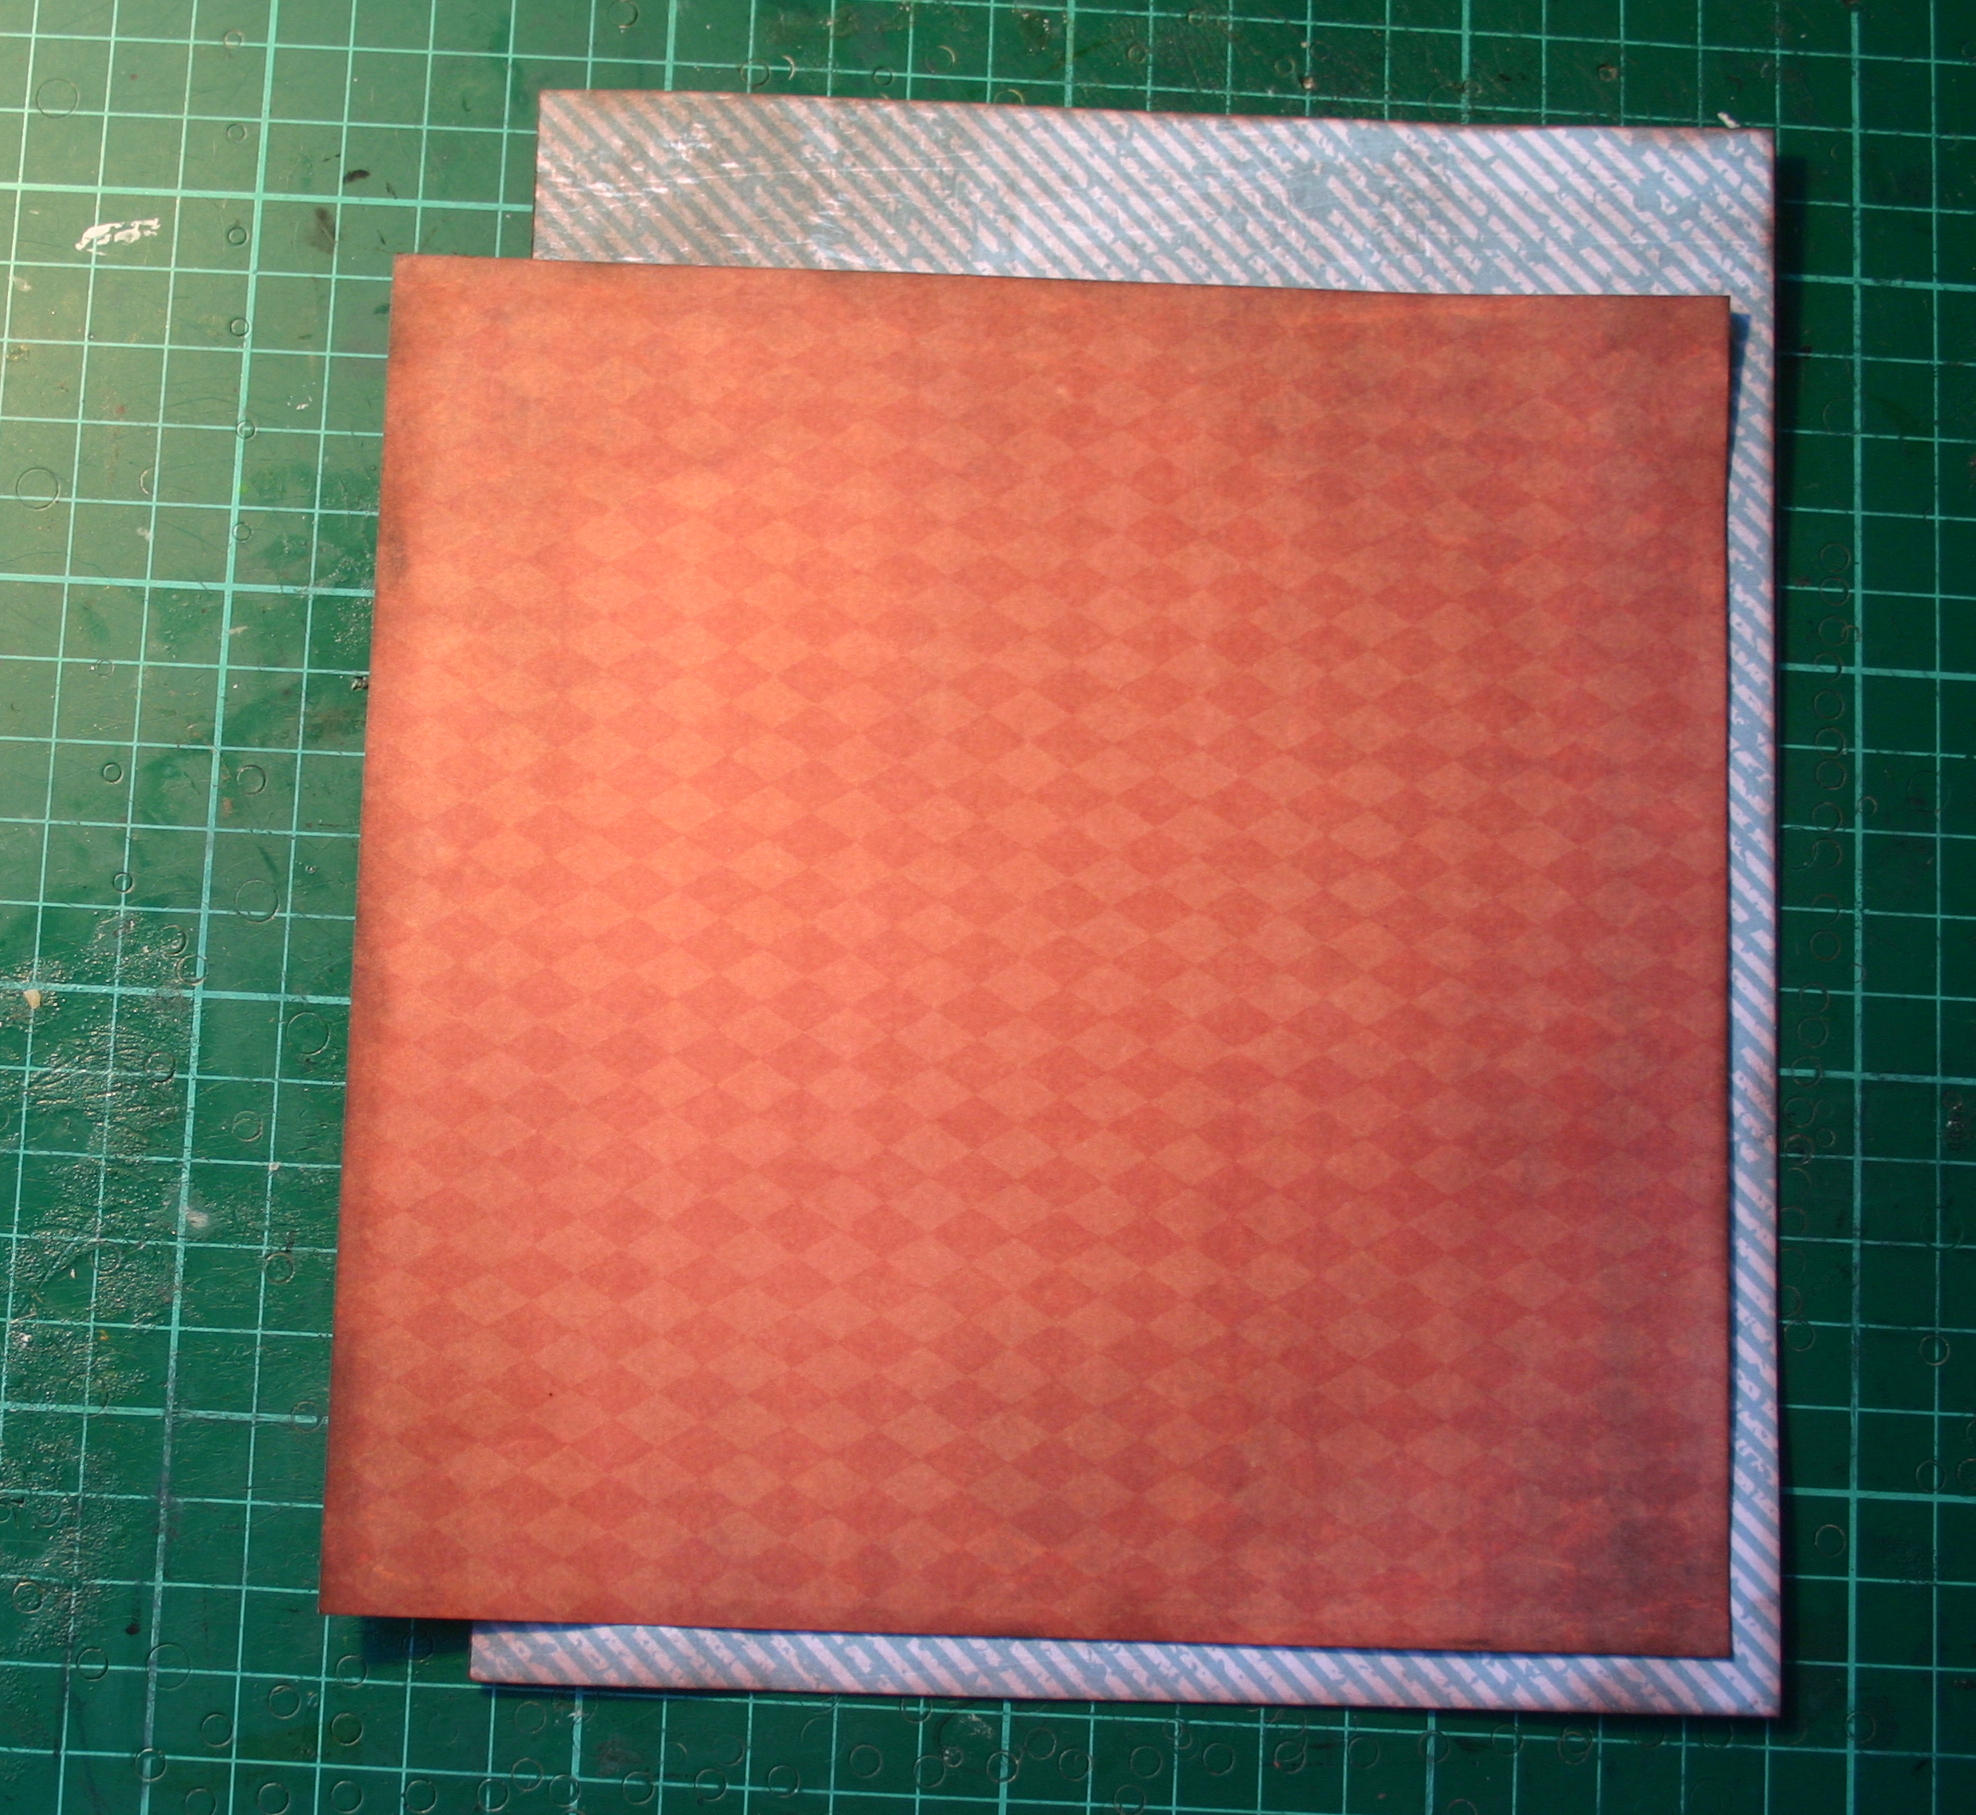
Then I added a cut-down section of Wheel Alignment. Love this pattern - and the contrast to the orange-red is simply awesome. To get this clean neat look to the two papers, use your craft knife to cut the edge of the title shape around the top half of the shape. Then slip the smaller paper in under the title shape and adhere. Now it looks like it is just the one piece of paper/design.
I've then added in a section of the ledge paper - Nuts and Bolts - to provide some contrast to all that colour. As you can tell by now - I'm going for a layered look for this layout, so I need something for all the colours to contrast against and the ledger does that nicely.
I used a little of one of the papers from the Paper Pad here, but you just as easily use a bit of Workshop if you didn't want to buy the pad.
Another piece from the Paper Pad, overlaid on a section of Gas Tank ...

and adhered over the ledger paper. The layering works as it repeats patterns (the diamonds) and colours (red and blue) - you end up with a complex look to the layout without much effort (well - without much apparent effort).
Finally - the photo. Madame and her adoring Daddy sharing a moment together out in the backyard.
I had a bit of a dilemma at this point - I liked the layering so much I didn't really want to hide it under a tonne of embellishments AND my poor brain is still a little fried, so simple was very appealing to my level of creative ability just at the moment. I'm having a bit of a 'funk' and rebellion at all the medium heavy and 'tonnes of stuff' trend at the moment, so I decided to keep it simple and see what came of that.
I popped together a small cluster of assorted cog/gear bits that were left-over from other layouts - along with a couple of die cuts from the Collectibles pack, a small flower and a wayward bit of twine. Some are only pieces of cog, whilst others are the full thing - and they have been inked with an assortment of inks (metallic silver, black and white with a light coat of Kindyglitz) to match the colours of the papers.
Another smaller cluster used some more of the spare cogs/gears (some are wood and some are chipboard), another flower and another die cut from the Collectibles pack.
I also used a diamond pattern die cut strip from the Sticker Sheet - but over the top of it I added a rubon from the Rubon Pack. As usual from Kaiser, it didn't work properly the complete length of the rubon, but since it is a grungy sort of layout, it didn't worry me too much.
The only problem with the rubon was that it wasn't long enough to do the entire width of the page. This left me with a section of the diamond pattern die cut strip that would be without a rubon overlay. To hide this missing section I popped the largest embellishment cluster underneath the photo and over the top of the missing rubon section.
This time I used an assortment of cogs and wheels from my stash. They're all chipboard and probably from a range of different companies. I kept to the same selection of inks - but added in a grungy light blue I found that matched the blue in the diamond pattern of one of the papers.
The final element was a tag I made out of a left-over bit of the ledger paper and a piece of twine. I popped a note on it about how much Madame loves her Daddy and cuddles with him.
So here is the final layout. Looking back at it now I am not sure that I like the simplicity of it after all - I might just have another play with it over this week. Browsing through the store pages for these papers I noticed some of the other store items that Tracy has popped in as suggestions - and there are a number of charms I want to add now - along with some of the new stamps Kaiser released with this range.
Garage Days is an awesome range to play with - I do like the way it suits a girly/daddy layout - as well as being great for all types of masculine layouts. So check out the store for Garage Days, you won't be disappointed.
Ngaire


No comments:
Post a Comment