Wednesday, December 19, 2012

It's a Brown and Green Christmas

Have you seen our Olive and Brown Gardenias?  


Gorgeous aren't they - and the colour combination is perfect if you like a Vintage Christmas Theme.  So with that in mind, here are a few Christmas ideas to share that won't take long to make and will leave you with plenty of time to enjoy it.

 
Napkin Ring Holder


First, take one of our Filigree Borders and fold to create a ring (these are very easy to bend and also easy to cut with scissors).

vintage napkin rings


Front View


vintage napkin rings
 Back view

vintage napkin rings

 
Now cut 2 pieces of holly from a bit of cardboard (using this template), ink them in green and then cover with dimensional magic.

christmas holly template

When dry, adhere holly leaves to the front of your napkin ring.  Remove the chain from your Antique Bronze Merry Christmas Charming Chain and glue to the tops of your holly leaves.

 
With a pin folded through the loop of your Charming chain, add two red bells from the Traditional Bell pack for Holly berries and you are done.


And how about a 
Wine Bottle Gift Holder


Make yourself another set of holly leaves and put aside to dry.

Cut the template out from a pizza box and tear off random areas of the top thin paper layer. Then run it through your cuttlebug using the Bricked Texture Fade.


Using Fired Brick Distress Ink an ink blending tool, ink over the brickwork so that it gets into the grooves of the embossing. Then, using your Fired Brick Ink Pad, ink directly over the brick wall so it only inks the raised brickwork, thus creating a lighter and darker image.
 Again with your ink blending tool- this time using Vintage Photo Distress Ink, apply it to the "torn" layers.  Then carefully apply the ink pad directly to these areas.

Tie 2 bows from Brown Scalloped Edged Ribbon and adhere on top of each other, add 3 Green mulberry leaves with brown tips and centre with a Brown Gardenia.

Add an Antique Bronze Merry Christmas Charming Chain
to hang from the gardenia and you are done.


Christmas Cards

vintage christmas cards

From a piece of acetate, cut an oval for your mask.

I used Twiddleybitz C6 Kraft Cards for my cards.

For the first 2 cards, use the inner oval as your mask and spray with Olive Vine Glimmer Mist. Highlight the oval with some Avocado Liquid Pearls.
Stamp Merry Christmas (the mistletoe charm is covering up a "whoops" moment with my stamp lol) towards the bottom of the oval.

Card One 

Use a round flower filigree topped with an olive gardenia as your focal point.  
Hanging from the filigree are 6mm dark brown pearls and 6mm dark green pearls, with 7cm Antique Bronze eye pins to hold them on.

vintage christmas cards


vintage christmas cards

To create your "wreath"

vintage christmas cards

Place beads and then bead caps onto your pins and bend different lengths with your round nose plyers.

vintage christmas cards

Trim pins level with the top of your bead caps using plyers.
vintage christmas cards

Thread pins through the top hole of a round embellishment finding and "squash" each pin together to secure.

vintage christmas cards

Play around with different ribbons and beads to match your colour theme.

To view all our beads and pin accessories, head over to our accessories section on the website.


vintage christmas cards

Tuesday, December 18, 2012

Exciting News and an Off the Page Project to share

Tracy here - just wanting to share my exciting news. I've won a place on the Twiddleybitz Guest Design Team for the months of Jan/Feb/Mar in 2013.  Whooo hoooooo - now I'm REALLY an Angel. Lol.

For my submission, I made this lovely little "Grandma's Sewing Corner". It all started with this cute little Twiddleybitz chair and kinda morphed into a part-room.

The MDF Chair comes in a pack of two and you can check the raw chair out here in our 'Coming Soon' section. Along with some other Twiddleybitz goodies, the chairs are currently on-route to the store now.

I embossed mine with Stampendous Aged Embossing Aqua Enamel (back in stock 31st Dec) - but you can just as easily ink yours for a 'polished wood' or paint it white for a 'limed/distressed' look.

Twiddleybitz Chipboard Scrapbooking

I cut out some MDF to make the base and half wall of the room corner. Then it was a matter of "wallpapering" the walls with some Bo Bunny Welcome Home paper and popping on a little bit of fabric for the blind. The flooring is cardstock - which I embossed with Wood Grain Embossing Folder (back in stock 1st Jan). Then all I had to do was pop in an assortment of pretty things ... and did I have fun finding them in the store!!

I made a vintage book - using a filigree as the binder and old book pages for the inside leaves of the book. (Some of you will remember something similar from one of the Embellishment Classes). And YES - I really DID knit onto our Antique Bronze Pins.

I popped some of our Brown rose buds into pot for a simple flower vase and tucked in a Sewing Spool Charm to finish it all off.

Twiddleybitz Chipboard Scrapbooking

In a little cardboard work basket, I popped an Antique Bronze Scissor charm and some blue safety pins, along with some small bits of embroidery thread.

Twiddleybitz Chipboard Scrapbooking

For the table cloth I used some scrap material, adding some of our lace edging to it for a vintage look. To keep Grandma company whilst she sews there is this cute little cat charm.

Twiddleybitz Chipboard Scrapbooking

I made a little tea tray for my chair (from a matchbox) and on it I put our Antique Bronze Plate with Cutlery
and I cut the pin off an Antique Bronze Brown Teapot to make the perfect teapot for Grandma.

Twiddleybitz Chipboard Scrapbooking

Here's a 'birds eye view' of the cosy corner.

Twiddleybitz Chipboard Scrapbooking

So be sure to check out this cute little chair (and the other Twiddleybitz items) in the 'Coming Soon' section of the store. (ETA 21st December)

Believe me - you really need to make space in your stash for a piece of Twiddleybitz yumminess. ;)

Sunday, December 16, 2012

It's a Pink Christmas (my favourite)

Each year I create my own Christmas Crackers for the family, instead of purchasing crackers with items inside that are usually thrown out.  This way everyone gets a small gift that they like and will use.

I make no secret in stating that Prima Romance Novel has got to be my favourite paper from Prima for a long time, I decided to go non-traditional this year and use this beautiful paper range for my Christmas gifts and tags

This year I decided to make crackers that we can use for years to come.  We always have silver on our table and for the past 4 years our Christmas theme has been pink and silver.  If I have my way, it won't change for years to come, so using this colour theme for my crackers is a safe bet.


To construct the cracker - use either an empty handee towel roll - or for larger crackers - a rolled bit of cardboard like a pizza box or old cardboard box (these are great because of the ribbing in-between the layers, it allows you to roll your card into a tube much easier).  I don't use toilet rolls, it just seems too gross, but that is my own personal opinion, use whatever you want to.

Cut 2 pieces of fabric which will roll around your cardboard tube 1.5 times.  Cut the length ends of fabric with decorative scissors.  I have used 2 pieces, because the organza fabric on the top will show through to the satin fabric below, giving it a nice double layer.

Place fabric on top of each other.  Secure one length to the tube and then roll around until you reach the end then secure.

Tie a bow at each end.  I secured one bow with my hot glue gun (remembering these are for future Christmas's), so it is permanently closed.


For the boys


For the above cracker, I first cover 3 x 2.5cm white mulberry leaves with Brushed Pewter Distress Stain or Silver Paint Dabber and put aside to dry.  Adhere round silver brass filigree to cracker, add your name tag, coloured white leaves, silver bow and silver bells

I used our silver fibre ribbon,  for the boys which comes in 5m bags for $2.50 - so you will definitely get at least 6 crackers from the packet with some left overs.  Place gift inside cracker.


The above "Mark" cracker has our white felt stars and scrolls ribbon around the middle of cracker, add name tag, silver bells and silver fibre ribbon


And for the Girls


Tie 2 bows on top of each other from pink organza scalloped ribbon.  Add a Round Silver Ribbon Slide, add name tag and place pink roses around tag and ribbon slide.


This one has a mulberry flower backing, round silver ribbon slide, pink crackle glass beads, a pink rose with a mum charm for the name tag


For the adults I always put in a miniature bottle of alcohol:)

This year inside DD's cracker I have made her a Butterfly Clip, available in our filigree section for $1.20 each, plus a few other small girlie things.

Making the clip is mega easy.  Tie a bow with pink organza ribbon and top with a pink rose


For a gift card holder, you can't go past Prima Romance Novel Bookplate, as there is already one for you to cut ... woo hoo gotta love it when something is half done for you!  So cut it out and also two of the little round circle tabs on the sheet.


Fold your holder and apply your tape - BUT DON"T ADHERE YET.  Line up where you want your circle tabs to go and hole punch them.  Pierce 2 of our Pink Metal brads in the centre of the circle tab and through your pre-punched holes on the gift card holder and seal by folding the brad prongs back to secure in place.  Ink edges with your choice of ink, I choose Versa Color Pine Cone Ink.

Now you can adhere your gift card holder, so you should have this. 


Tie pink organza ribbon around the brads and tie a bow with one of our Hanging Present Charms looped inside.  I coloured mine with Dark Chocolate Liquid Pearls and Flamingo Liquid Pearls.

To create the name tag I cut a tag from Prima Romance Novel Bookplate, placed pink organza ribbon inside the tag before sealing so it can be hung from the tree.  Tie a bow with 3 pink bells from our Christmas Bells 6mm Non Traditional Pack.

 Then finished off the tag with 3 pink roses.


And...

Wine Bottle Tag

When gifting friends with wine (these are the kind of friends I like! LOL).


Using this template, cut from a pizza box for sturdy cardboard, score the dotted lines and cut out 5cm diameter circle as indicated.


I have used the gorgeous Romance Novel Love Story for my wine tag and inked the edges with Versa Color Pine Cone Ink.

Cut a piece of acetate approximately 3cm x 5cm and hot glue 4 1cm pink roses and a scatter of pink glass beads onto acetate.  Trim off excess acetate.  Tie 3 pink bells from the Christmas Bells 6mm Non Traditional Pack together with Light Pink and White Bakers twine (I pulled out the white twine so I just had pink thread) and adhere the excess twine to the back of your acetate.

So you should have something like this


The chipboard Merry Christmas have been heat embossed using Stampendous Copper Enamel


And here is a quick easy Christmas Card

 Using an oval piece of acetate as a mask, I sprayed around it with Vintage Pink Glimmer Mist and leave to dry (TIP: to prevent so much warping when using Glimmer Mist, lightly spray the backside of your paper first with water).


Centre a silver round brass filigree with a pink lily.  Add pink crackle glass beads (see here for instructions on how to attached beads to pins)


To finish off your card, add dots of stickles to the edge of your oval.


Thursday, December 13, 2012

Why not let us take care of your shopping for you!


my2angels offers Gift Certificates to give to your scrapping friends or family this Christmas OR drop those hints for your family and friends to give to you for a perfect gift this year.

OR 

if you prefer for us to make up a Gift Pack, we can do that and send it directly to the recipient Gift Wrapped & tagged.

Just send us an email with the value, theme/colour and we will take care of it for you ... then you can tick another present off the list and get on with others ... too easy!


Tuesday, December 11, 2012

On the 11th and 12th Day of Christmas ...


On the 11th and 12th day – we have a special offer for you.


For every $12 you spend on full priced items - you can choose one each of (up to) 12 items for 12c each in the 40-50% off monthly specials section.

Spend $24 on full priced items - then you can choose one each of (up to) 24 items for only 12c each


Total will be tallied after checkout and an email will be sent advising of your correct cost.


Offer is valid for 2 days only
ending 13th December 8am AEST


Please note:  No vouchers or promotional codes valid during the 2 day sale


Monday, December 10, 2012

On the 10th Day of Christmas and a Santa's Mailbox

On the tenth day of Christmas
my2angels gave to me
12c pins for pinning
12cent tiles aplenty
12cent ribbons flowing
12cent charms a shining
12cent flowers flowering
Combined Postage
12cent specials shining
12cent charms a charming
12cent filigree adorning
12 embellies for 12cents each for a $12 shopping spree… 


 Check out today's 12 products for 12c in the 
12 Days of Christmas Promotion section here
 
 
Hi ladies
Jen popping in today to show you the gorgeous colouring of 
Red Nose Reindeer Glimmer Mist that Tracy has in.
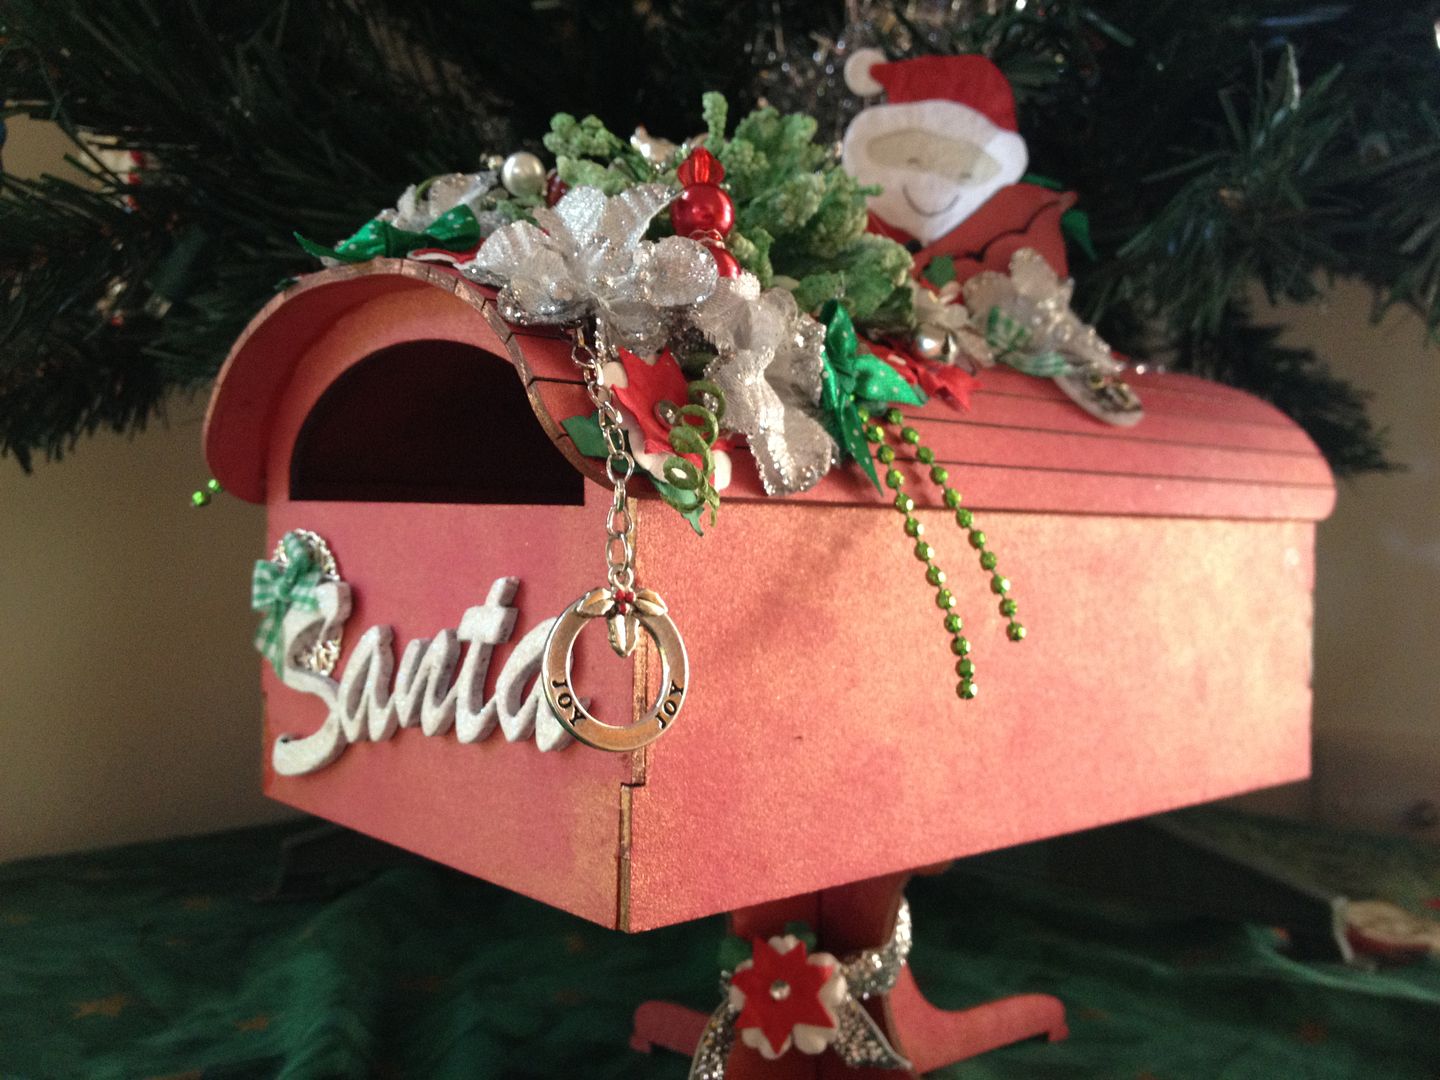
Also using the new mailboxes from Twiddleybitz I just had
 to have one right away! 
 
(A little elf told me that Tracy is going to start
 stocking twiddleybitz so if you want one, 
let Tracy know)
 
   I started on it the second night I had it and 
glimmer misted it first thing! Unfortunately I had to put it (and 
creating in general) aside for a while but I finally managed to finish 
it the other night.  I am quite please with how it turned out.. I got to
 use some of my favourite products and I love that I stuck to 
traditional red and green for Christmas.

 
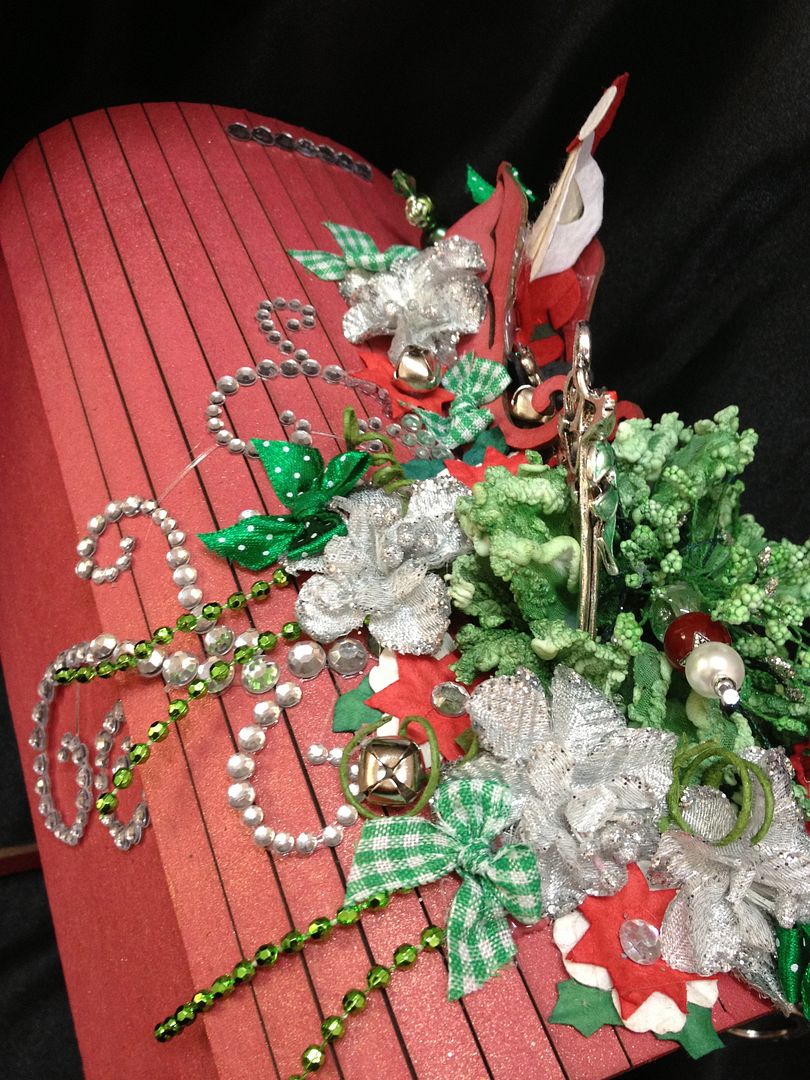
I followed the instructions sheet that was included to assemble and started gathering flowers and embellishments to decorate the top.  


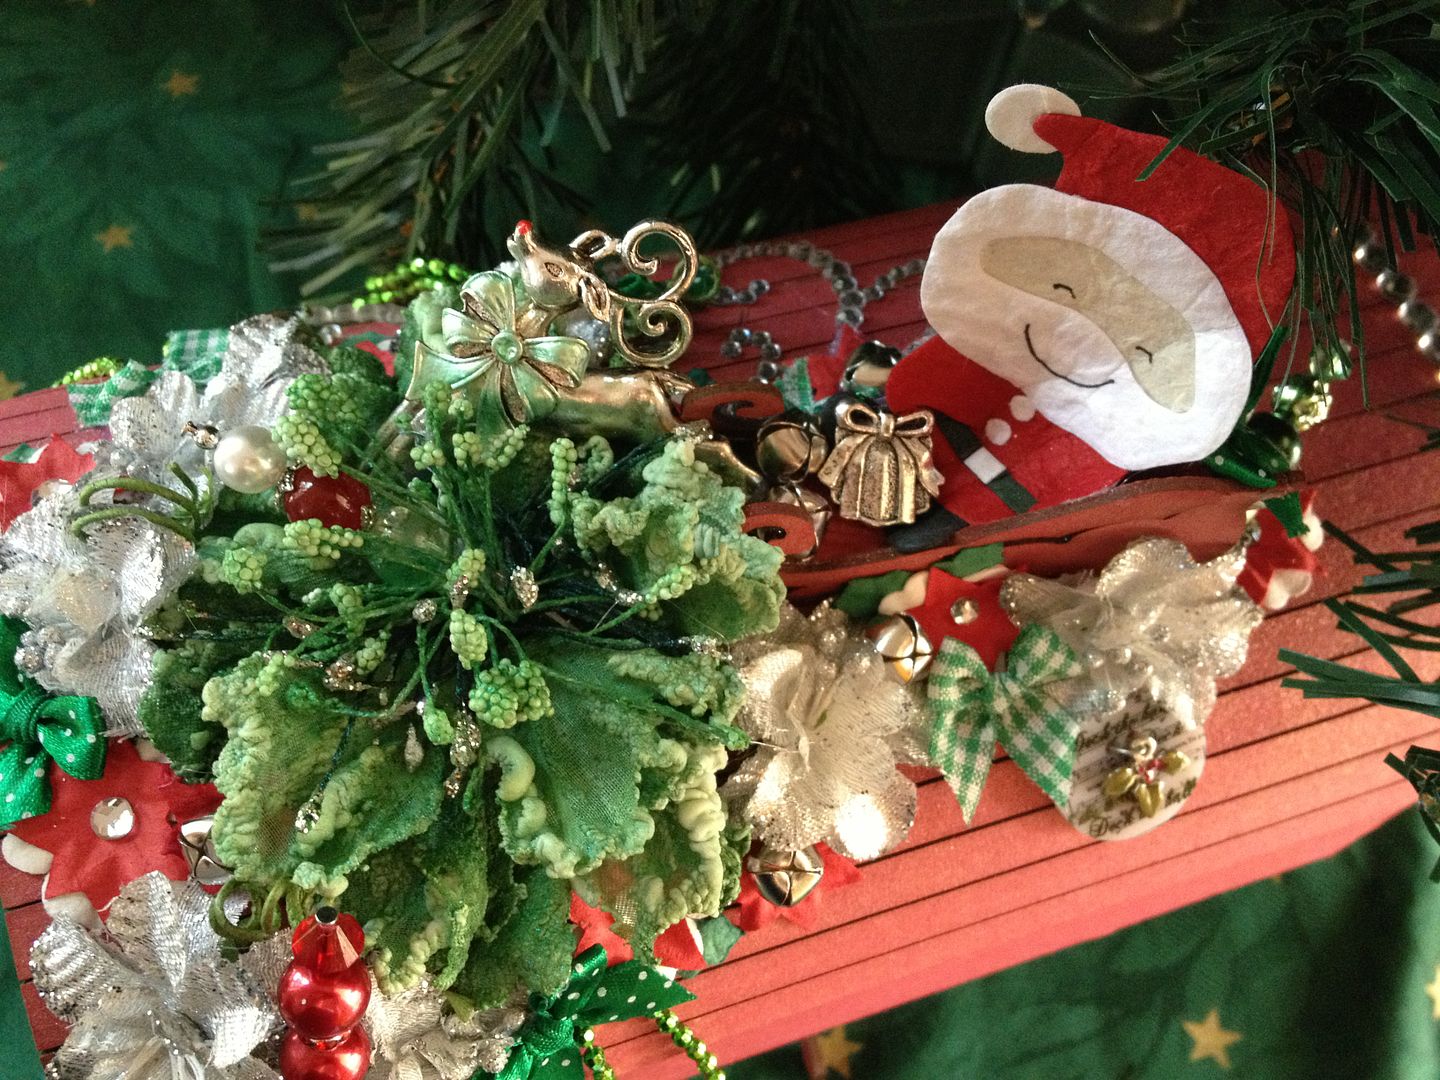
I made the small Twiddleybitz sleigh - added Santa and made Rudolph a bit fancy with my liquid pearls. 


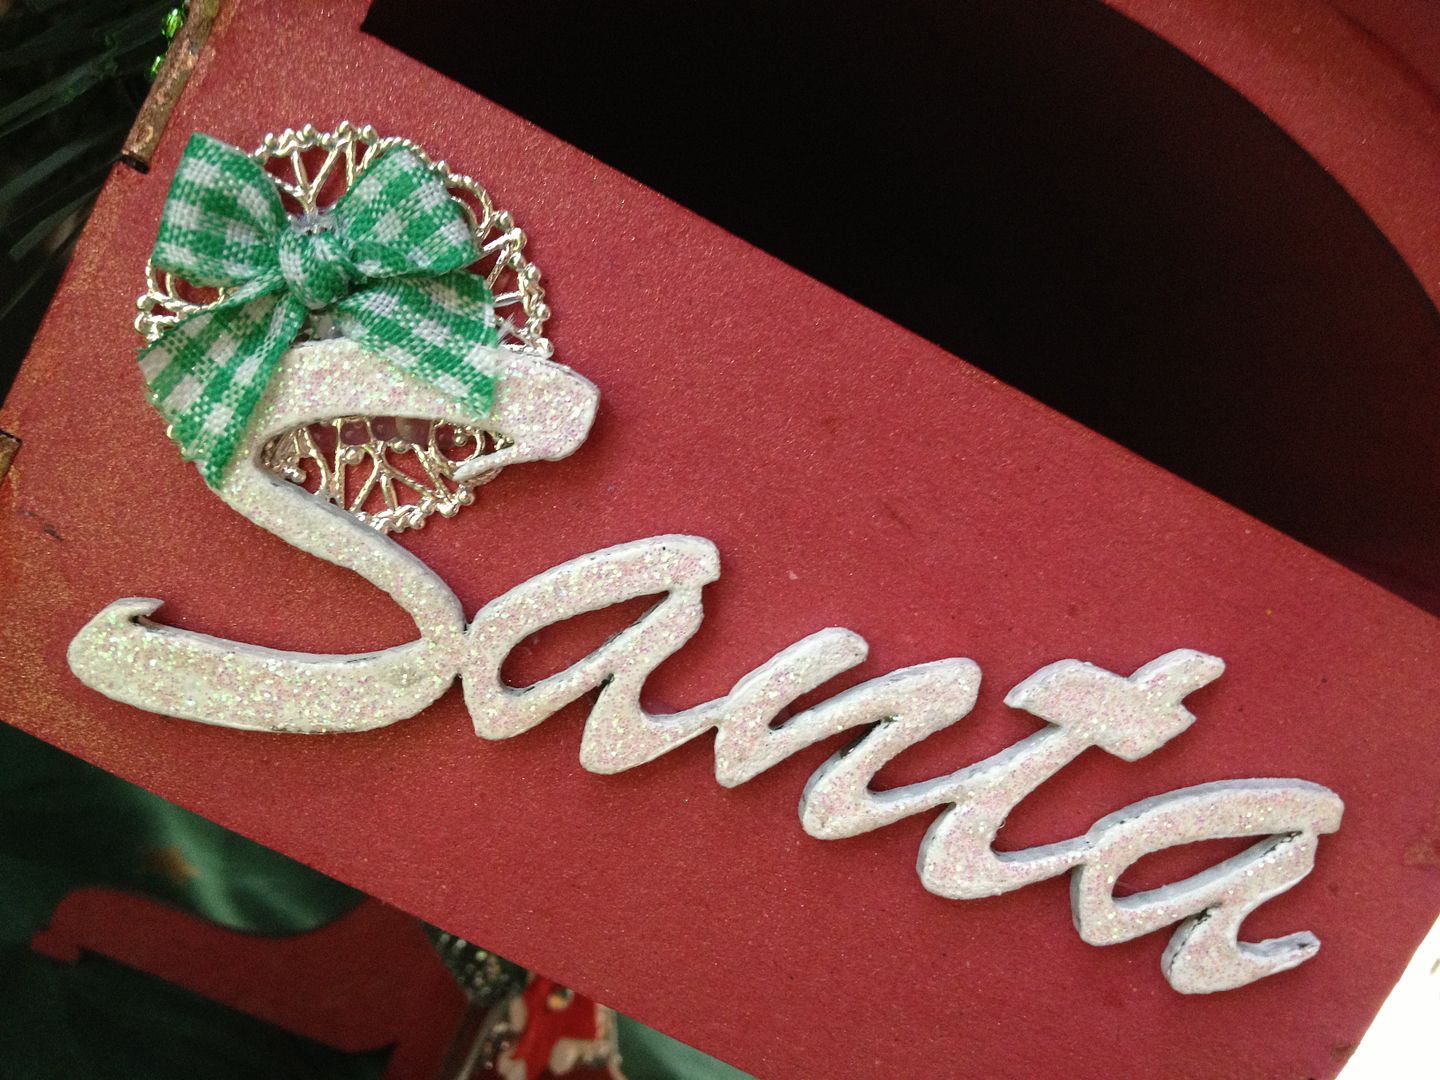
I covered the "Santa" with White Opals embossing enamels and completely covered in kindy glitz, it took a while to dry - then attached it with the embellishments from my2angels.
 
Then I tied some matching ribbon around the stand and added a leftover flower.

Ingredients:
Twiddleybitz - Mail box Kit
Twiddleybitz - Santa word
Tattered Angels Glimmer Mist - Red nosed Reindeer

My2Angels - all charms
My2Angels - all bows
My2Angels - all ribbon
My2Angels - all mini bells
My2Angels - Rudolf
Ranger - liquid pearls, ruby red and mint green
Kindy Glitz, christalina

I hope you like the new mailbox for our Letters to Santa!
Don't forget to let Tracy know what you want her to stock from Twiddleybitz
Thanks for stopping by -
Jen
:-)
 

Sunday, December 9, 2012

On the 9th Day of Christmas and Printable Calendars

On the ninth day of Christmas
my2angels gave to me
12cent tiles aplenty
12cent felt ribbons flowing
12cent haberdashery
12cent flowers flowering
Combined Postage
12cent specials shining
12cent charms a charming
12cent filigree adorning
12 embellies for 12cents each for a $12 shopping spree… 


 Check out today's 12 products for 12c in the 
12 Days of Christmas Promotion section here


With 2013 soon approaching, I found printable calendars on The Twinery blog that you may like to use to create your own calendar