Wednesday, July 30, 2014

2 quick cards with the mini birthday kit

Some like to have a good stash of birthday cards ready and some slap them together at the last minute (I belong to the latter group). No matter which one you are, the mini birthday kits make it soooo easy and they're only $2.00!  

Scrapbooking Birthday Cards
 Each kit comes with easy-to-follow instructions to assemble your embellies and in no time at all you've got something cute and handmade to put on your cards.

These mini kits are available in:
red (click here)
blue (click here)
and lime green (click here)
All I added was some washi tape, 2 white cards, some red and; white cardstock and a little extra twine.
♥♥♥
The steps were photographed at night, please excuse the bad light.
First, outline an oval die (or whatever shape you have) on white cardstock...
Scrapbooking Birthday Cards
...and cover the area with washi tape...
Scrapbooking Birthday Cards
...then die cut the oval. Die cut a matching shape in red.
Scrapbooking Birthday Cards
Glue the ovals together and emboss your card. Make the candles from the embellishment kit and stick them on top. Done!
Scrapbooking Birthday Cards

Next, cover the whole front of the second card with washi tape:

Scrapbooking Birthday Cards

 Punch 2 strips of white cardstock, as long as the card is wide. Glue the birthday word under (or over) one of the strips. Attach the strips to the top and bottom of the card.
Scrapbooking Birthday Cards

  Add a little extra twine and the gift charm and you're done. 
Scrapbooking Birthday Cards

A few drops of Liquid Pearls finish the look (I used baby blue).
See how easy that was! Why not give it a try yourself.
♥♥♥
Geli

Sunday, July 27, 2014

Planning doesn't always work...

Hi ladies! Some amazing and totally time consuming things are happening in our lives here right now, and one of them is the birth of DH's very first grandchild - a sweet little boy. I'm thinking this makes me a first time step-grandmother - a daunting thought!
It's very exciting, and lovely to have so many new baby photos to scrap! LOL! As if I've finished with scrapping the thousands of photos of my own children as babies, toddlers, teenagers and adults!!

As is so often the case, when I sat down to start this layout I had a very definite idea in my mind. The predominant colour was going to be baby blue, with some brown & beige accents, and the charms were going to be silver. I pulled out my Mini Sweetheart Baby Blue Heart kit, and some blue papers and I chose my embellishments accordingly. As is also often the case, what I ended up with was this....

Scrapbooking Baby Layouts

OK, I know...nothing like the plan.

The background paper is from 7 Dots Studios ''Nature Walk'' - a very neutral. lightly patterned piece. 
I started by adding a bit of Walnut Stain Distress Ink to the edges, then used a Basically Essential stencil to add a pattern in the same coloured ink. After that I used the same stencil with Mother of Pearl Champagne Modelling Cream, adding some texture and shine. Finally a light spray and a few flicked spots with Kiwi Perfect Pearls Mist.
That was when I decided that I wanted to make this a monotone layout and gave up any thoughts of blue. I took the Mini Sweetheart Baby Blue Heart kit, and, following the precise instructions included, changed the colour of the heart, the background, the sugar beads, the silver charm and the ribbon. LOL - luckily I have two of these beautiful little kits and so I can make up the baby blue one later! First I painted the chipboard with Antique Linen Distress Paint, followed it with a few swipes of Walnut Stain Distress Ink on the edges and a coat of Crackle Accents.

When it was dry I attached it to the background chipboard and filled the space with Golden Crunch Sugar Beads. Instead of the pale blue organza ribbon I attached the Bronze Heart Locket charm with a doubled piece of string tied into a bow. 

Scrapbooking Baby Layouts


I did use the piece of muslin that was included in the kit under the heart, and I added a little more under the top of the photo. There are two thin layers of paper framing the photo and I die cut some scalloped strips to use. All are edged with Walnut Stain Distress Ink. A piece of twisted jute ribbon adds interest and dimension underneath the photo, and several torn strips of Idea-Ology Tissue Tape compliment the butterfly theme on  the ''Butterfly Kisses'' die cut.
This and all of the other paper elements on this layout are from the Nature Walk 6x12 Sticker Sheet, 6x12 Word Stickers and 6x12 Die Cut Elements sheets. A huge variety of gorgeous bits and pieces to choose from!

Scrapbooking Baby Layouts


To balance the layout I added a small cluster in the top right hand corner. The elements used are the same as those in the body of the layout, with the addition of a Large Antique Bronze Spoon, it's bowl filled with Sugar Beads, and the layout's title - Joy - made from chipboard letters treated to the same processes as the now not-so-Baby Blue Heart.

Scrapbooking Baby Layouts

Fortunately there are a few more photos of this charming young man at my fingertips, and I have another plan. There are some baby blue papers somewhere in my stash, a cute my2angels embellishment kit and somewhere on my desk there are some silver baby charms.

Nothing ever turns out as planned...but it doesn't matter :)

Michele xx


Monday, July 21, 2014

Introducing ... Charmed Memories


Glass Gift Necklaces


Looking for a unique and personalised gift like no other?
Want the perfect present for someone special for their birthday, anniversary or other special occasion? Would you like to mark the birth of a child or a sporting success by creating a stunning ornament? Have you a treasured keepsake (a lock of baby hair for example) you would love to preserve?

Let my2angels create for you a one-of-a-kind “Charmed Memories” Necklace. A cache style necklace – we create it by combining a 38mm x 23mm glass dome with a metal filigree base.  The standard chain length is an extra-long 84cm, but shorter lengths are an option.  You are then able to personalise it with your own photo and selection of accompanying charm and other embellishments.

Send us your favourite (vertical) photo, quote or small trinket to (info@my2angels.net) and we will add it to your personalised necklace.  A high quality resolution image is required and your name needs to be the image title.  A short message or quote, and details about the photo can also be added to the back of the photo frame.

These necklaces are individually made to order, so please allow 10 days (after I receive your photo and payment) for your necklace to be made. It will be posted to you "gift wrapped" and in a secure padded bag.

Glass Gift Necklaces


“Charmed Memories” Necklaces are available in Bronze, Silver and Gold.  You may choose your embellishments from a range of different colour roses and assorted small charms.    I will add various fabrics (tulles, muslin and sheers), sugar beads to compliment your theme.

Glass Gift Necklaces


If they fit, you may also provide your own small keepsake (lock of hair, baby tooth, sporting pin, etc) for inclusion in your necklace.  These will need to be sent via registered post, to us prior to sealing your glass globe.

Please keep in mind that these necklaces are an example of where “less is more” and that inclusion selections will be limited to a ‘reasonable’ number of elements.  Please select from the various options on the website in the "Charmed Memories" section or advise us in the comments section at checkout of your embellishment preferences.  To view the range of available inclusions please go here.

Cost is $24.99 per necklace - plus $7.90 postage ($3.10 extra if you choose registered post).

Our sample ‘bronze’ necklace has a selection of sugar beads, a cream pearl, a love charm and a cream rose.

Glass Gift Necklaces

Our sample 'silver' necklace is a beautiful tribute to a beloved parent's wedding day, with the date of the occasion given on the back.  The photo is adorned with white lace and tulle, sugar beads, a love charm and spray of white rose buds.

Glass Gift Necklaces


Here is one we have had pre-ordered by a customer to give a relative for her 21st Birthday

Glass Gift Necklaces


Beach Themed Charmed Memories Necklaces examples, we have created, as preordered by a Retailer to sell in their shop

Glass Gift Necklaces

Glass Gift Necklaces

Glass Gift Necklaces


and another designed specifically for her daughter who LOVES ballet
(note you can choose one our "stocked charms" to add to your chain )

Glass Gift Necklaces

and one for myself of my son in a grunge style, filled with chain, cogs, mesh and charms (including our son charm)

Glass Gift Necklaces


Pop over here to secure your order for your own personalised necklace


Glass Gift Necklaces

Thursday, July 17, 2014

Shabby Pink Rose Pins

Just a quick little tut on the pins I am making at the moment for a girls mini album.

I have used our 7cm silver pins, pink crackled glass bead, transparent hearts beads and of course one of  pink roses.  

Add a tiny piece of muslin and pink tulle and you have a dainty shabby pink pin to put on your projects


Sunday, July 6, 2014

Pocket pages for lazy bums

I normally spend hours scrapping one layout, so doing 4 is not gonna happen in one day. But miracles do happen. Here is how I scrapped 22 photos on 4 pages in one evening!

 I got some of the Charmed Life sets from Tracy yesterday and decided to scrap some older photos last night. Using those sets was so easy, it felt like cheating! All the tags are already done up beatifully, all you really have to do is add photos, journaling and a title. 


Charmed Project Life

Here is page No1:
 
Charmed Project Life


 Charmed Project Life
  
The only thing I had to add was a little extra ribbon, for modesty's sake☺

Charmed Project Life

 I could have stuck one more photo here, but used it for a title instead:

Charmed Project Life
♥♥♥

This was done so quickly, I decided to rummage through the photo box and do the back of the pocket page with something girly:
Charmed Project Life
Here I used the pink mini picks...


...and some umbrella rub-ons I had in my stash. 
♥♥♥

By now I was on a roll and found so many more cool photos I hadn't scrapped yet! Out came some silly ones I took with my friends Ann-Maree and Anna.
 I used the black and white mini picks for this one. 

Charmed Project Life

Charmed Project Life

The black and white ones are great, because you can add a splash of whatever colour suits your photos! In my case, a red title...

Charmed Project Life

 ...and filled in the hearts with red Liquid Pearls (Rouge).
Charmed Project Life


A white pen and white rub-on letters work great on the black cards. 
♥♥♥

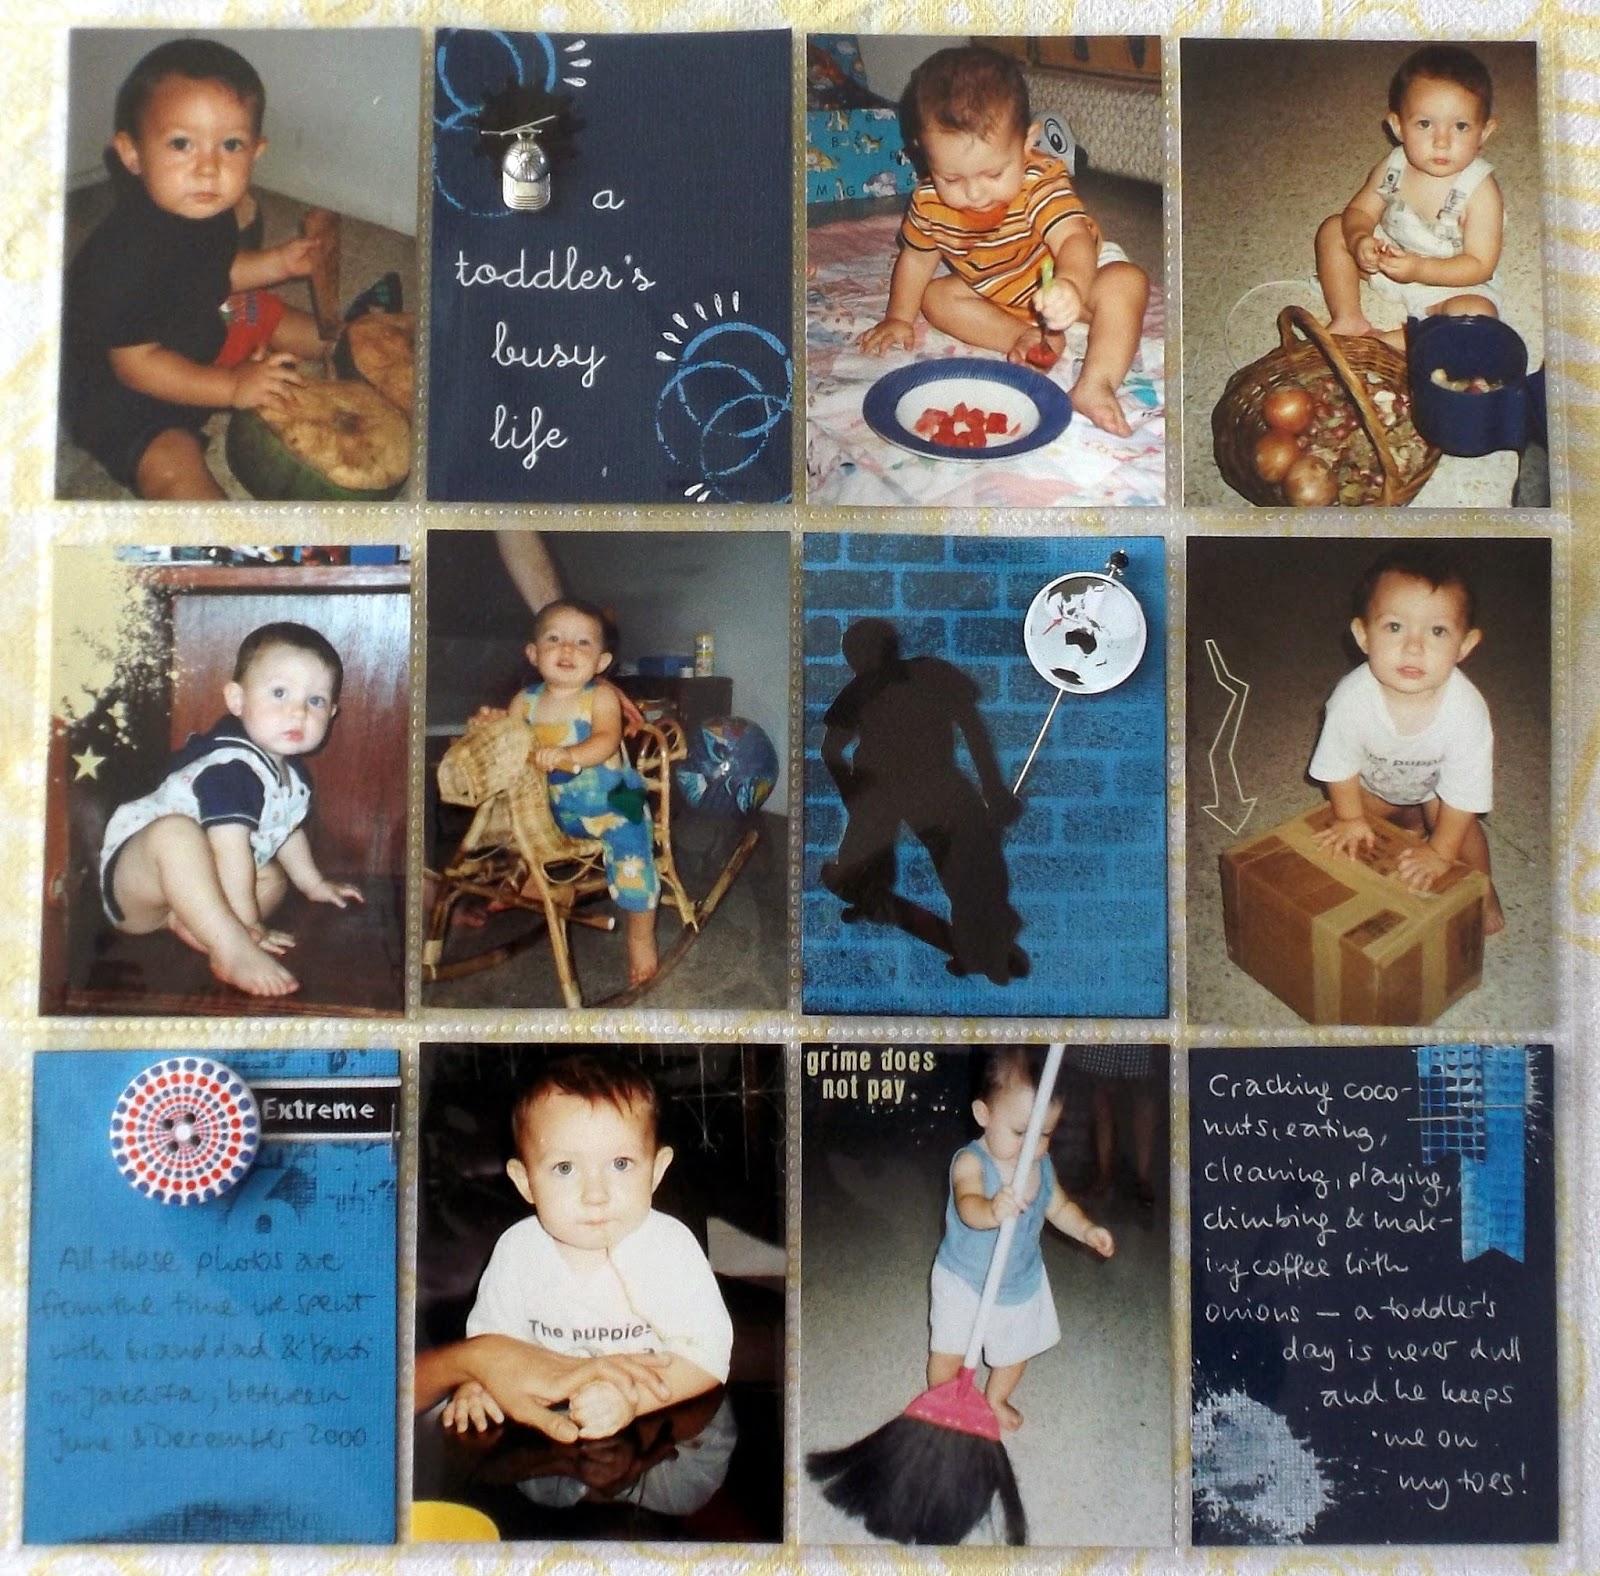
That one was done quickly too and out came the blue mini pick set. Now it actually screamed teenage boy, but my teen boy is not so keen on the camera and I wanted to use lots and lots of photos. So out came the old photo box again and I found lots from a time when Joel was little and we lived in Jakarta for a few months:

Charmed Project Life

 Just some white rub-ons for a title, some doodling...
Charmed Project Life

 ...a travel pin to show where we were (there are lots of different pins in the embellishment section)...
Charmed Project Life

... a big button (cause I needed a tiny bit of red there)...

Charmed Project Life

 ...and a bit of journalling. And in no time at all I had scrapped 8 photos! 

Charmed Project Life


So all in all, 22 photos on 4 pages in one evening wasn't really all that much hard work. Wasn't that every scrapper's original motivation, to get the photos out of their dusty boxes and into the album? So why not fill in the gaps with pocket pages!
The Charmed Life sets are gorgeous as they are (you don't need to tell they weren't handmade by you!) and if you want, add your own little touch here and there to make them truly yours.
♥♥♥
GELI