Showing posts with label school. Show all posts

Sunday, December 30, 2012

Kaiser Class Act - Double layout


Kaisercraft Class Act
now in store
Calling all parents who have children in school! With the new school year not that far off - we have a "back to school range" you will love. Kaisercraft have just released a great range called 


Class Act


to help make the start of school fun.  Bright primary colours make up this collection,

which features rulers, pennants and encouraging statements that are sure to make

scrapping those school achievements oh-so easy.


Hi 
Ngaire here today

Hmmm - interesting way to spend the post-Xmas euphoria period - scrapping a range outside your comfort zone - with photos you wouldn't normally use in a pink fit. Tracy needed someone to work with the new Kaiser release - Class Act - so I put up my hand. Now primary colours are not my usual thing and cutesy themed ranges are generally outside my personal preferences zone - but I am fairly happy with what I managed to put together. Lol - especially since it meant using REAL photos rather than my preferred arty ones. You know, casual snaps - the ones with chaotic backgrounds, mis-matched clothes and messy hair - that don't make picture perfect photos, but capture the nitty-gritty of everyday life.

Kaiser's new range is bright and funky and very school-themed in appearace. Bright red, yellow and turquoise dominate the papers, with patches of orange, black and creamy white (think writing and grid pad patterns) and the odd bit of green and brown. To embellish, there are lots of rulers (some in almost glow-in-the-dark colours), pennants and small funky patterns - but most importantly - there are 3 wonderful pages of journalling blocks that cover all the year levels and almost all the possible school activities that you could think of.

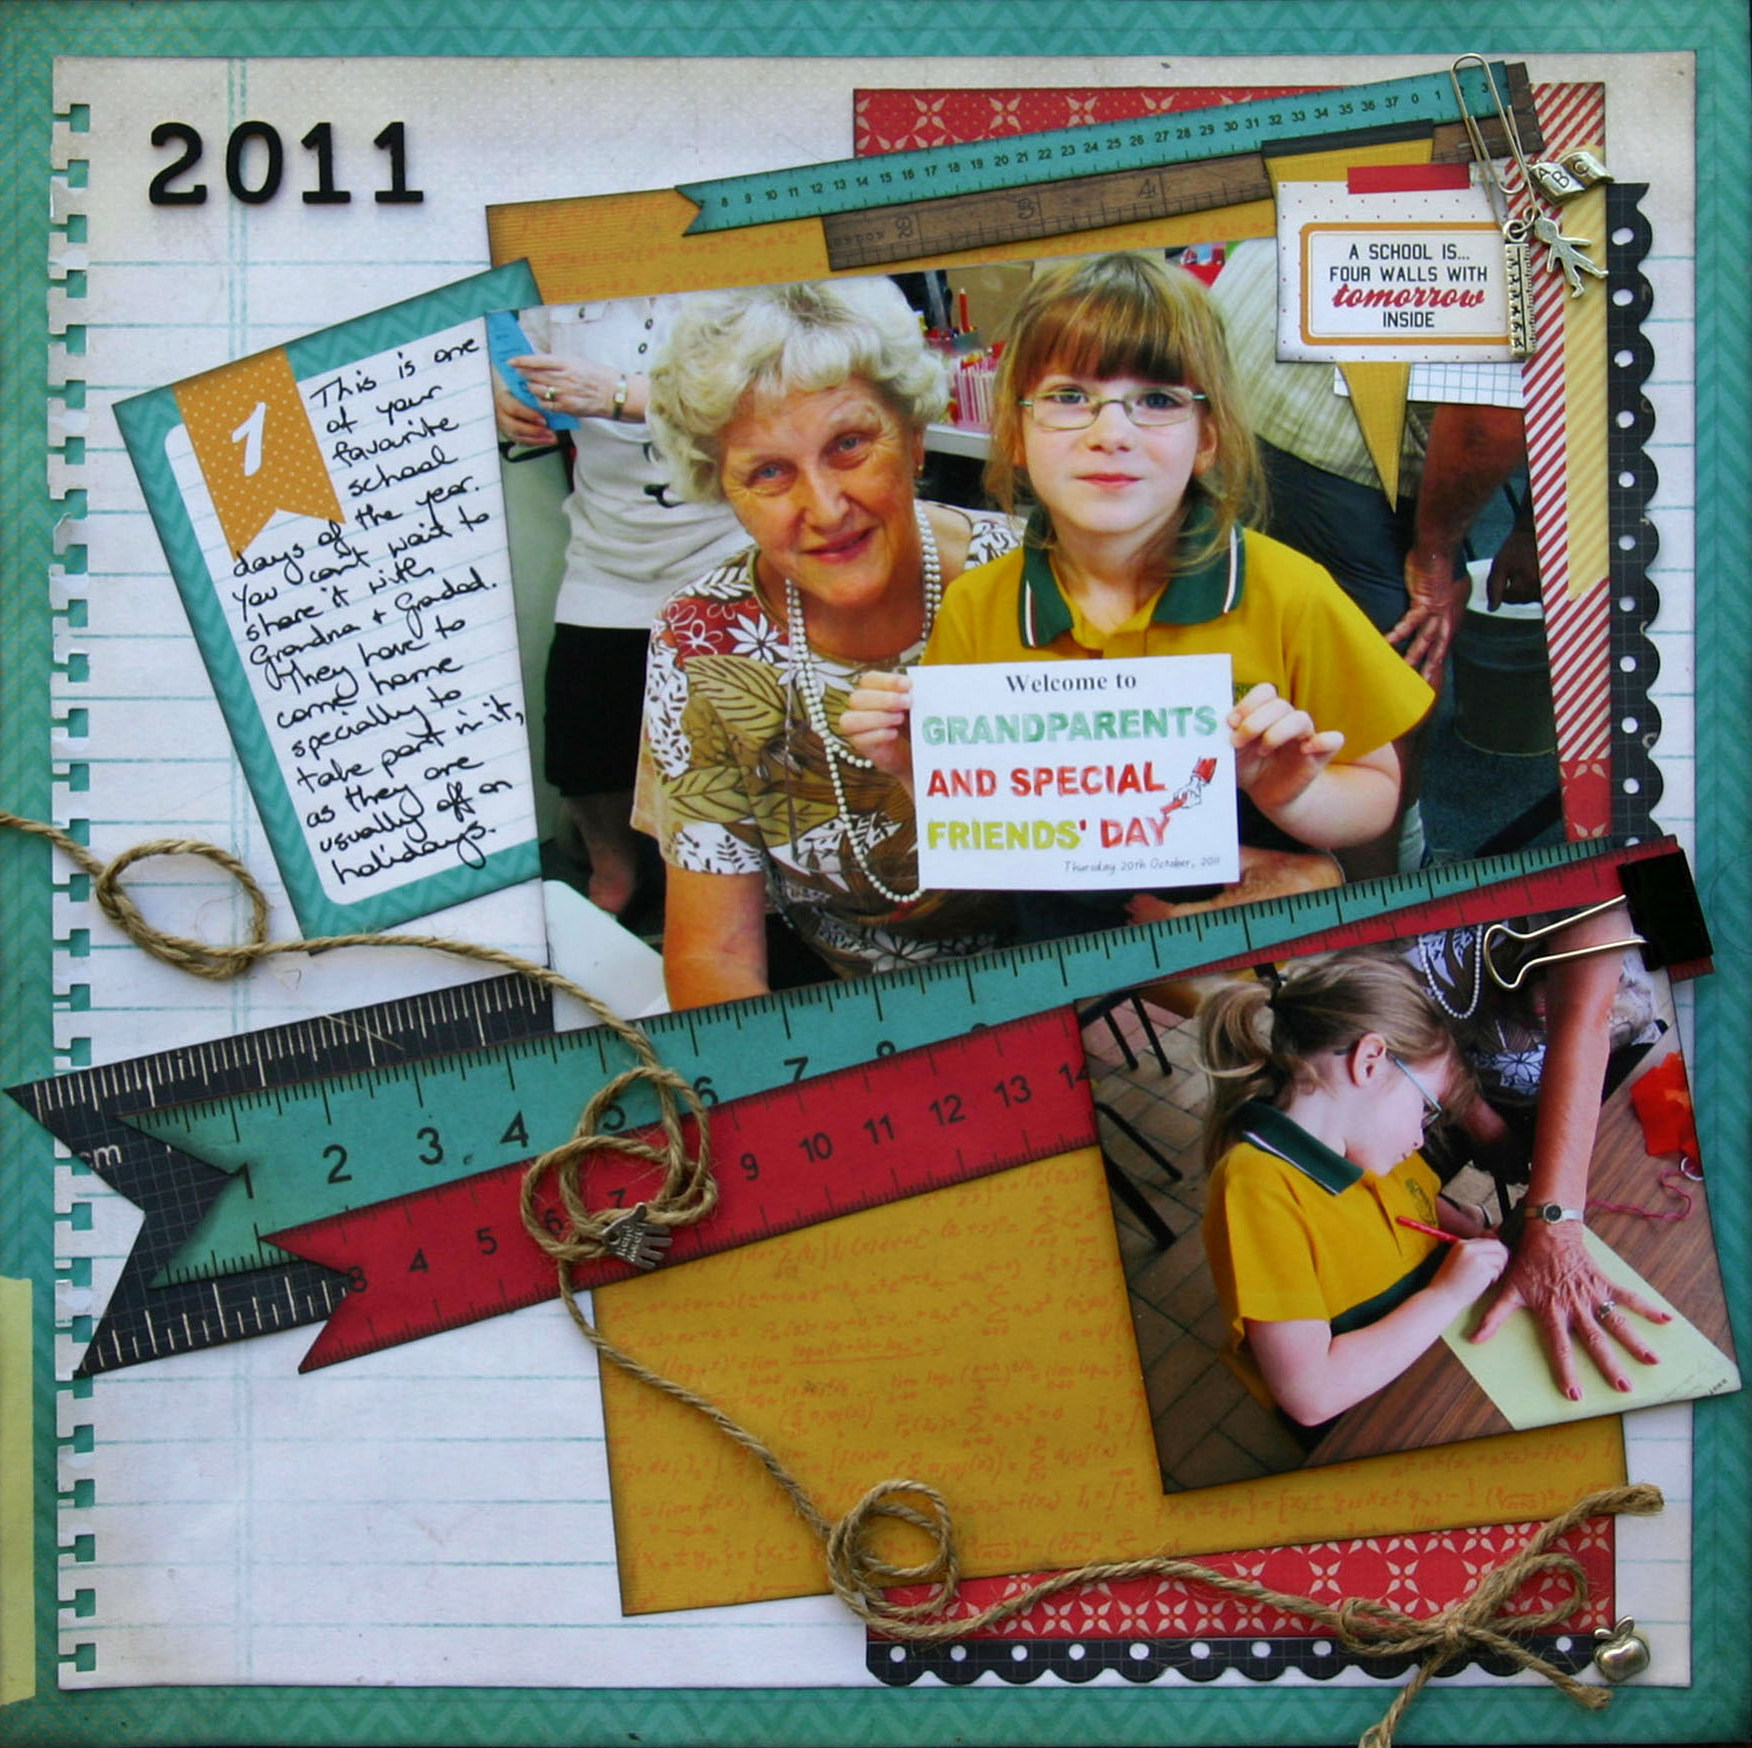
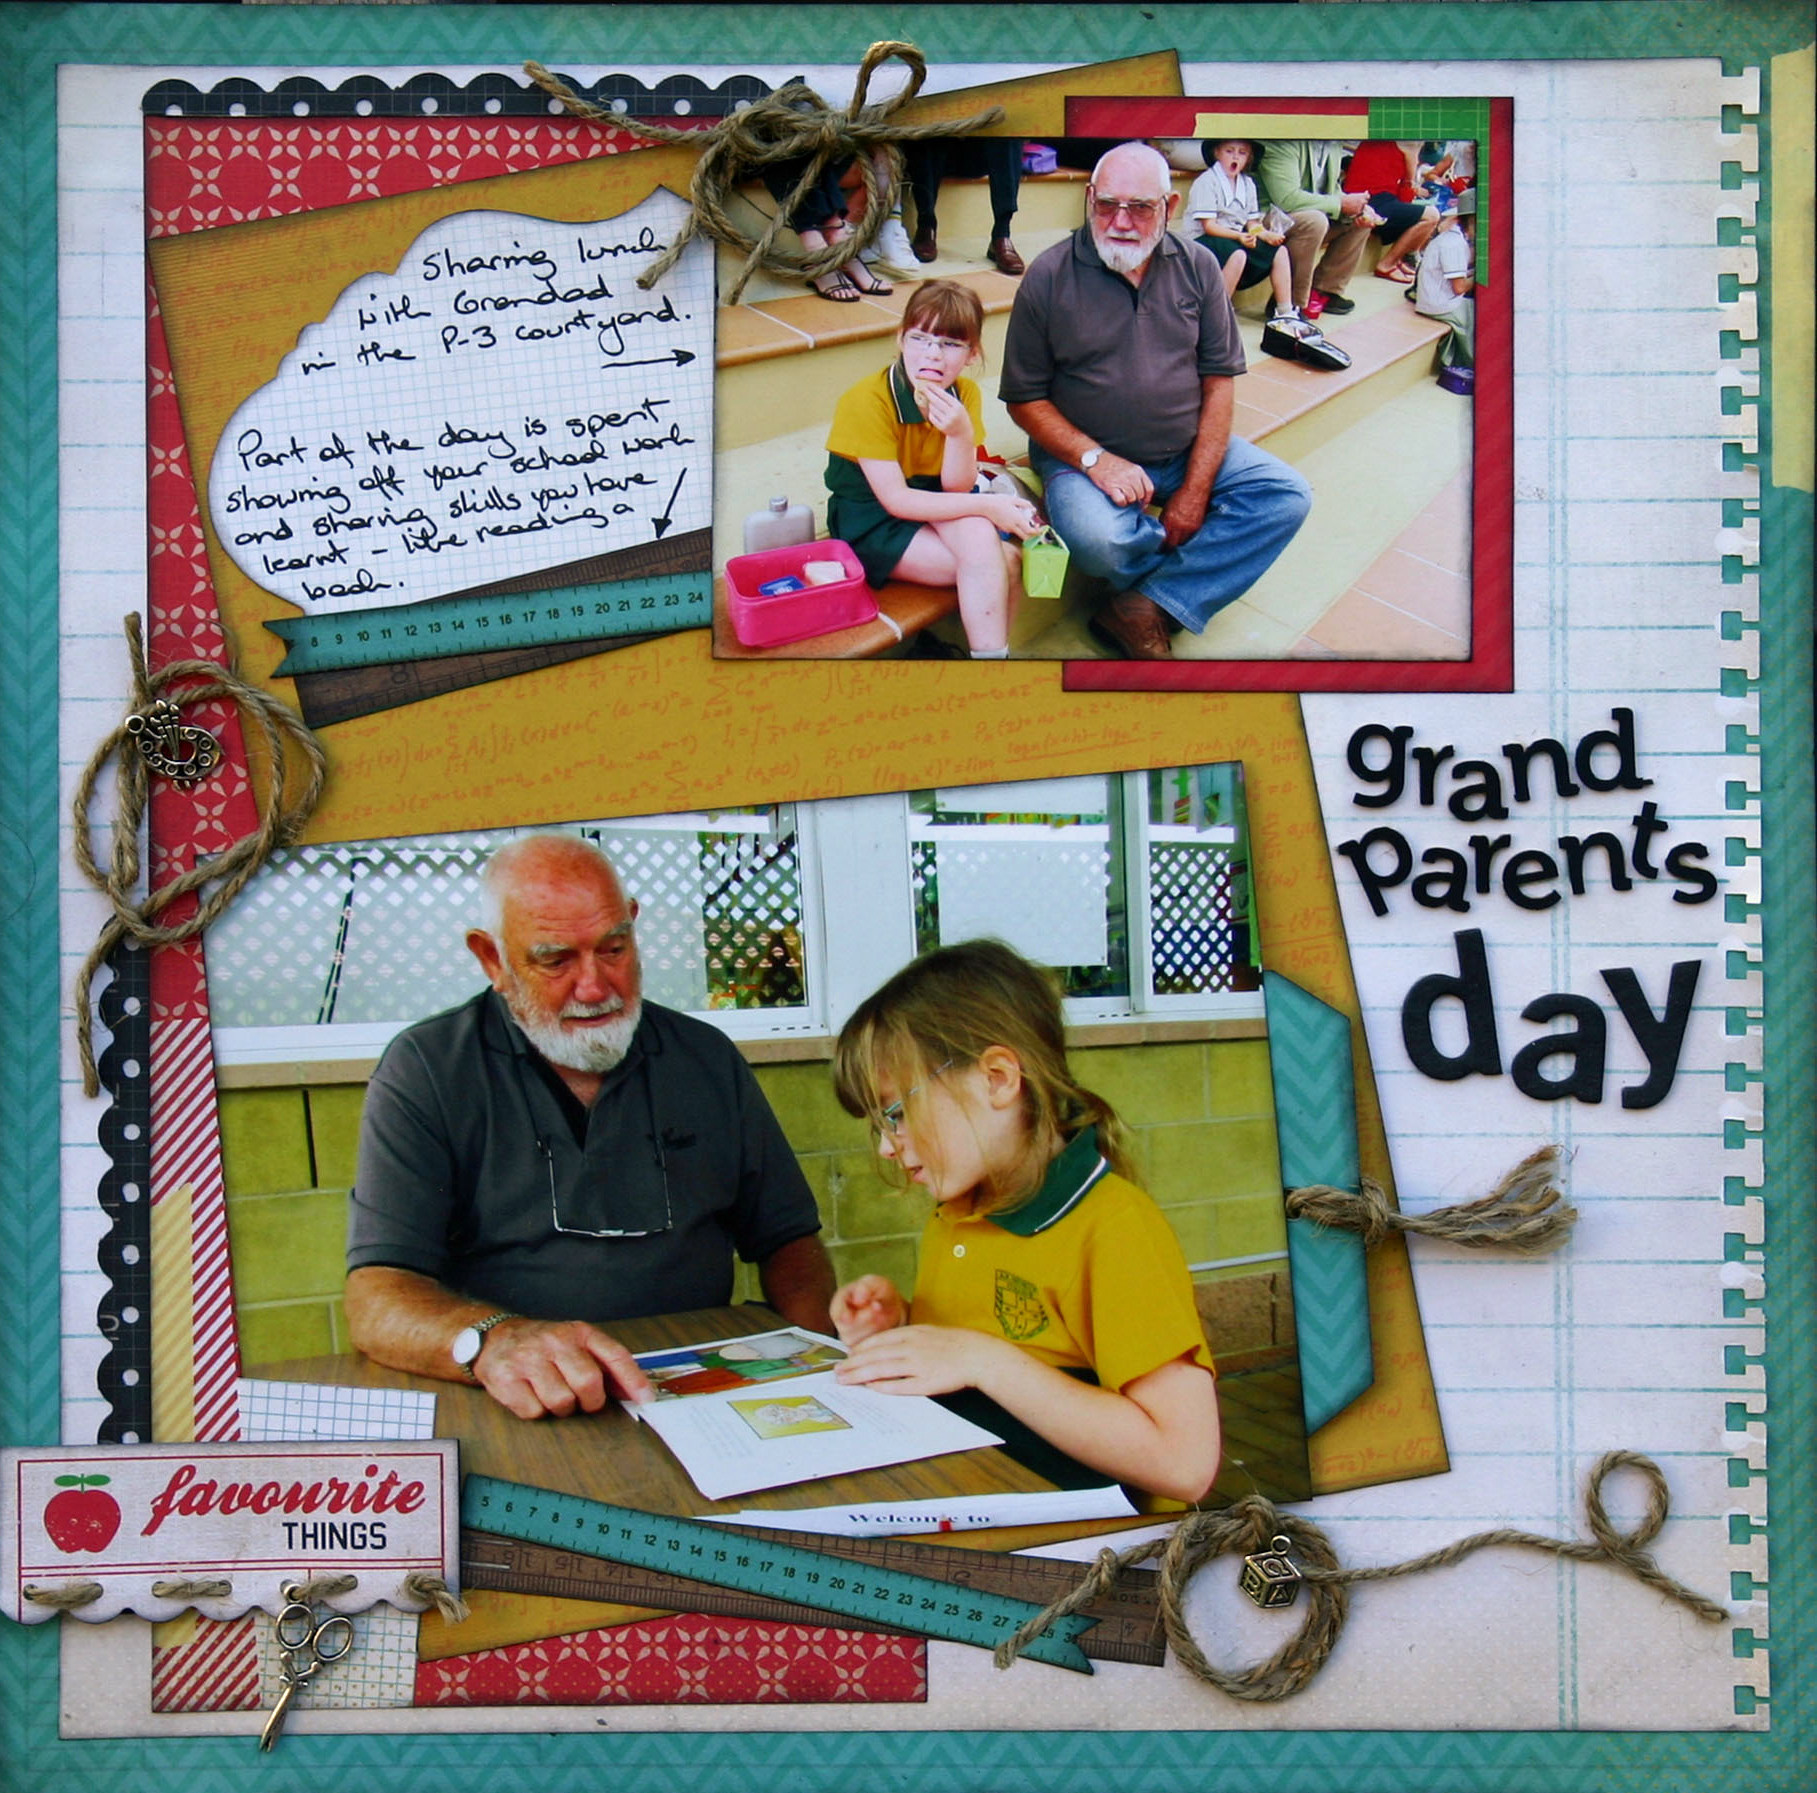
My children's school has a Grand-Parent's Day every year and it is the highlight of my daughter's school year. To record this day, (since parents are not allowed to attend), I usually end up with some happy-snaps that are slightly out-of-focus, poorly composed and which feature backgrounds that are a photographer's nightmare. Still - they are cherished memories and need to be recorded in a layout.

Left page

IMG_3619edited

Both pages in the double are based on the same general structure and the majority of the paper edges have been inked with black ink (Black Soot) to help make them stand out.

For the base page I used the bright turquoise (chevron) pattern on the reverse side of Accomplish. Rather than lose the entire page (and thus all those lovely ruler bits on the other side) - I trimmed out the middle section first and then popped a piece of the reverse side of Complete (the writing pad pattern) over it, as the centre section of the layout. It already has a notebook edge along one side - but I chose to punch over this with my EK Success Notebook Punch to emphasis this pattern.

There's this really interesting funky pattern on the edge of Perform - so I chose to cut this in a way I could make a feature of this edge piece. I flipped the remaining piece over and used it reverse-side up (the yellow with orange writing bit) under the photos.

0-0-IMG_3619edited

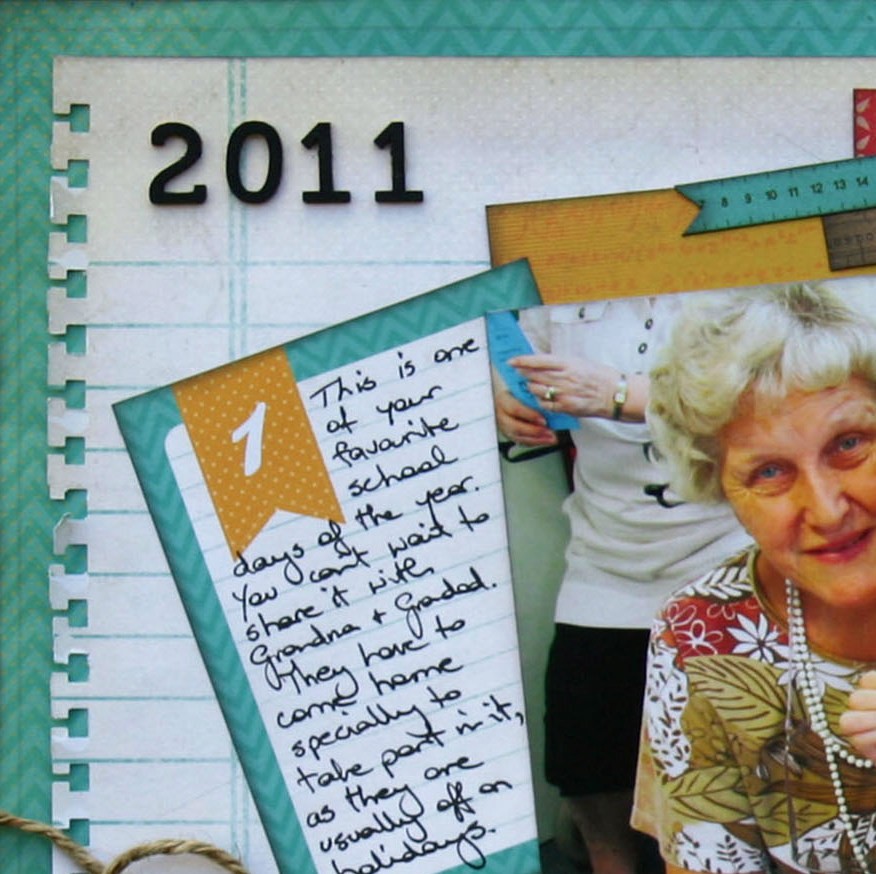
Under the main photo of my daughter and her grandmother - I tucked in one of the journalling panels from the Superstar paper. Not only does it make a nice journalling spot - but the large "1" on it also stands for the year level she was in at the time of the photo.

The numerals for the year section of the title come from my Itty Bitty Alphabet (ALPHA005B) by Twiddleybitz. They're the perfect size for that space and being already black - I didn't need to do anything to them.  DO YOU WANT MY2ANGELS TO STOCK THESE ALPHAS?  LET TRACY KNOW

IMG_3614

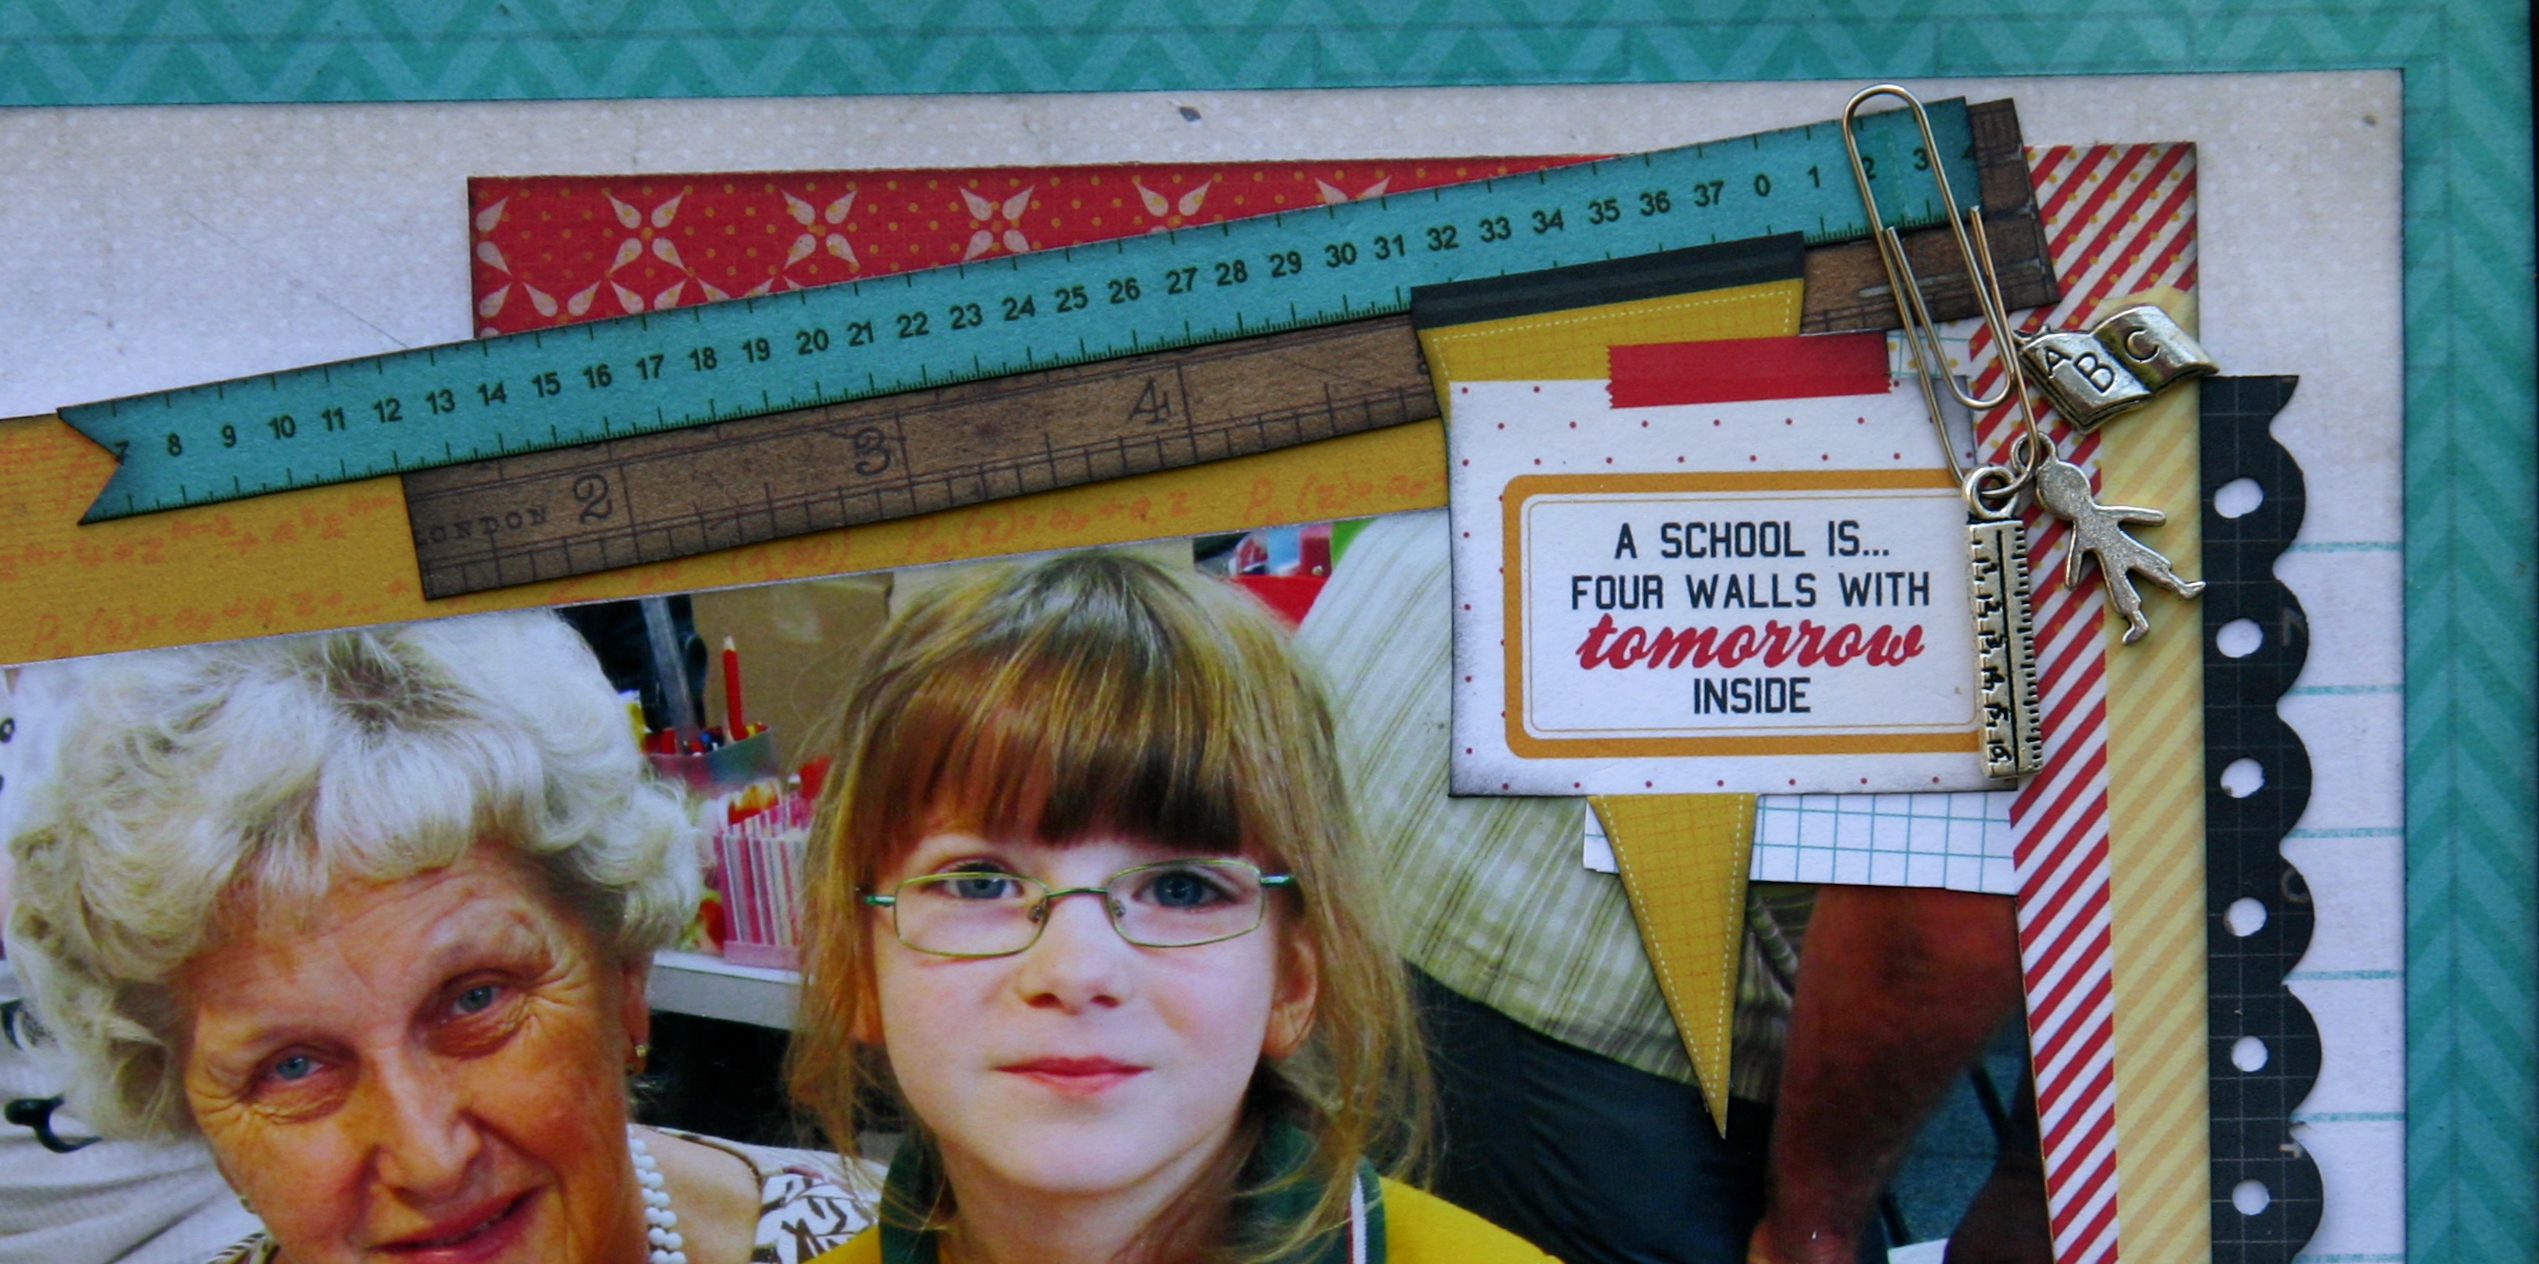
Here you can see the funky patterned bit along the edge of Perform - I've cut under 2 of the edges of the pattern and tucked the photo under them to try and hide some of the messy background in the photo. Then I cut out some of the ruler bits from the cut-out section of the base Accomplish paper. Overlaid over them, is a section hand-cut from one of the journalling panels on Personal Best. To embellish this corner - I added a paper-clip from my stationary collection and 3 silver charms from my2angels: the ruler, abc book and little boy (which in this case is just a 'little person' charm).

Finding a 'dark contrast' colour in this range is a little difficult (other than the Finish paper - which isn't really that dark and I didn't have it anyway). The Threading Water punched edge section you can see tucked under the edge of the Perform paper, is actually created from the black ruler design. Luckily, that ruler bit is pretty wide - so I cut it up and have used it in several spots around the layout.

Underneath this larger photo is a smaller one, which, along with the ruler 'bits,' is held together with a stationary metal clip - which I pop-dotted to the layout.

IMG_3616


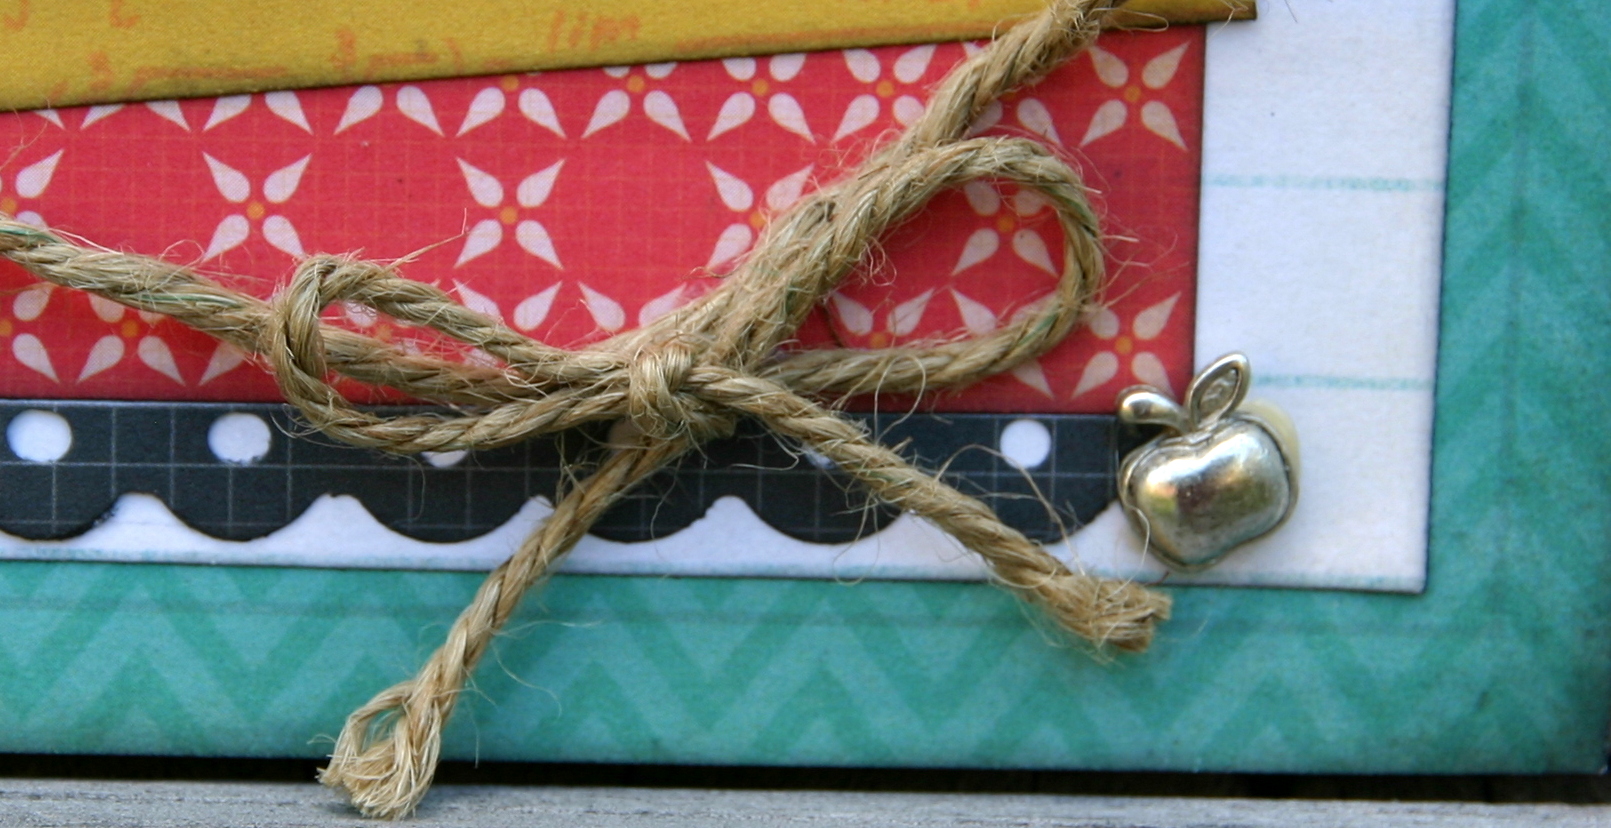
Under the smaller of the two photos, I popped some twine that was just randomly twisted here and there to make interesting loops. At the end of the twine I glued on a little bow and a small silver apple charm. Behind these bits, you can see another section of the Threading Water punched length of black ruler from the Perform paper.

IMG_3618

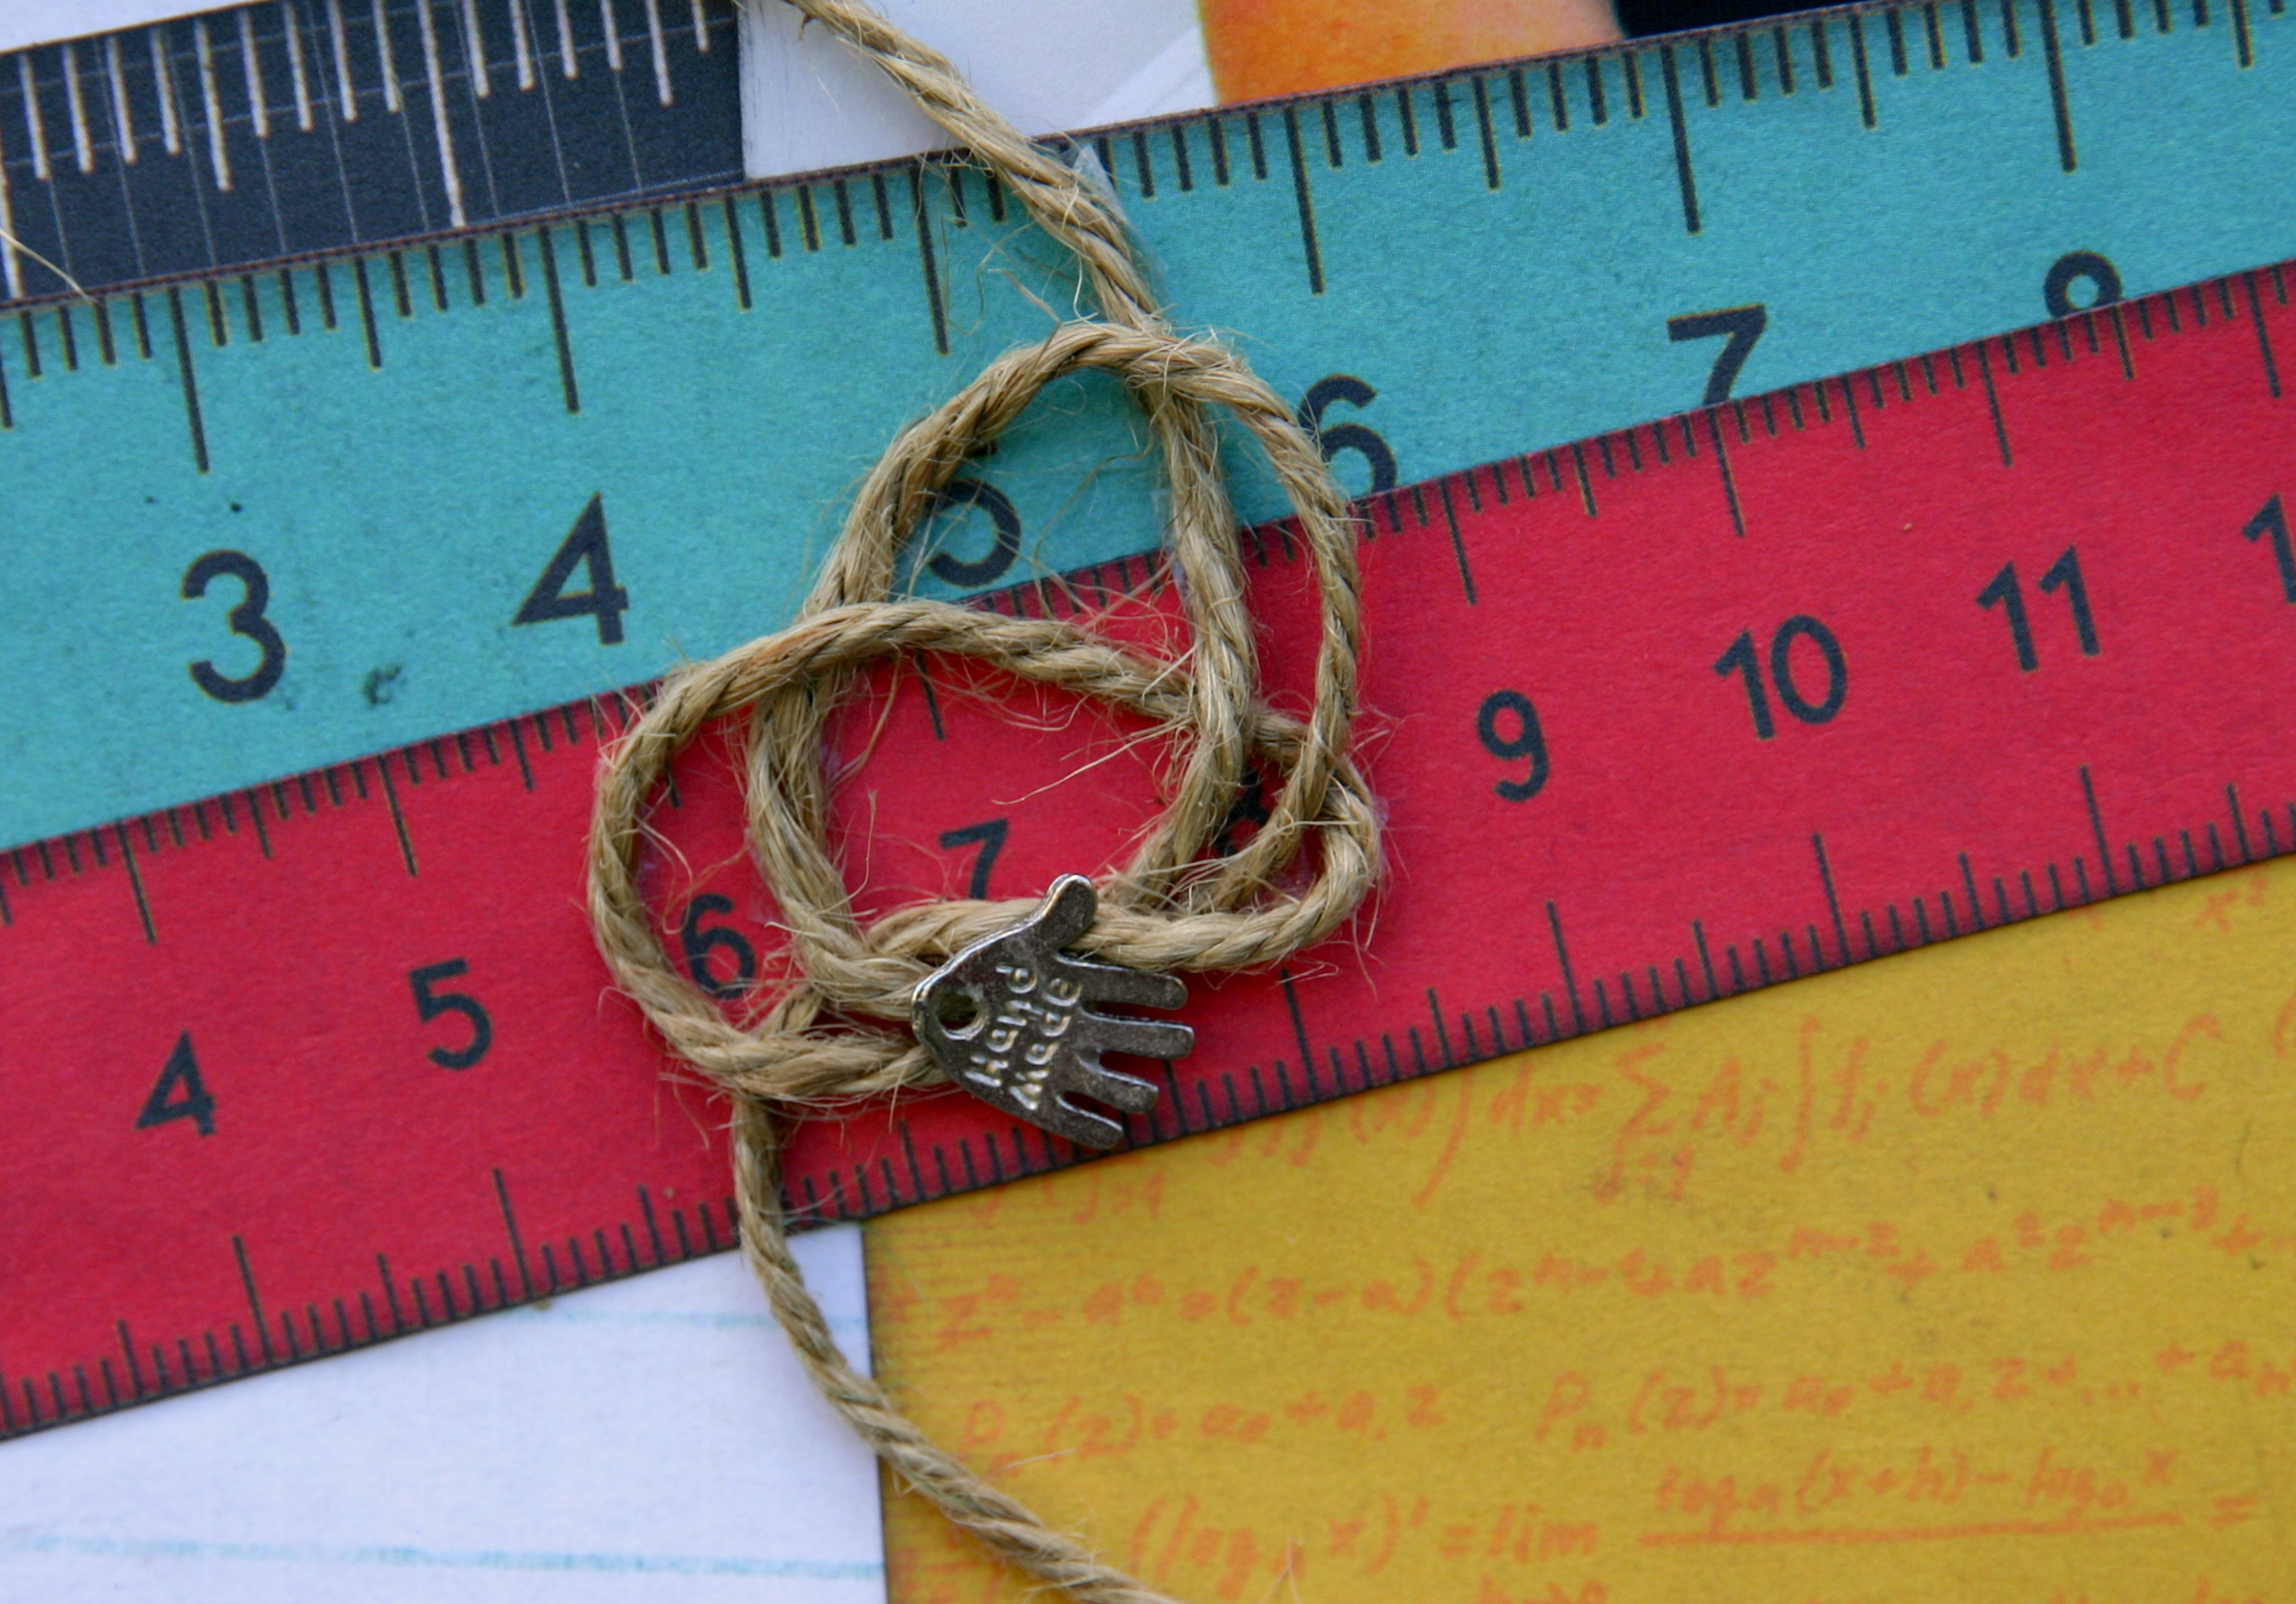
On this section of the random twine embellishment, I added a silver handmade charm to represent the 'hand activity' that is shown in the smaller photo.

And that's the left side of the double done.

Right Side
IMG_3621edited

For the right side, I pretty much started off with the same composition of papers, but flipped the page so that that yellow edge pattern (on Accomplish) was diagonally opposite to the left side of the double; and the funky edge section of Perform is now at the bottom, left edge of the page and not the top.

The rest of the title has more of my favourite Itty Bitty Alphabet (ALPHA005B) by Twiddleybitz - though the larger text is one of the Kaiser chipboard alphas I have left-over bits of in my stash.

All the left over (and 'not so' good) photos will go with more journalling on a series of tags -which I have/will pop under the larger photo on this page. The tags are/will be made from odd bits of Class Act papers - I've still got a few to make - and I will share these later down the track, when I get enough paper to finish them all off.

IMG_3623

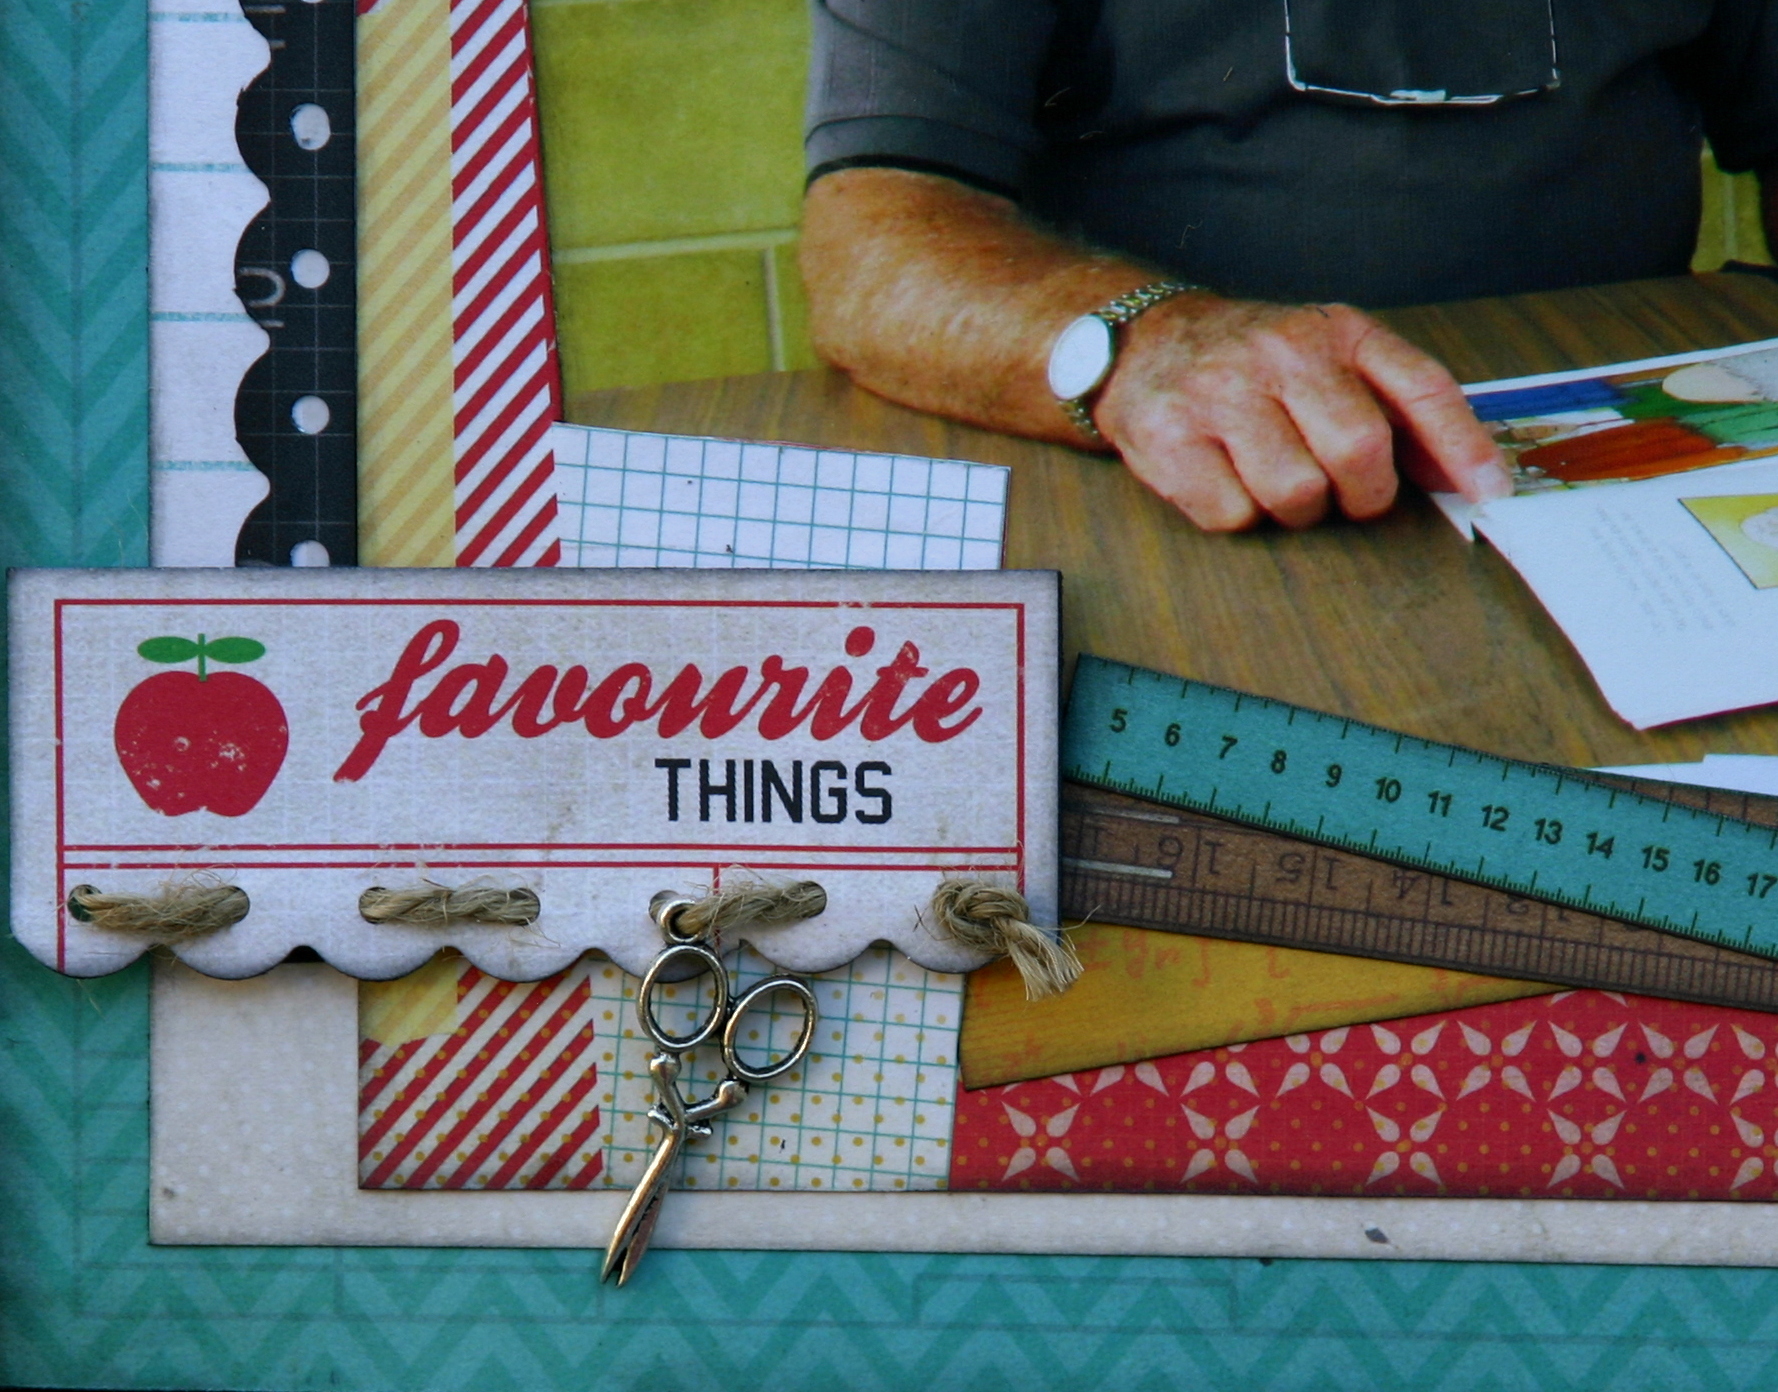
The photo (of Madame reading to her Grandfather) is still tucked under the funky edge section of Perform and I used the same combination of ruler 'bits', but this time I popped on a different hand-cut journalling element from the Superstar paper. A bit more twine and a pair of silver scissors charm finishes it all off perfectly.

IMG_3628


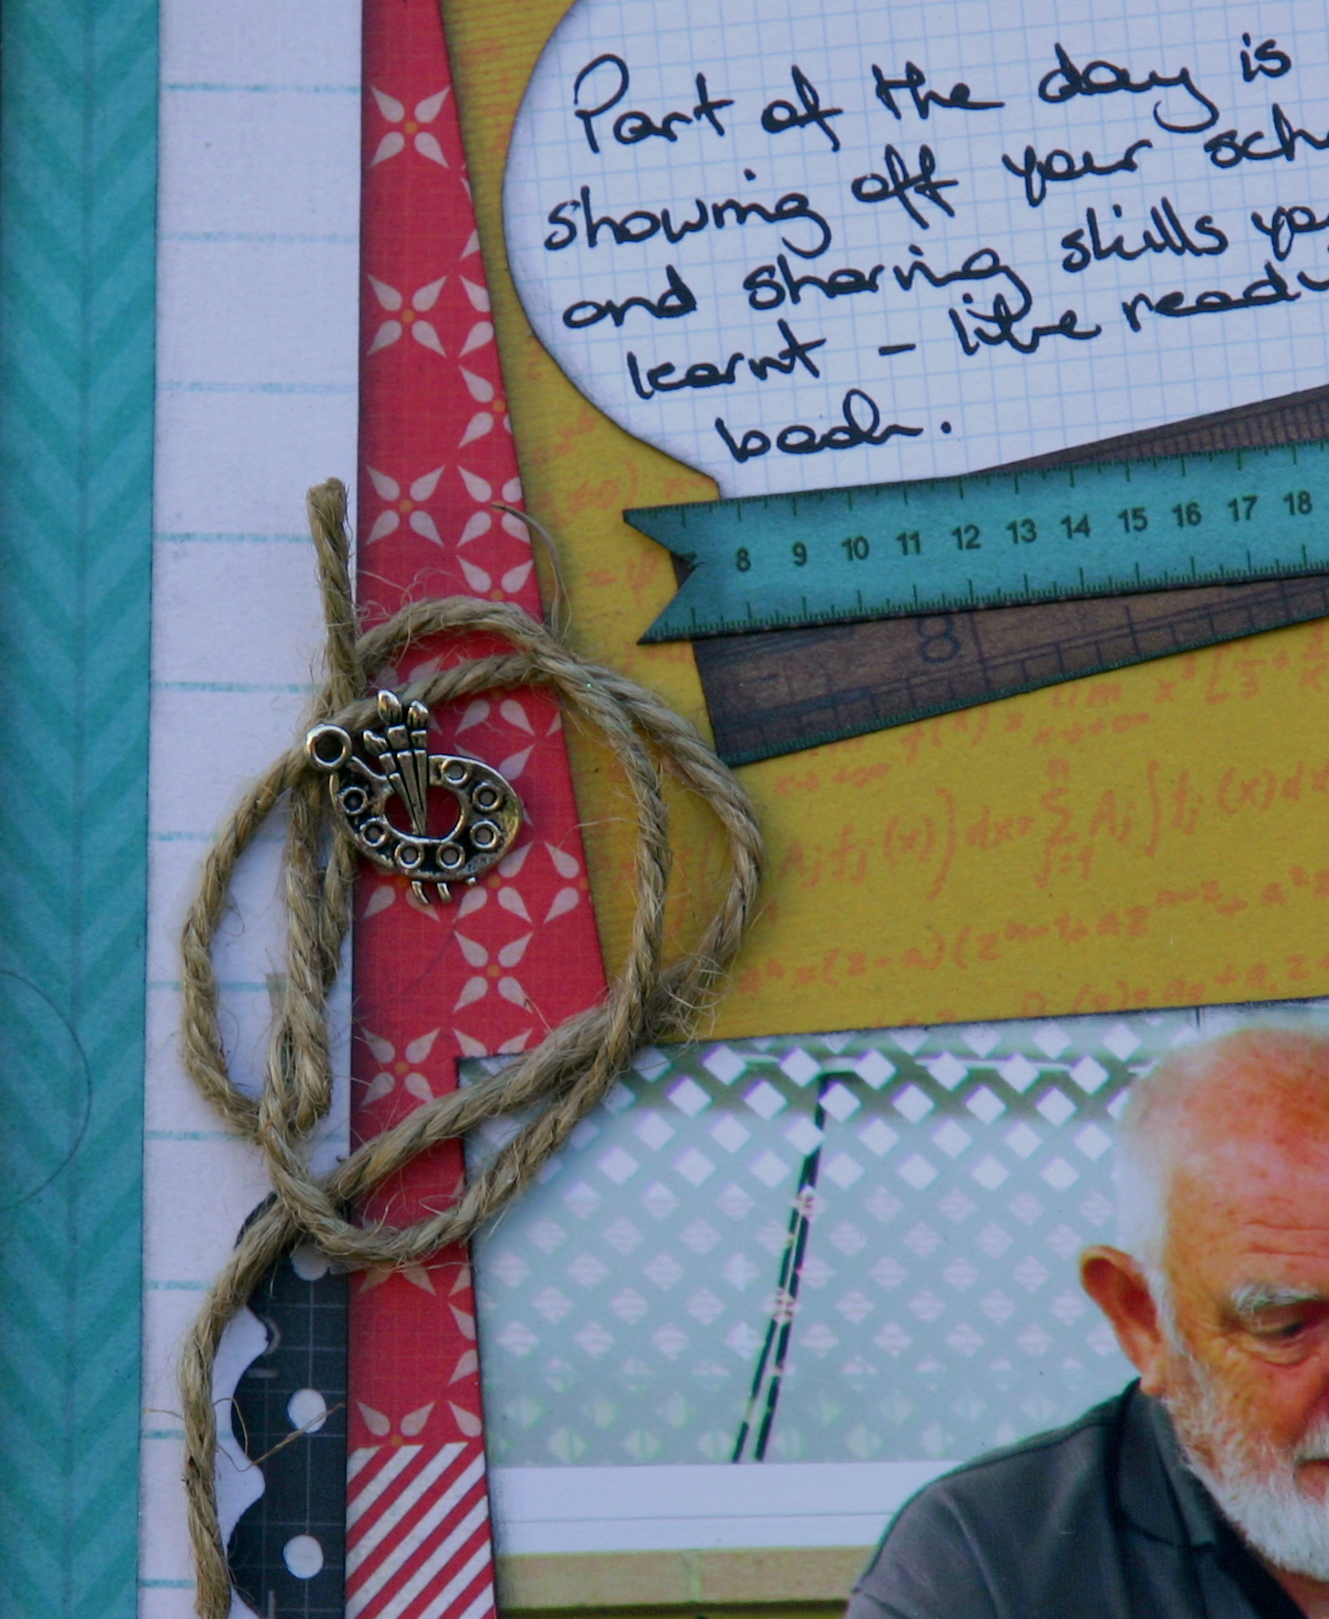
Above the photo I looped some twine to make random circles and then embellished this with a silver artist paint tray charm.

IMG_3629


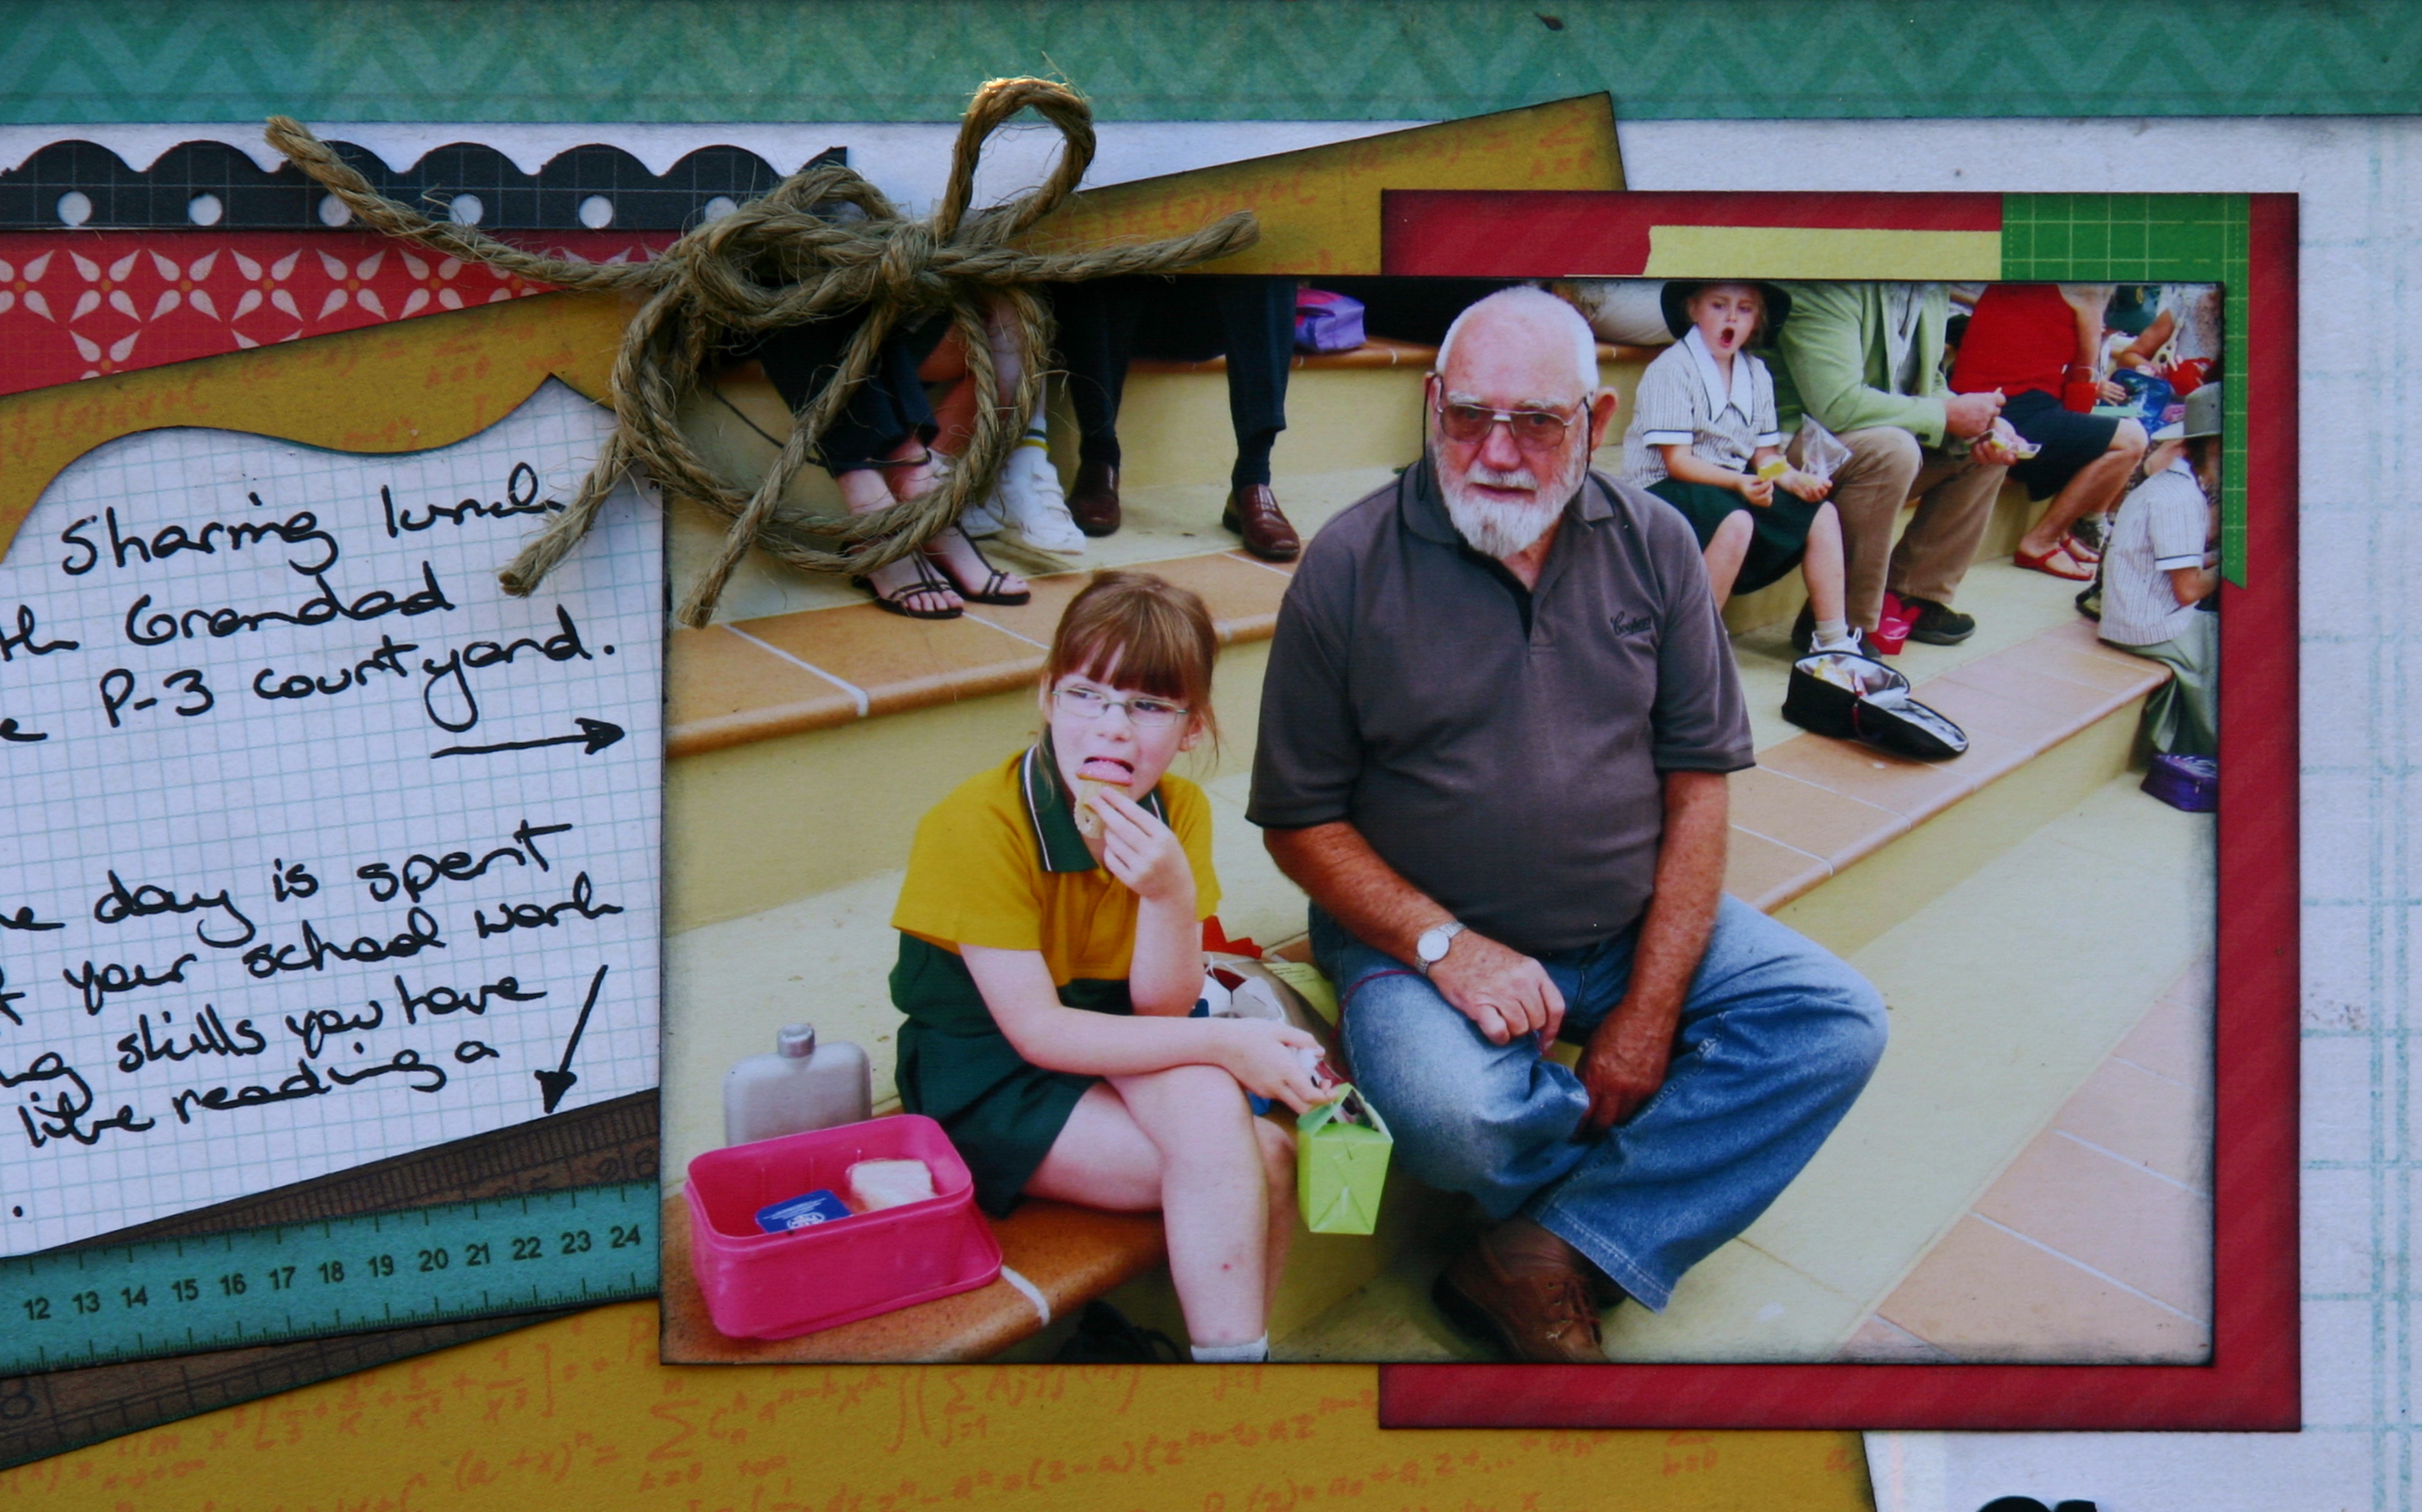
For the photo of them sharing lunch together - I matted it with another journalling panel from the Superstar paper. I needed something to provide some visual interest and contrast; and having just the edges of the journalling panel showing was perfect (though the whole panel is very pretty in itself.)

The actual journalling is written on the left-over section of the Personal Best journalling panel (used on the left page) - since I didn't want to waste it. I also popped bits of twine here and there on this layout, rather than making a long senction like the previous page - and here I simply made some loose circles and then topped these with a bow.

IMG_3625


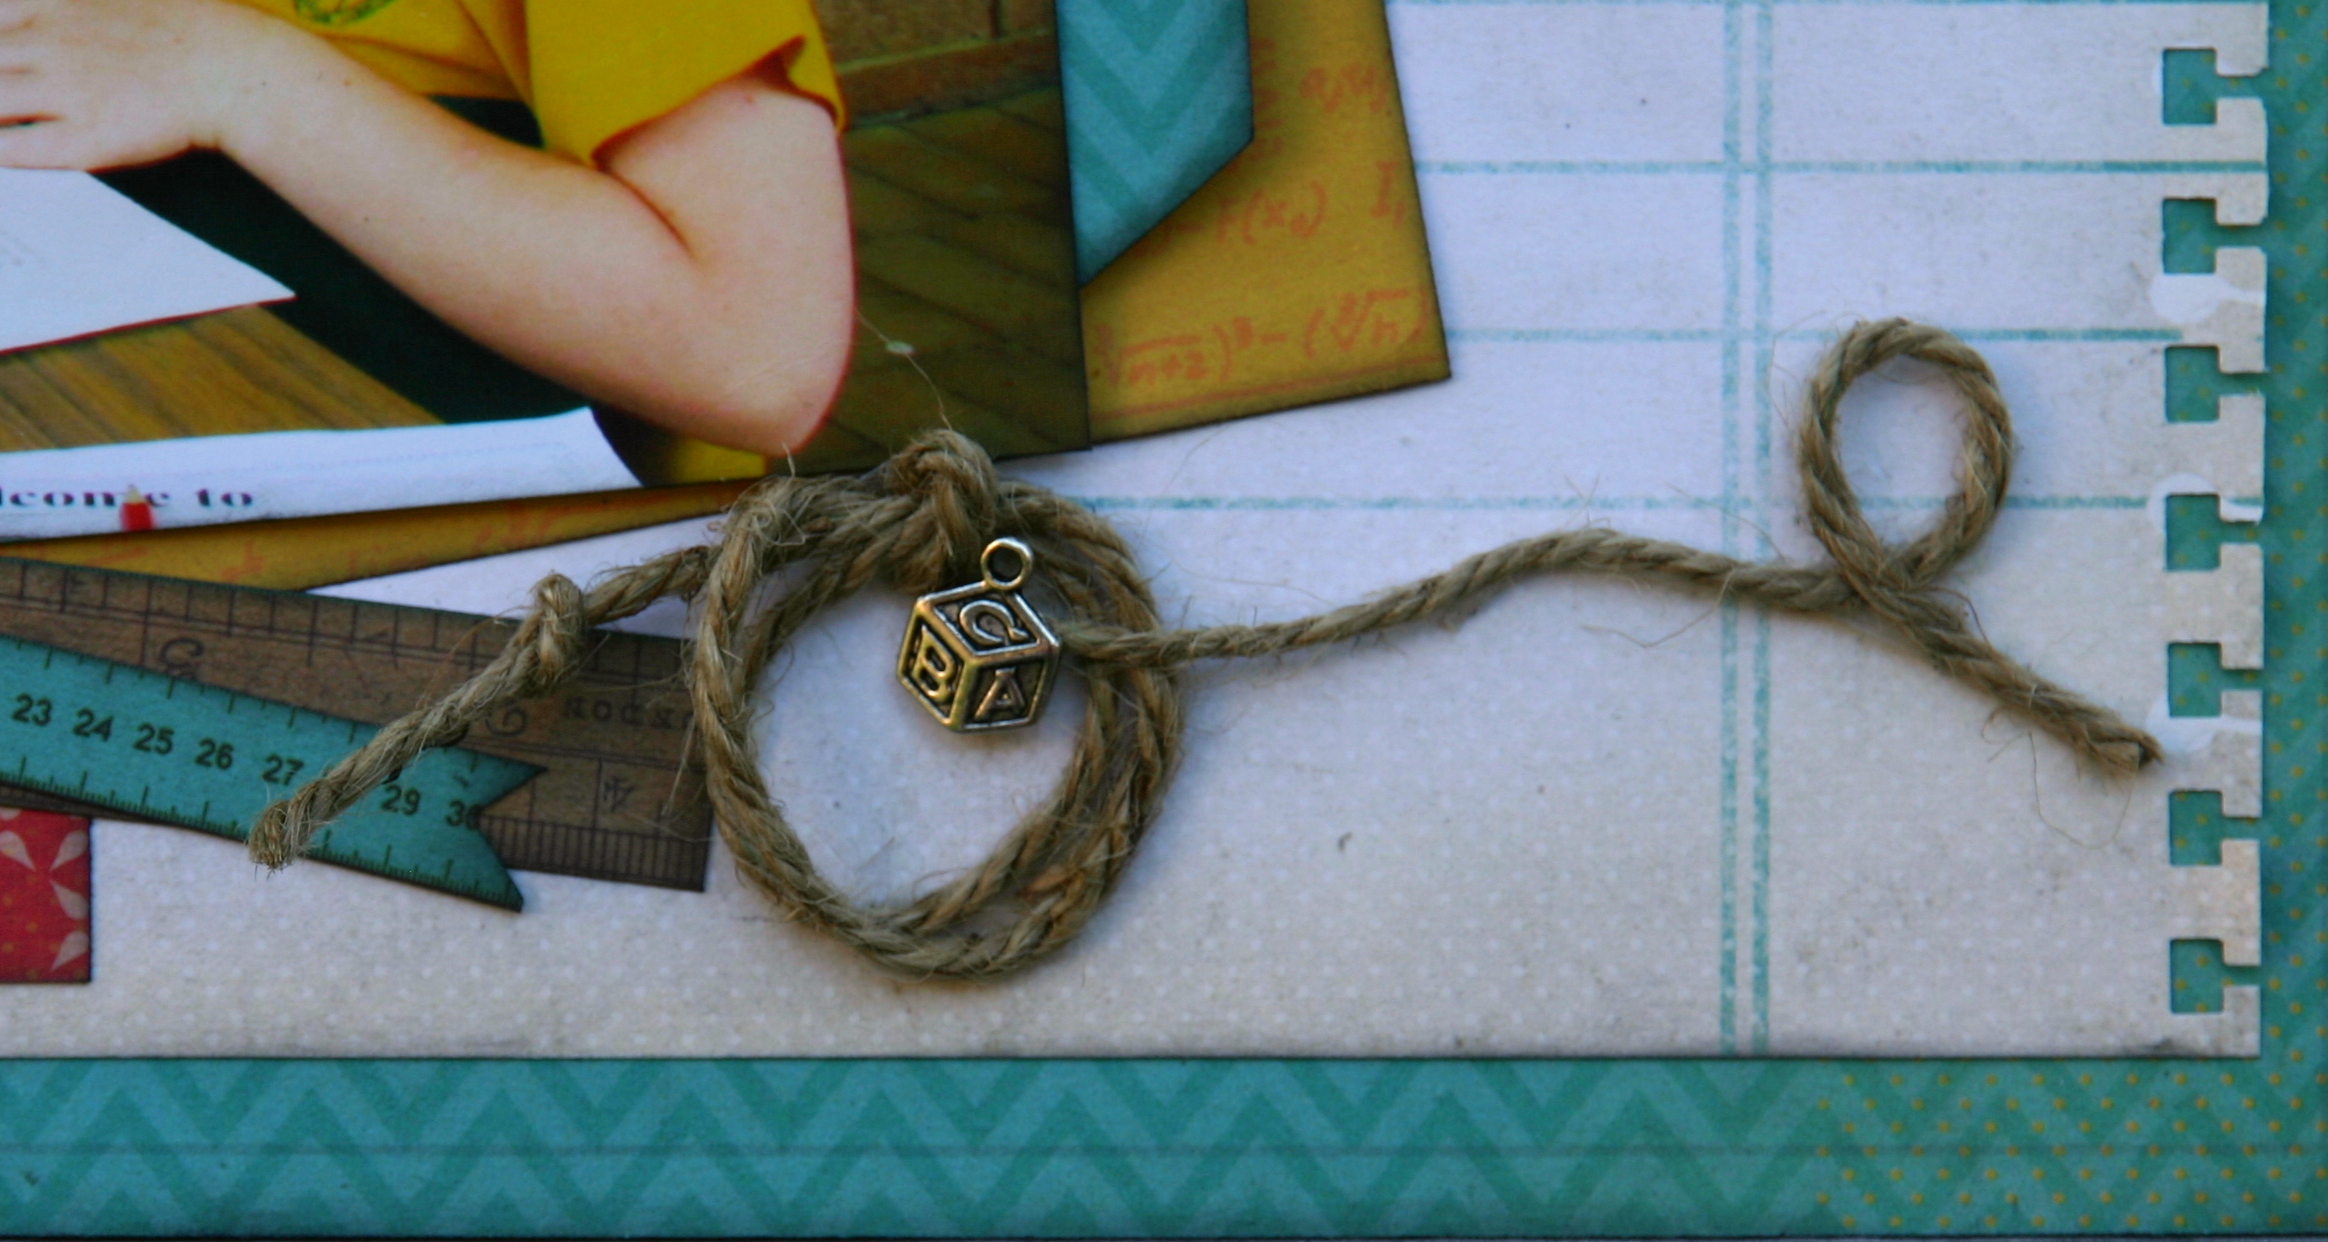
Under the larger photo I popped another of the twine circle and loops embellishments and finished it off with an abc silver block charm.

So there it is - my venture into the raw reality of candid photos. The whole thing is still way too fussy and cluttered for me - but Madame adores it and that's all that counts.

So if you have school photos from past years - particularly primary or prep photos - check out the Class Act collection at my2angels. The range of colours in the papers will suit most school uniforms; and the huge selection of journalling panel prompts, cover pretty much anything your kid will do at school. And then get scrapping - you have about a month before the new lot of school photos start rolling in ... ;)

Ngaire

Friday, February 25, 2011

Back to School Layouts ...

Back to School Layouts

Tracy sent me some The Girls Paperie-Toil & Trouble papers this month and I have to say I love them! The black and white ‘Writing on the Wall’ I used in my last project and this orange and black ‘Ghost Story’ I’ve used for this LO are SO up my alley (the boss knows me well)!

I’ve done a back to school theme ... although as the title suggests my youngest was not as happy as he might have you believe to be going back to school after 7 long weeks off!!!

I used the Echo Park Little Boy Denim Lizard for the background (both sides are fantastic boy colours and I ordered 2 sheets so I still get to use the Denim side too!) The orange papers are the two sides of TGP Toil & Trouble ‘Ghost Story’ (love the orange and white gingham pattern!) The little pieces of green paper are some leftovers I had of TGP Toil & Trouble Writing on the Wall.

My photo has been matted on Core’dinations Nightfall Cardstock and I also used it for my journaling circle and as a background for my title. The title uses AC Thickers Black Daiquiri (my favourite ‘go to’ alpha!) and a Rusty Pickle alpha that unfortunately is no longer available L.

The green oval ‘words’ are cut from a piece of Prima So Cute Growing. Thanks for looking!

Other: Space Invaders Tape & Dymo labeller.


and from me Tracy

Using the pretty Websters Pages Sweet Season Frosting I cut the lady out in frame for my photo

I just wanted something nice and simple .... I know ... no title but everything I added just didn't look right so I left it as it ... might add a small piece of journaling up the top later


I love these kraft border strips which I just added some light blue rhinestones then adhered on top of a piece of scrapware picket fence border which I just inked with Antique Linen

Added our new cute boy with cap charm and our little girl charm

Brown Stemmed flowers, brown gardenias and our new brown and gold blank pins for the date

Up the top using our new white tassels


and don't forget we have the First Day in ... and School Back pack pins available in Blue, Green and Red for a unique embellishment for your school creations


TFL

Hope you have a creative weekend everyone


Saturday, February 6, 2010

Back to School layouts and OTP's


Everyone should be Back to School now and how wonderfully quiet is the house! No more I'm bored, I want, Muuuuuummmmm well not till after 3pm each day anyhow!

The girls have come up with some fantastic creations to have you running to your table to scrap this years BTS photos. I just love the different ways and approaches they have to our products and they all differ in styles and techniques. I hope you love them and are inspired as much as I am ...

Wendy's back to school layout has a clever and different way of using stitching, I just love this idea ...

Back to School - Music

Products used:
Pink Paislee Vintage Moon - Full Moon
Sassafras Lass Fawnd of you too - take a chance
Nightfall Coredinations Cardstock
Amercian Crafts White Chipboard Thickers - Jewelry Box
Cuttlebug Embossing Folder - Allegro
Carolees Creations Tiny Black Alpha Stickers

Wendy used Sassafras paper border and the books and date are made from the green patterned side. And the Buzz and Bloom Chipboard Photo Corners for book ends
Other:
Thread, black pearls

Back to School OTP 'Matts Space' door hanger

Shop Product Used:
Kaiser Grunge Pattern Paper - Defiant
American Crafts White Chipboard Thickers - Jewelry Box
Skull with Cross Bones Charm
Carolees Creations Tiny Etched Natural Alpha Stickers
and a chipboard arrow ... covered in twine and inked


Tracey has come up with a clever way to remember all those school appointments, reminders, sports events etc etc (gees our kids lead busy lives!). It is kept on her desk so she is organised (as well as we can be!)


Kaiser Coco Periwinkle Pattern Paper
Black Kindy Glitz
Black Rhinestone Flourish
Black and White Stemmed Star Flowers
White Daquiri Thickers
Red / Burgundy Gardenia Flowers
Black Felt Swirl
ABC Book Charm
Ruler Charm
Black Versa Color Ink

OTHER STUFF
Computer Paper
Canvas Board
Bulldog Clip
Gel Pens
Date Stamper

and also a layout from Tracey


Fancy Pants Pattern Paper All Fall - Spelling
Black Scroll Felt Frame
White Felt Star Ribbon
Blue Rhinestone Self Adhesive Star
Apple Charm
Ruler Charm
ABC Book Charm
White Looped Cord
Black Rhinestone Scroll ONE OF THE FREE GIFTS THIS MONTH AT my2angels
Jenni Bowlin Studio Chalkboard Alpha Black
12mm Double sided tape
Foam tape


OTHER STUFF
Staples
Scraps of notepad paper
Dymo Labeller
Journaling pen

And here's a cute bright layout from Corrina ...


Paper used are Pink Paislee Cupid Bullseye and Cosmo Cricket Hello Sunshine - Hop Scotch
Wide black ric rac ribbon
For the title - AC Jewelry Box Chipboard thickers and Carolees Creations Adorn It Tiny Black letters
Embellishments: die cut chip piece from stash but is similar to scrapware. They have been inked, painted then crackled.
Every school project must have the ABC Book Charm, which is hanging from the fence
She made a glimmermist out of perfect pearls to give a green mist to the paper edging and also some hand stitching
A few close ups ....


and another bright layout from Corrina ...

Papers used: Cosmo Cricket Hello Sunshine - Hop Scotch and Cosmo Cricket Get Happy - Pop.
Title: die cut numbers and Carolees Creations letter Stickers
Embellishments: Red felt scroll heart, ABC book charm, chipboard butterfly coated with Tim Holtz crackle paint (our delivery should be here by the end of the week for the crackle paint)
Red rhinestones
Green rhinestones
Handmade little book.
misc: dye ink, kindyglitz and glimmermist

Handmade paper flowers using the demo from the Pink Paislee blog as linked on the Aussie Girls Gone Scrappin site


And lastly, Taryn's beautiful projects ... I will let her explain and she does it so much better than me ;)

For my back-to-school project, I decided to use some of Tracy's gorgeous charms, the Apples, School Books, and Rulers, together with a Small Tin Bag, Collage Press Camden Papers and Journalling Cards, Buzz and Bloom "That 70's Alphabet", Making Memories Spellbound Tiny Alphas, and a selection of Ribbons to create a mini-album full of memories from Hayden's prep year. He LOVES it, and so do I!

So here's the little tin... So cute and available in the OTP section at my2angels! How adorable are the little apple charms? Love that red glitter ribbon too, to add a bit of bling to a boys project.


Can you see the tiny alphas I used for the "year" tag? Well they come as two sheets of black and white stickers, I used them as they were for the valentines project, but I decided to customise them for this project, by swiping one sheet with a light blue ink, and the other sheet with red ink.

To create the frill on the front of the tin, I simply cut a strip of paper, sanded the edges, and folded little pleats along the strip. I then lightly sanded it, and attached to the tin using double-sided tape.

And here's what's inside... a mini-album.


The little red chipboard dots around the bottom of the tin are actually the insides of the Buzz and Bloom Aplhas (you know the little circle inside the a, b, d etc).

Here's a closer look at the album. A few charms hanging from the chain adds that special touch.


And some of the pages of the album.


These Collage Press Camden Journalling Cards are perfect for a school project.


To add interest to the pages of the mini-album, I cut the circle shapes out of the Collage Press Camden Compass paper, and folded them over the edges of the pages. I also used a punch to shape strips of the same paper (reverse side), and wrapped them around the cards.


I have used the blue velvet ric rac ribbon alot on this project as well brown cotton ric rac. They match perfectly with the College Press Camden Collection and this month they are 20% off the normal price.


Didn't I say fantastic? Unbelieveable aren't they?
We are so lucky here at my2angels to have such a inspiring and talented Design Team:)

Have an awesome and creative weekend everyone
See you back here soon