Showing posts with label OTP. Show all posts

Tuesday, May 17, 2016

A Little OTP Project or Two

Hi there!

Tania back with you today to share a couple of Off the Page Projects I made recently and dressed up with some yummy my2angels products.

First up is an 8 x 8 canvas.

Altered

I started by adding some texture to the background with a couple of stencils.  Once dry I used the chipboard from the Bubbles & Circles Chippie and Charm Kit which I cut up and placed either side of my canvas.  I then decorated the bottom of the canvas with an assortment of flowers including cherry blossoms and Stemmed Star Flowers Baby Pink & White, also putting in some Premade White Satin Bows.  Once I was happy with the arrangement off my embellishments I then had some fun adding Colour Blast Sprays until I was happy with the colours.  I added one of the Camera Charms Silver and Pink and Silver Love Charming Word to the bottom of my flower cluster.  I used one of  Kaiser's Script word clear stickers for my title and finished of my canvas with glass cabochons scattered around the canvas.

Below I have some close ups.

Altered

Altered

Altered

My second project to share with you is a small Collectables Chipboard Heart Printers tray I altered.

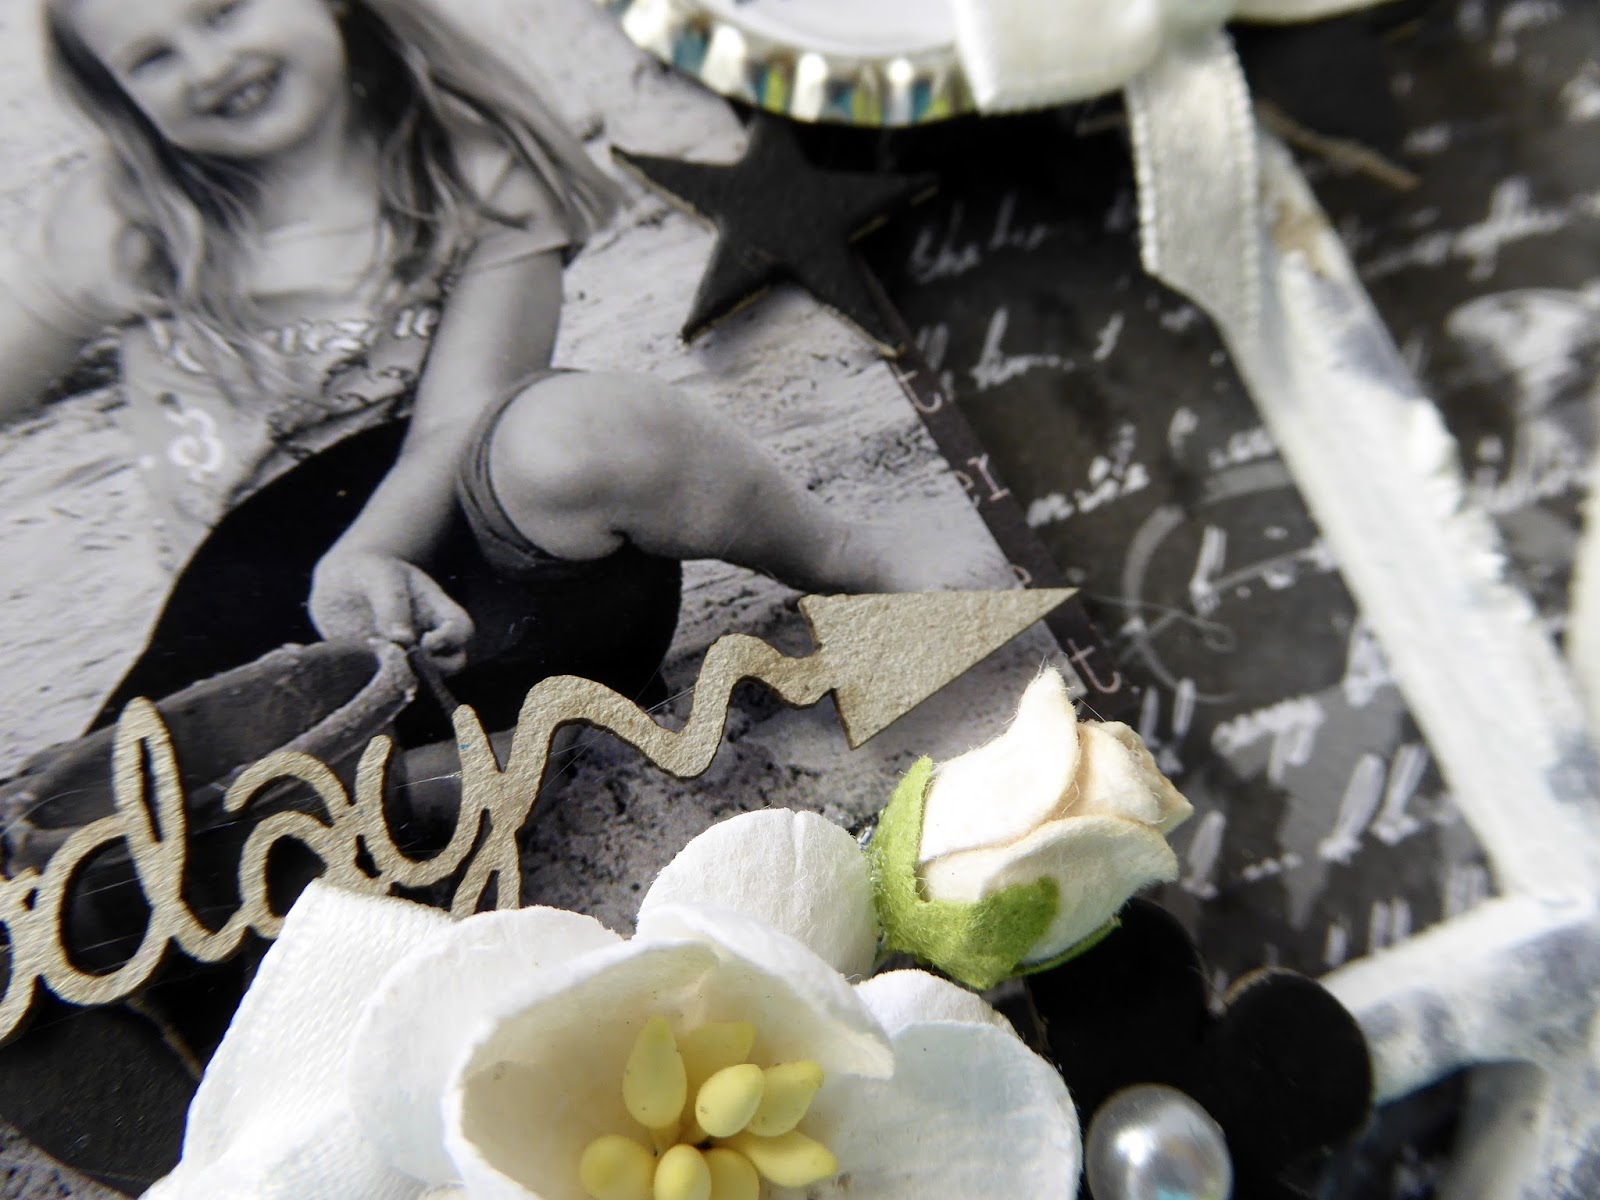
Firstly I assembled the heart, then gave it a couple of coats of gesso using a sponge so it gave it a more textured look.  I then flicked Black Dylusions mist randomly over it.  Once I was happy with the placement of my photo I then got to the fun part - Decorating it.   I used one of the My2angels gorgeous Today Embellishment Kits (OOS but Tracy promises that will be back in stock soon as they sold out so quickly!)  and finished off my project with some pretty blooms (cherry blossoms and rosebuds) from My2angels and Kaiser Pearls.

Altered

And a few close ups of this project.

Altered

Altered

Altered

Well that's all from me today, I will be back later in the month to share one last project with you.  

Until next time, thanks for stopping by.  I hope you all feel inspired happy crafting!!


Altered

Sunday, April 10, 2016

Inspired Altered Wooden Spoon and Brush for my2angels

Hi everyone I'm back again!

I would love to share of my  project for my2angels as part of guest DT.  I made another inspired altered wooden spoon and brush for you. 


I used the new my2angels Filigree Embellishment Kit found here


I started with a plain wooden spoon and brush which I added randomly crackle paste to create some background texture then I covered with heavy black gesso. 

My next step was I painted the wooden spoon and brush separately with Artalhemy acrylic paint opal magic then I glued them together.


When the background items were glued and I started to cover the Filigree embellishments kit and some more embellishments with heavy black gesso also. Then I painted them separately with acrylic paint opal magic. After that I glued all embellishments and put on the background. 


Once everything was dry I added some flowers Blue Stamen Spray Clusters - Silver Bead Berry Spray Clusters - Purple Sweetheart Blossomsangel charmsCharming Words and butterfly from Kaisercraft Collectables.


For my finishing touches I added sugar beads and glass glitters randomly.


I hope you enjoyed this make and be sure to check out the Filigree embellishment kitmy2angels Flowers  & my2angels Charms over at my2angels


Thank you for stop by and see you next time 


Happy Scrapping 


Friday, February 20, 2015

Vintage Heart "Pulls" OTP

Vintage Heart Pulls
 
Introducing a special release for Valentines Day – our ‘Vintage Heart Pulls’ range of embellishments. A delightful set of 3 shabby chic beauties – this special little collection is designed around our stunning bonze zipper charm. (Not sold separately) 

Matched with roses, hearts, some bits of muslin and of course our tiny love and heart charm – what layout or card wouldn’t look wonderful graced by one of these pretty embellishments? Grab one now for the special price of $6.50 - available in the new arrivals section here .


To showcase our new Vintage Heart "Pulls" embellishment kit I had to try it out on an OTP. Starting with a $2.00 Eiffel Tower Christmas Tree decoration, I spray painted it black and gold all over, then heat embossed it with Embossing powder to match my DD's bedroom (and her love of Paris).


Once the paint was dry, I wrapped the Eiffel Tower with Black Pearl Garland, Mauve and Purple Roses, plus a pair of our Bronze Angel Wing Charms ...


finishing it all off with one of our Vintage Heart Pulls.  


Thursday, January 15, 2015

Altered gumball machine

What a transformation. It started out as a humble mickey mouse gumball machine ($10.00 from Big W) and is now a stunning photo frame and money box! If only a personal make-over was this easy.  ;)


I started by removing poor old Minnie and applying a liberal amount of texture paste over which I went crazy with snow 'in a can'. Gotta love an instant snow drift. It has a really interesting texture to it.


I popped a little photo frame inside it - with some presents topped with my2angels charms and a Christmas Tree made from tinsel (see details further down).
altered Gumball Machine

altered Gumball Machine


altered Gumball Machine

Then I went made with white flowers and silver glitter ribbon ...
altered Gumball Machine

Check out the bird's eye view!

altered Gumball Machine

To make an easy Christmas tree like the one inside the gumball machine (sorry you probably can't see it very well, it's difficult to photograph through the plastic) - just follow the instructions ...

Cut a piece of pretty tinsel.
Give it a haircut to shape ...
and top with a star charm ... too easy!

altered Gumball Machine

So - who is going to buy themselves a gumball machine and do their own makeover?

altered Gumball Machine

Thursday, November 13, 2014

Julie Nutting Christmas Ornaments

Have you seen these cute little Julie Nutting Wood Ornaments in the New Arrivals section!! I don't know how there are still some of these left....they look gorgeous decorated, and would be a great Christmas activity to share with the kids. 

They are totally customise-able (is that a word? It is now!!) and so much fun to play with. I have decorated mine (''Joy'') to match this year's Christmas colours at our house - red, white and gold.

First up the wooden pieces, the centre and two wings, had a coat of white primer and a light sand to prepare them for other media. Starting with the wings I added a few coats of gold metallic paint and followed that when it was almost but not quite dry, with a dry brush and a coat of Gold Perfect Pearls. This last powder coat gave the colour a smoother look and added a lovely shimmer.

On top of that I added a fairly thick, but deliberately uneven coat of Clear Rock Candy Distress Crackle Paint. I love the old, antique look of crackle and wanted this for my ornament. While the crackle was still wet I sprinkled a little Stampendous Champagne Glass Glitter onto the top. Christmas should have a little bling ;) The back of the wings is exactly the same.


While I was waiting for the wings to dry and the crackle to activate I painted the bauble element. I just used ordinary acrylic paint - nothing fancy or expensive. There are a couple of coats of each colour, mostly to minimise the brush strokes and get an even coverage. The wood is etched quite deeply, so it's pretty easy to paint inside the lines. The entire back is painted with the darker red as well.


Loving the delicate shimmer of the Gold Perfect Pearls on the wings, I brushed Forever Red Perfect Pearls over the darker red section of the front, and over the whole back. 
I was still waiting for the wings to dry, so a little bling was added - five tiny Red Rhinestones around the neck of my ''Joy''s dress and a length of Gold Rhinestone Cup Chain circling the cut out centre of the bauble.
And STILL waiting for the wings to dry (it was a dampish sort of day down here in Sydney and some of my crackle paint was quite thick), I coated the back of the bauble with Clear Rock Candy Distress Crackle Paint. Then I did the front as well and left it all overnight.

This is what it looked like when the pieces were finally dry.


Assembly and decoration was the easy bit. The wings are attached to the centre bauble with Hot Glue - they are a bit too heavy for Glossy Accents. The ribbon and tassel are both included in the kit. Colouring the silver cap on the tassel with a yellow Copic Marker made it gold. Copics are alcohol based, so they colour metal and rhinestones easily.

Gold Toned Jump Rings and Gold Iron Chain hang from both the top and the bottom, decorated with Christmas Charms. Tracy sent me these pretty dangles a couple of Christmases ago, made  using Golden Eye PinsGold Bead CapsGold Rhinestone Rondelle BeadsGolden Stardust Beads, a Christmas Holly Charm, and a Small Gold Star Charm.
Small Red Roses cover the middle of the bow and decorate our Christmas ''Joy"'s hair.


You could also cover these pieces with patterned paper and use distress inks and stains. How about adding some feathers for fun?
I've seen the kit divided up and made into two separate ornaments too - one made from the centre section, and one made of just the two wings...drill a hole through the top and hang them together, slightly offset.

Have fun!


Sunday, March 9, 2014

Pink, Bling, Flowers and Pepsi Max

What do you give a birthday girl who loves Bling, Pink, Flowers and Pepsi Max?

Well doh - what else but a Pink Bling Chilly Bin (aka Eski or Cooler Box - depending on where you are from)!
So I started with this...


The I painted a pink undercoat over the outside.
Using my finger, I wiped over 3/4 of the outside surface with Magenta Inka Gold.

Then I added our white rhinestone chain to the top of the Eski and the bottom of the lid.


Decorating the lid are layers of pink gardenias, pink flowers and large pink roses, antique silver leaf charms and large bronze leaves - all arranged in the centre of the lid.


I coloured our large leaf charms (which are bronze and not matching the theme), with Inka Gold.


Inka Gold is dry within a minute - love it! 


Then I painted the Eski with Claudine Hellmuth mulit-medium to protect it from the elements.

To personalise it, I added the recipients name using chipboard letters.


The ugly blue string handle had to go - so I covered that with 2 different shades of pink tulle, using wondertape to secure


I kept the sides fairly simple and non-dimensional for when not in use and for ease of storage.


Ta da - we have a personalised, Pink Chilly Bin / Eski / Cooler Box.


PS Don't forget our rhinestone chain is on sale until the 15th March.


Saturday, April 6, 2013

Colouring your embellishments sneak peak

Who said you can't colour charms with Glimmer Mist ... well that is what a few of customers emailed me recently said!  Puff if involves charms I WILL achieve it! LOL  

Claudine Hellmuth will coat your charms, metal embellishments and JUST ABOUT anything enabling you to colour them with mists, distress stains, paints etc 

Here's a sneak peak of before and after photos of a project I am working on at the moment 


Am aiming to have it finished by the end of the weekend to show you the complete project :)


Friday, March 15, 2013

Sugar Beads Tea Party

When we received the Twiddleybitz Ornate shelf, I knew it was perfect to display my Sugar Beads instore and at the shows.  I kept it pretty simple though - just painting it pink and then dry brushing white paint over it. Then I glued on some fabric, brought a tea set from Big W for $6.00 and whallah - here is what I came up with ...


My title was made from Twiddleybitz Alpha Squares - covered with Fairy Floss Sugar Beads and sealed with Glossy Accents (yip still wet but the light was fading fast!).


Coffee anyone?
Resting on the saucer is one of our large, silver spoon charms


Here's a yummy cupcake with Flamingo Liquid Pearls for the icing and sprinkles of Fairy Floss Sugar Beads

A Vial Bottle is used as a vase for our pink flowers and turquoise microbeads and hot glue gun for water


Looking down at our Creamy Latte Sugar Beads, Crushed Ice for sugar (with a small spoon charm) and white opal liquid pearls for milk.


The ornate shelf comes with 5 small holes underneath. I used 3 of them to hang 3 tea cups - out of which spill out our scrumptious sugar beads.


There are so many different uses for the ornate shelf. I'm tempted to make a jewellery holder for my DD, or to store my own personal jars of sugar beads (as the front panel of the shelf can be removed to expose 5 sections inside). I'm sure you can come up with many more.